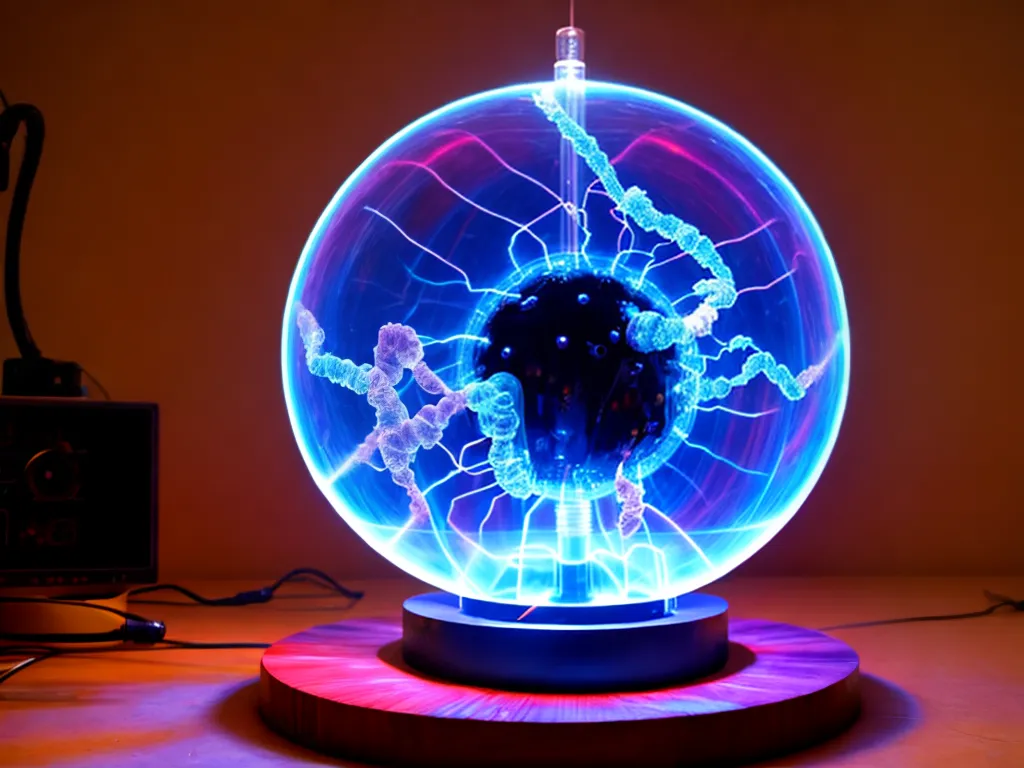
Building a Mesmerizing Plasma Globe from Scratch
I've always been fascinated by plasma globes and their dazzling lightning displays. After doing some research, I realized that plasma globes aren't too difficult to build at home with a bit of electrical know-how. In this article, I'll walk you through the full process of building your own plasma globe from scratch.
Gathering the Necessary Materials
To build a plasma globe, you'll need to gather a few key materials:
-
Glass globe - This is the container that will house the plasma. Look for a large, rounded glass globe, about 6-12 inches in diameter. Clear glass works best.
-
High voltage transformer - This component steps up the voltage to create plasma. You'll need a transformer with an output of 5-15kV. Neon sign transformers work perfectly.
-
Electrodes - Two electrodes are needed - one inside the globe and one outside. The inner electrode is usually a spherical metal object. The outer electrode is a metal ring that fits around the base of the globe.
-
Noble gas - Plasma globes are filled with one of the noble gases, usually neon or argon. You'll need a small amount in compressed gas form.
-
Base - A non-conductive base, like wood or plastic, to mount the transformer and hold the globe.
-
Wires and hardware - Electrical wires, conduit, bolts, screws, and other hardware to complete the setup. Make sure to get high-voltage rated components.
Before beginning assembly, read up on plasma globe safety precautions to avoid electrical hazards.
Constructing the Base
The base holds and protects the electrical components. I used a circular wooden platform about 1 ft in diameter. Make sure to leave space for mounting the transformer.
Drill holes through the base for running wires. I drilled a hole in the center for the high-voltage wire and smaller holes around the perimeter for grounding and power wires.
Use bolts to securely mount the transformer in place on the base. The transformer should be grounded to the base.
Assembling the Globe and Electrodes
The glass globe houses the plasma discharge between the electrodes.
For the inner electrode, I used a metal ball about 1 inch diameter. This gets suspended in the center of the globe.
The outer electrode is a metal ring that will sit around the opening of the globe. Make sure both electrodes have electrical connections.
Place the inner electrode in the globe and situate the ring electrode around the base. Use modeling clay to seal the area where the glass meets the base. This prevents gas leakage.
Electrical Connections
With the globe situated on the base, we can now wire up all the electrical connections:
-
Connect the high voltage lead from the transformer to the inner sphere electrode. This carries the voltage needed to ionize the gas.
-
Connect the transformer ground to the outer ring electrode.
-
Run a wire from the outer electrode to ground on the base. This grounds the entire outer surface of the globe.
-
Finally, hook up the 120V AC power input to power the transformer primary coil.
Make sure all connections are secure and any exposed wires are insulated.
Filling the Globe with Gas
With the wiring complete, the globe is now ready to be filled with the noble gas.
I used neon gas since it produces a nice orange/red plasma glow. Argon is also commonly used.
Attach a hose from the compressed gas regulator to a small opening in the globe. Slowly release the gas until the globe is pressurized, then seal it. Only a small amount is needed.
Powering Up Your Creation
The moment of truth - time to power up your homemade plasma globe!
Plug it into a grounded 120V AC outlet. If all went well, you should see tendrils of colorful plasma shooting between the inner sphere and outer ring. Try touching the glass to attract the plasma!
Adjust the transformer input voltage to find the optimal level for the brightest, longest discharges. Take precautions since the voltage is deadly.
Now relax and enjoy the mesmerizing show of lightning dancing inside your plasma globe! The science behind plasma physics is equally fascinating to explore.
Troubleshooting Issues
Here are some common problems and solutions if your plasma globe isn't working:
-
No discharge - Check electrical connections and transformer output. Verify glass is properly sealed.
-
Weak discharge - Increase transformer input voltage. Check for gas leaks. Add more neon/argon gas if needed.
-
Sparking / arcing - Decrease transformer voltage. Make sure no exposed conductors are near glass.
-
Smoke / glowing - Immediately power down. Check for shorts / faulty wiring. Electrodes may be corroded.
-
Plasma stays on one spot - Try a different inner electrode shape. Move electrode around to position it optimally.
-
Loud buzzing - May indicate electrical issue. Check grounding. Make sure wiring insulation is intact.
Hopefully these troubleshooting tips will help get your homemade plasma globe working properly! The end result is quite satisfying.
In Summary
Building your own plasma globe is an enjoyable DIY electronics project. The mesmerizing lightning effects are sure to impress. Follow the key steps outlined above, work safely, and take it slow. With some patience and attention to detail, anyone can construct a fascinating plasma globe from scratch!