Introduction
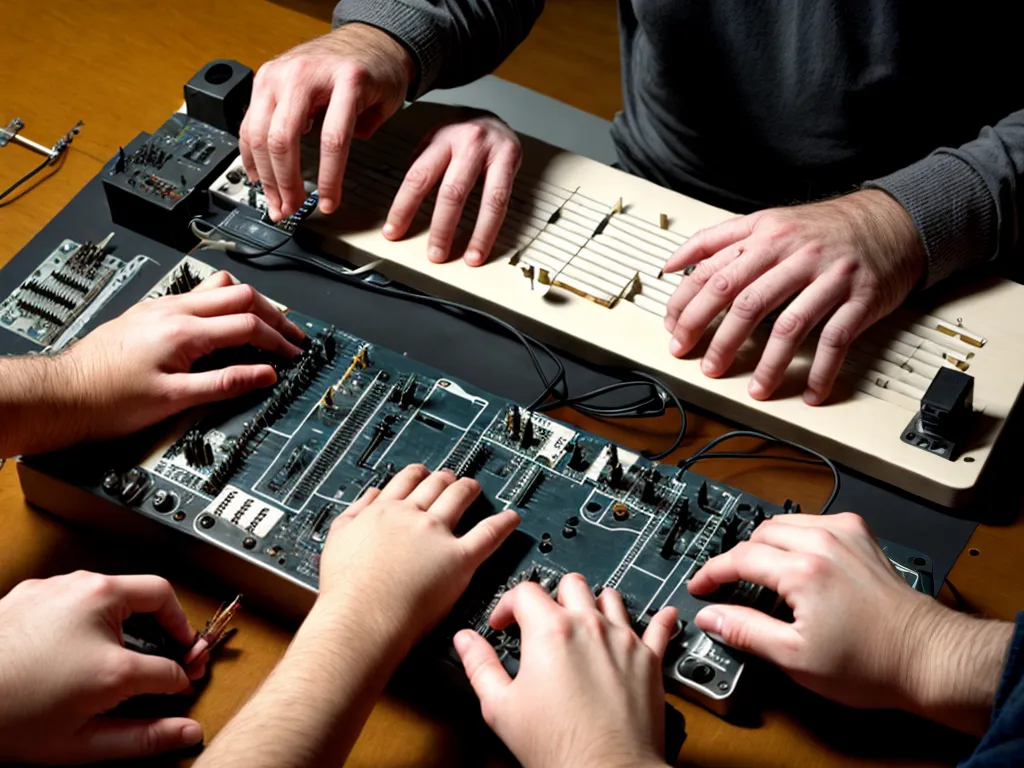
I have always been fascinated by electronic music and curious about how such instruments work. Recently, I decided to try building my own simple touch-sensitive musical instrument using just a few basic components. In this article, I will walk through the process of creating an electronic instrument using only copper tape, alligator clips, an Arduino microcontroller, and a piezo speaker.
Gathering the Components
The great thing about this project is that it requires only a handful of inexpensive and easily accessible parts. Here's what I used:
-
Copper tape - This conductive tape will act as the touch points that trigger sounds. Any conductive material could work, but the copper tape is thin, flexible, and sticks to surfaces nicely.
-
Alligator clip leads - These will attach to the copper tape and connect it to the Arduino.
-
Arduino microcontroller - The brain that will detect touches and play sounds. An Arduino Uno or any Arduino compatible board will work.
-
Piezo speaker/buzzer - This will plug into the Arduino to produce sounds when the copper pads are touched.
-
Jumper wires - For making connections between components.
-
9V battery & cable - To power the Arduino.
In total, these components cost me around $50. The Arduino is reusable for other projects, so the recurrent costs for additional instruments would be even lower.
Prototyping the Circuit
Before soldering everything together in a permanent circuit, I wanted to protoype it on a breadboard to test out the concept.
I started by connecting the piezo speaker and jumper wires to the Arduino as follows:
- Piezo positive leg to Arduino pin 8
- Piezo negative leg to Arduino GND
- 220 ohm resistor between piezo positive leg and Arduino pin 8
Next, I connected three alligator clip leads to Arduino pins 2, 3, and 4 to act as my touchpoints.
Here is a diagram of the basic prototyped circuit:

With the physical circuit assembled, it was time to program the Arduino...
Programming the Touch-Sensitive Code
I wrote an Arduino sketch using the CapacitiveSensor library to detect touches on the alligator clip leads and play different tones on the piezo accordingly.
Here are the key aspects of the code:
- Import CapacitiveSensor library
- Define CapacitiveSensor objects on pins 2, 3, 4
- Define piezo pin (8)
- In loop():
- Check each CapacitiveSensor for touch
- If touch detected, play corresponding tone on piezo
- Adjust durations and frequencies of tones to create melodies!
I was able to get three distinctive tones from the three touchpoints. The code could easily be extended to add more touchpads and tones by following the same pattern.
Constructing the Complete Instrument
Once I confirmed that the prototyped circuit was working as expected, I soldered the components together on a permanent solderable breadboard.
To make the touchpoints, I cut several strips of copper tape and attached them to cardboard canvases. I used acrylic paint and stencils to decorate each touchpad.
The alligator clip leads connect the touchpad copper tapes to the soldered circuit. And that's it! I now had a working touch-sensitive musical instrument that could be hung on the wall when not in use.
Here's a photo of the completed instrument:

While very simple in construction, this instrument is incredibly fun to play and manipulate. The capacitive touchpads are highly sensitive, allowing for creative expression. I plan to continue iterating on the design and code to add more functionality.
Let me know if you try building your own version! I'm happy to provide more details on the code and construction. Simple Arduino projects like this are a great way to learn more about electronics and music.
Summary
In this article, I walked through the full process of constructing a touch-sensitive electronic musical instrument using basic components:
- Copper tape provides the capacitive touchpads that act as triggers
- Alligator clip leads connect the touchpads to the soldered circuit
- An Arduino detects touch input and plays tones
- A piezo speaker outputs the sounds
After prototyping the circuit on a breadboard, I soldered the components together and built touchpads out of decorative copper tape. The end result was an awesome playable electronic instrument that anyone can build!
Let me know if you have any other questions. I'm always happy to help guide others in creatively learning more about electronics and music.