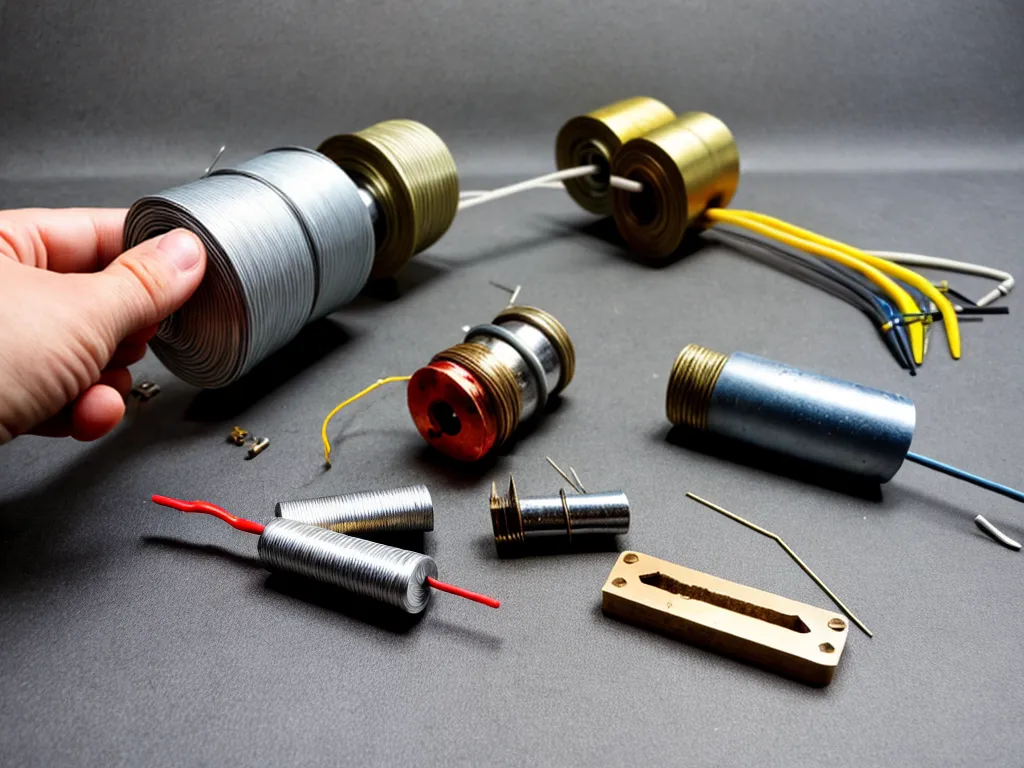
How to Build a DIY Electromagnet from Scrap Materials
Introduction
Building your own electromagnet is a fun hands-on project that allows you to learn about electricity and magnetism. Electromagnets are relatively easy to build using common household items and workshop materials. The strength of the magnetic field depends on the number of windings in the coil and the amount of current flowing through it. With a strong battery pack and sufficient coil windings, you can create an impressive homemade electromagnet capable of lifting heavy metallic objects. This guide will walk you through the full process, from understanding the principles behind electromagnets to actually building and testing your creation.
What is an Electromagnet and How Does it Work?
An electromagnet is a type of magnet where the magnetic field is created by an electric current. Unlike permanent magnets, the strength of an electromagnet can easily be changed by altering the amount of electric current flowing through it.
The main component of an electromagnet is a solenoid, which is a coil of insulated wire wrapped around a metal core. The metal core concentrates the magnetic field created by the coil. When electric current passes through the wire, it creates a circular magnetic field aligned with the coil's axis. The magnetic field gets stronger as you add more loops around the core.
The magnetic field disappears when the current is turned off. So unlike a permanent magnet, you can easily control the electromagnet's field strength.
Essential Components and Tools
Building a homemade electromagnet requires gathering a few key components and tools:
Components
-
Insulated copper wire - this will be used to wrap the coil. The thicker the wire diameter, the less resistance and more current will flow through it. 14 AWG or 16 AWG wire works well.
-
Iron core - a 'core' of ferromagnetic material like iron helps concentrate and amplify the magnetic field. You can use an iron bolt, nail, or scrap metal rod.
-
Battery pack - one or more batteries connected in series to provide the electric current. 9V batteries or D cell batteries work for smaller coils. Higher voltage packs with more cells can create stronger fields.
-
Switch - used to turn the electromagnet on and off. A basic toggle switch is fine.
Tools
- Pliers - for bending wire
- Wire cutters - for cutting wire
- Electrical tape - for insulating wire connections
- Safety goggles - for eye protection while working
Step-by-Step Building Instructions
Follow these step-by-step instructions to build your own electromagnet from scratch:
1. Wrap Coil Around Iron Core
Take your spool of insulated copper wire and wrap it tightly around the iron bolt or nail. Leave about 6 inches of wire loose at each end.
- Wrap in a single uniform direction.
- The more loops the better, aim for at least 100 wraps.
- Keep the loops side-by-side without overlapping.
2. Scrape Wire Ends and Connect to Battery Pack
Use wire strippers or a knife to scrape about 1/2 inch of insulation off the ends of the coil wire. Twist the scraped ends together and connect one end to the positive terminal on the battery pack. Connect the other end to one lead on the switch.
3. Connect Switch to Battery Pack
Next, connect the second lead from the switch to the negative terminal on the battery pack. If your pack has multiple batteries, make sure they are oriented with the positive and negative aligned.
4. Insulate Connections
Wrap all wire connections using electrical tape to prevent short circuits. The electromagnet coil itself can remain uncovered.
5. Test Electromagnet
You're ready to test your homemade electromagnet! Hold the iron core and flick the switch to complete the circuit. The coil should generate a strong magnetic field capable of lifting other metallic objects like screws or paperclips. Just remember to turn it off afterwards, as the coil will quickly get hot with extended use.
Experiment with adding more windings to increase the magnetic field strength. You can also try varying the voltage by adding more batteries to the pack.
Safety Tips
When working with electromagnets, be sure to follow these safety precautions:
- Use protective goggles and gloves when handling wires.
- Avoid pinching fingers with the magnetic pull.
- Do not leave electromagnet switched on for more than a few seconds at a time, as the coil may overheat.
- Make sure wires have no exposed metal that could cause shorts.
- Check battery pack voltage/cell orientation before connecting.
- Keep electromagnet away from computers, credit cards, or other magnetically sensitive objects.
Fun Experiments
Once you've built your own DIY electromagnet, here are some fun experiments to try:
- See how many paperclips or nails it can pick up at once.
- Test the reach of the magnetic field using various metallic objects.
- Experiment with core shapes and coil windings.
- Use your electromagnet to sort metallic and non-metallic materials.
- Pick up hard-to-reach steel objects like lost nuts and bolts.
- Make a simple electromagnet crane to lift and move lightweight loads.
Building and testing your own electromagnet is an enjoyable STEM activity. Use your creativity to come up with new ways to put your homemade electromagnet to work! With the right materials and a bit of ingenuity, you can experience hands-on science and engineering.