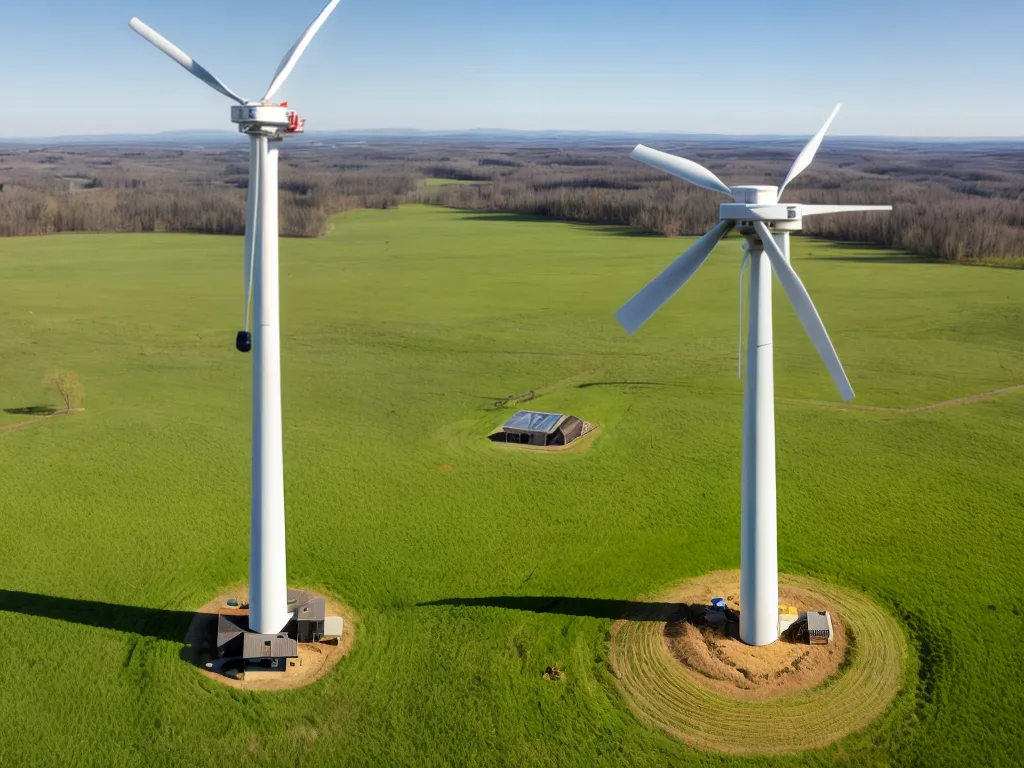
How to Build a Small-Scale Wind Turbine with Items from Your Garage
Building a small-scale wind turbine from items found around the house is an enjoyable DIY project that can provide supplemental power. With some basic materials, tools, and a little bit of ingenuity, I was able to construct a simple yet functional turbine in my garage.
Gather the Necessary Materials
The main components I needed for my homemade wind turbine included:
-
Alternator - I disassembled an old car alternator to use its magnets and wiring. This converts the rotational energy into electrical energy.
-
Blades - I cut 3 long wooden blades from an old pallet using a jigsaw. The length and shape determine the aerodynamic properties.
-
Hub - A metal hub holds the blades together at the center. I drilled holes in it to attach the blades.
-
Body - For the main body I used PVC pipe, supports, and bearings to allow free rotation.
-
Tail - The tail keeps the turbine facing into the wind. I used wood, sheet metal, and bolts to build it.
-
Batteries - To store the generated electricity, I connected a bank of batteries.
-
Inverter - This converts the battery power into 120V AC outlet power.
-
Misc - Nuts, bolts, wires, plywood, and recycled parts like fans completed the materials.
Construct the Main Body Frame
The main body needs to support the spinning blades and hub. I built it from PVC pipe segments to create a tower, using plumber's tape to connect them. At the top, I attached a larger diameter pipe horizontally to house the alternator.
Bearings allow the interior pipe to rotate freely. I used skateboard bearings with attachment brackets purchased at a hardware store.
For added stability, I secured the PVC tower to a triangular plywood base using screws and brackets. This provides a solid foundation when positioned pointing into the wind.
Assemble the Blades and Hub
I cut three long, thin wooden blades from an old shipping pallet using a jigsaw. The specific length and shape can be customized, but longer, skinny blades generally capture more wind energy.
I drilled holes in a circular metal hub piece and bolted the blades on at equal spacing. This connects the blades firmly together into a rotor. I also drilled a hole in the center area of the hub to house the main shaft.
Connect the Alternator
The alternator acts as the generator, converting the rotational energy into electricity. I disassembled an old car alternator and removed unnecessary components, keeping the essential wiring, magnets, and coils.
Positioning it inside the horizontal PVC pipe, I bolted the alternator in place. I attached the alternator shaft to the hub's center hole using a flexible coupler. This allows the alternator to spin freely along with the blades.
Add the Tail Section
The tail keeps the turbine facing into the wind. I cut a sheet of plywood into a wide triangle shape to function as the tail fin. Then I screwed two long wooden spars onto the edges for stability.
I attached it to the rear of the PVC assembly using metal plates. The pivot point allows it to move freely. A counterweight at the end helps keep the tail turned correctly.
Wire Up the System
Using insulated copper wire, I connected the alternator outputs to a bridge rectifier. This converts the power from AC to DC. Then I wired it to a bank of batteries to store the energy for later use.
For household power, I used heavy gauge wire to connect the battery bank to a power inverter. This converts the DC into 120V AC current that can be used to power appliances and tools.
Test It Out
With assembly complete, it was time for testing. Positioning the turbine in the yard, I made small adjustments to optimize its directional spinning. The tail aligned it properly, and the blades began spinning fast in the wind.
I monitored the battery voltage levels over several windy days. The alternator was producing a steady flow of electricity being stored in the batteries and powering the inverter successfully.
Although not enough for fully off-grid living, this homemade wind turbine can produce helpful supplemental power from a renewable source. And there's a sense of satisfaction being able to construct a functioning renewable energy system using common household items.