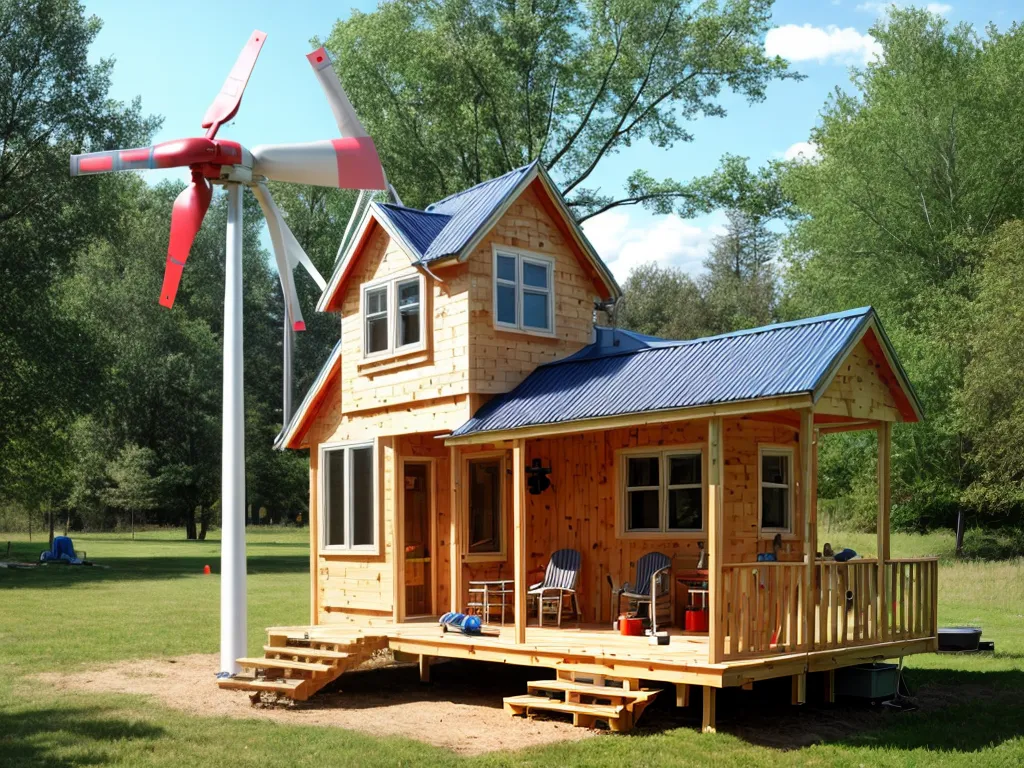
Building a small wind turbine from items in your garage can be a fun and educational project. With some basic materials and tools, you can construct a working turbine that can be used to generate electricity on a small scale. Here is a step-by-step guide to building your own garage-built wind turbine.
What You Will Need
Constructing a DIY wind turbine will require some common materials and tools that you may already have on hand:
Materials
- Blades - I used 3 wooden paint stirrers for the blades. You could also use sheets of plywood, plastic or metal.
- A tail vane - I used a piece of a plastic bucket. This helps keep the turbine facing into the wind.
- Bolts, washers and nuts - For assembling the turbine. Stainless steel is best for durability.
- A bicycle wheel - This will be the rotor. Look for one with a hollow hub that can fit on the alternator shaft.
- A car alternator - This will generate the electricity. Make sure to get one that can turn at low RPM.
- Wires and cable - For electrical connections. You'll need different gauges for high and low voltage.
- Volt meter - To monitor the output electricity.
- A frame - I used plastic buckets, but you could use wood, steel, etc. This holds all the components.
Tools
- A drill and various bits - For drilling holes in the materials.
- Hacksaw - For cutting bolts and other materials to size.
- Screwdrivers
- Pliers and wrenches - For assembling hardware.
- Multimeter - For testing electrical connections.
Designing the Turbine
The most important factors in designing a DIY wind turbine are:
- Number and size of the blades
- Size of the alternator
- Height of the tower
More or larger blades will capture more wind energy, but the alternator must be powerful enough to handle the rotational force.
The higher the tower, the more wind the blades can intercept. But taller towers are more complex to build safely.
For this small turbine, I used 3 blades about 24 inches long each and a 50 amp alternator. The tower height is about 10 feet.
Constructing the Rotor
The rotor consists of the blades attached to a wheel hub.
I cut my wooden paint stirrers to size with a hacksaw and drilled holes in the ends.
Tip: Stagger the blades 120 degrees apart around the wheel for balance.
The bicycle wheel provides the hub that the blades attach to. I had to expand the centre holes slightly using a drill bit so the alternator shaft would fit snugly.
Use bolts, washers and nuts to fasten each blade securely to the wheel. Check that each blade moves freely without rubbing.
Adding the Tail
The tail vane keeps the turbine facing into the wind.
Use bolts to attach the tail vane to a bracket off the side of the wheel. Make sure it can pivot freely.
The tail should be long enough to offset the rotor, so the wind catches the tail and points the blades into the wind.
Mounting the Alternator
The car alternator acts as a generator to produce electricity.
Remove all unnecessary parts from the alternator so just the shaft and wiring remain.
Bolt the alternator securely onto the centre of the wheel or a bracket behind it. Make sure the shaft lines up properly with the wheel hub.
Constructing the Tower
The turbine needs to be raised up on a tower to catch more wind.
For my small turbine, I made a simple frame from plastic buckets and struts. Make sure your design is rigid and stable.
The frame gets bolted to a pivot at the base so the turbine can turn into the wind.
Use guy wires running from the tower to anchors in the ground for extra stability.
Connecting the Electrical System
With the mechanical parts assembled, you need to hook up the electrical system.
Attach your high voltage wires from the alternator output to your volt meter. Then run wires from the meter to your battery bank to store the electricity generated.
Use your multimeter to test all electrical connections before turning on the system.
Testing and Troubleshooting
It's a good idea to test the turbine before fully installing it.
Spin the rotor manually and check the volt meter for output. If not, check your alternator wiring connections.
Make sure the rotor spins freely and the tail pivots properly.
Once the turbine is mounted, check for vibration and stability issues. Resolve any problems before running for long periods.
With proper maintenance, your homemade wind turbine should provide free electricity for years! Let me know if you have any other questions.