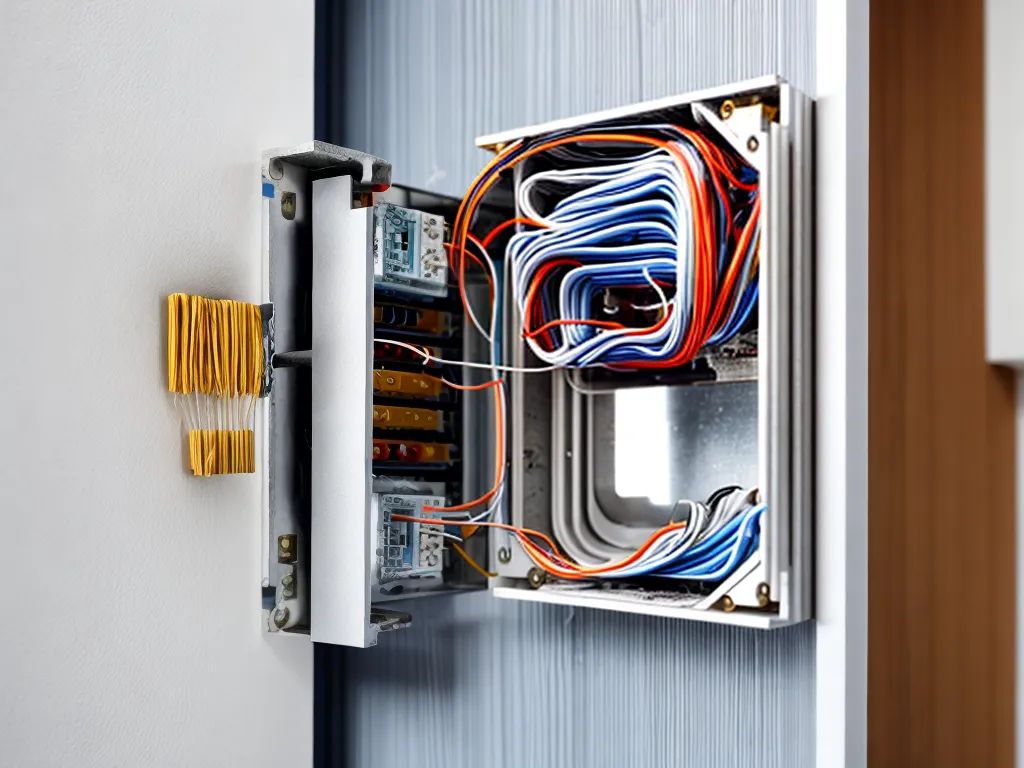
I decided to install aluminum wiring in my home to take advantage of its lower cost compared to copper wiring. While aluminum wiring does require special handling, with the right precautions it can be installed safely. Here is a step-by-step guide on how I installed aluminum wiring in my home.
Understanding the Risks and Benefits of Aluminum Wiring
Before installing aluminum wiring, it's important to understand the risks and benefits compared to traditional copper wiring.
The main benefit of aluminum wiring is its lower cost. Aluminum costs less than copper, making aluminum wiring an affordable option for many homeowners.
However, aluminum wiring does come with some safety risks if not installed properly:
-
Aluminum wiring is less conductive than copper, which can cause issues like flickering lights and appliances not working properly.
-
Aluminum expands and contracts more than copper. This can cause wires to loosen from connections and create fire hazards.
-
Aluminum is more brittle than copper. Wires can break more easily if bent excessively.
The key is using the right techniques and materials when installing aluminum wiring to manage these risks properly.
Choosing the Right Aluminum Wire and Connectors
When working with aluminum wiring, it's essential to choose the right type of wire and connectors.
For wiring, I used AA-8000 series alloy aluminum wire. This type of wire has improved conductivity and flexibility compared to traditional aluminum wire.
For connectors, I used CO/ALR connectors specifically designed and UL-listed for joining copper and aluminum. CO/ALR connectors have a special compound that prevents oxidization and loosening over time.
Avoid using connectors designed only for copper, as they present a fire hazard when used with aluminum wiring.
Installing Aluminum Wiring Safely
With the right materials, installing aluminum wiring properly comes down to following good practices at each connection:
Clean and scuff wire ends
I used sandpaper to thoroughly clean and scuff the ends of the aluminum wires. This removes any oxidization and creates a better connection surface.
Apply antioxidant paste
I applied a thin coat of antioxidant paste to the cleaned wire ends before inserting them into connectors. The paste helps prevent future oxidization.
Tighten connections properly
I used a calibrated torque screwdriver to tighten connections to the manufacturer's specifications. Proper tightening ensures a solid connection.
Avoid bending wires sharply
Since aluminum wiring is brittle, I was careful not to bend wires sharply at connections. Keeping wire bends gradual reduces the chance of breakage.
Use the right wire nuts
For any wire nuts, I made sure to use ones rated and listed for joining copper to aluminum wiring.
Leave accessible junction boxes
Wherever multiple wire connections came together, I made sure the junction boxes were easily accessible. This allows for periodic inspections.
By following these best practices at every connection, I was able to safely install the aluminum wiring throughout my home's electrical system.
Inspecting and Testing My Aluminum Wiring Installation
Once the initial installation was complete, I thoroughly inspected and tested my work:
-
I pulled on each wire connection to check for tightness.
-
I checked for antioxidant paste at every connection.
-
I looked for any spots where wires were bent sharply.
-
I tested lights and outlets throughout the home to make sure everything was working properly.
-
I used a multimeter to check for any unusual voltage drops indicating faulty connections.
Finding everything in proper working order, I was confident in the safety of the aluminum wiring installation. But I still plan to periodically inspect junction boxes and connections as part of ongoing home maintenance.
Enjoying the Benefits of Aluminum Wiring
With the proper diligence during installation, I was able to realize the benefits of aluminum wiring in my home:
-
I saved over 30% on wiring costs compared to copper. This added up to major savings across the home's entire electrical system.
-
The AA-8000 aluminum wire provides full electrical performance on par with copper. All my home electronics and appliances work perfectly.
-
The CO/ALR connectors ensure solid and safe connections that won't degrade over time like they would with copper-only connectors.
While it did require a careful approach, aluminum wiring has exceeded my expectations while cutting costs. By following this comprehensive installation guide, you too can take advantage of aluminum in your home's electrical system. Let me know if you have any other questions!