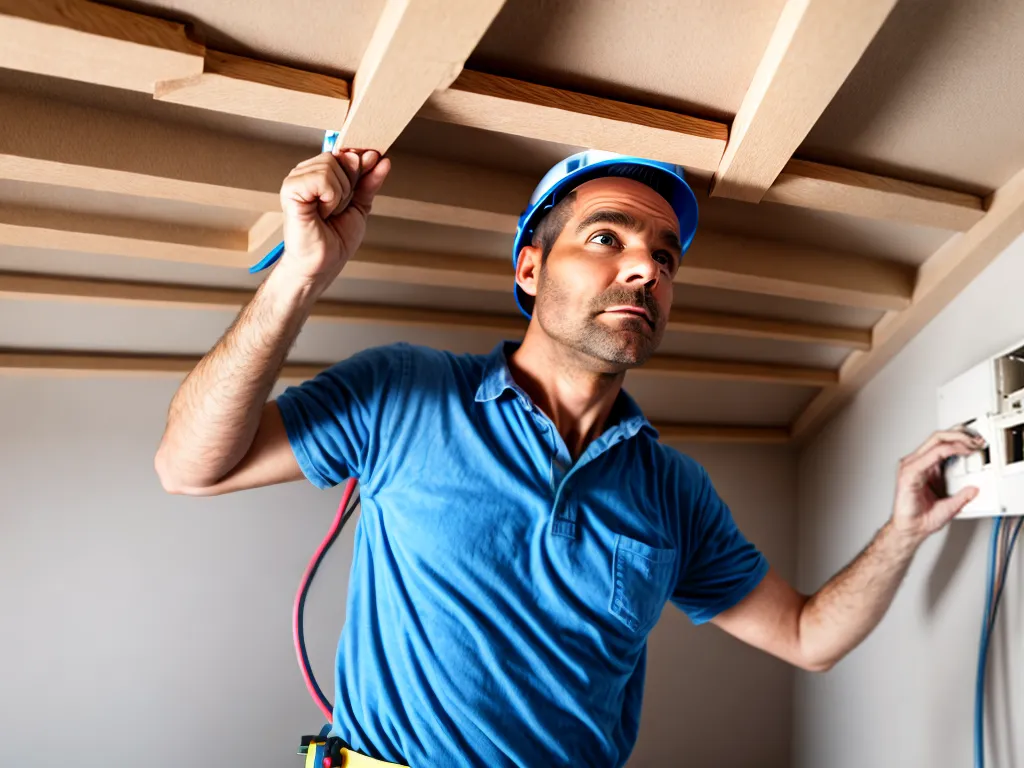
Installing electrical wiring in your attic can seem like a daunting task, but with proper planning and by following safety codes, it can be a manageable DIY project. There are several key steps involved in wiring an attic correctly and safely.
Researching Local Electrical Codes
The first thing I need to do is research the local electrical codes for my area. Electrical codes provide critical safety guidelines that must be followed when doing any electrical work.
I will check with my local permitting office to obtain copies of the relevant codes. I will also consult with a qualified electrician to ensure I understand the code requirements. Key areas I will research include:
-
Wiring methods - The codes specify what types of wiring, conduit and cables can be used in different areas. For attics, individual NM cables or conduit is often required.
-
Wire sizing - The codes include specifics on the wire gauge needed for various circuits based on the amperage and length of the runs. Undersized wire can overheat.
-
Number of circuits allowed - Most attics have limits on the number of lighting and outlet circuits permitted. I need to plan accordingly.
-
Outlet and switch boxes - Specific types are mandated for Easy accessibility and fire safety. Plastic boxes are common for attics.
Thoroughly researching the applicable codes is critical to ensuring my DIY attic wiring project meets all safety regulations.
Planning the Wiring Layout
Once I understand the codes, I can start planning how I want the wiring laid out in my attic space. Key factors I consider in the planning process include:
-
Existing wiring - I first map out any existing wiring routes and boxes in the attic based on where current fixtures are located. This provides the starting point for my layout.
-
Lighting needs - Where do I want light fixtures located in the attic? I ensure there will be adequate lighting in the main areas.
-
Outlet locations - I determine where power outlets would be helpful in the attic for running tools or other devices.
-
Circuit routing - How will the wiring physically run from the electrical panel to light/outlet boxes in the most sensible and accessible way?
-
Materials needed - My circuit layout determines how much wiring, conduit, boxes and other items I need to buy before starting.
Taking the time to think through the layout and create a wiring plan helps the actual installation go smoothly.
Inspecting the Attic
Before beginning the installation, I take time to thoroughly inspect my attic space. I check for:
-
Insulation - Is there enough insulation? Is it styrofoam that could melt against hot wires? Proper insulation is a must.
-
Ventilation - Are there adequate vents and air flow to prevent overheating as wires give off heat?
-
Wall location - Are walls framed in a way that allows installing boxes and fishing wires?
-
Access - Is there an easy way to get in and out of the attic to bring tools/materials? Can I easily navigate the space?
-
Obstructions - Are there ducts, pipes, beams or other elements that will make wiring difficult?
Taking note of any less-than-ideal conditions allows me to account for them in my plan. I may need to move insulation or reroute ducts to facilitate the electrical work.
Running the Circuit Wiring
With my plan completed and attic inspected, I can start the actual wiring work. The key steps are:
1. Turn Off Power
I turn off all power to the attic at the main electrical panel and use a contact voltage tester to confirm it is dead. Safety first!
2. Install Boxes
I measure and mark the locations for any new switch and outlet boxes called for in my plan. I cut holes for old-work boxes and fasten them securely between studs.
3. Run Cable
I measure my wire run lengths and cut the appropriate NM cables. Starting at the panel, I staple and securely fasten the cable along the edges and studs to each box location per code.
4. Make Connections
With lengths run, I use wire nuts to make secure connections between the circuit wiring, switches and outlets. I ensure good tight connections.
5. Secure Wires
All loose wiring is gathered together and bundled neatly using cable ties. I avoid loose wires that could move around near insulation.
6. Affix Warning Sign
On the wall outside the attic access, I prominently post a warning sign that high voltage wiring is present in the attic. This alerts anyone going in there.
Following proper techniques as I run the new circuits ensures the wiring is safe and installed to code.
Wrapping Up the Job
Once all new wiring is installed, I conclude the project with these important steps:
- Test all fixtures and outlets to verify proper operation.
- Check for loose connections by tugging on wires.
- Use junction boxes to splice any wires together.
- Label all circuits clearly at the breaker panel.
- Replace any insulation or vapor barriers moved during installation.
- Seal any holes made for wiring to maintain fire separation.
- Clean up all tools, materials and debris when done.
Finally, I have the local building department inspect my work to certify that it meets all electrical code requirements before using the new circuits.
Installing attic wiring is a project I can successfully DIY by following the proper processes. While labor-intensive, the payoff is well worth it in lighting, outlets and safety for the space. By methodically approaching each step from planning to final inspection, I can avoid shortcuts and get it done right!