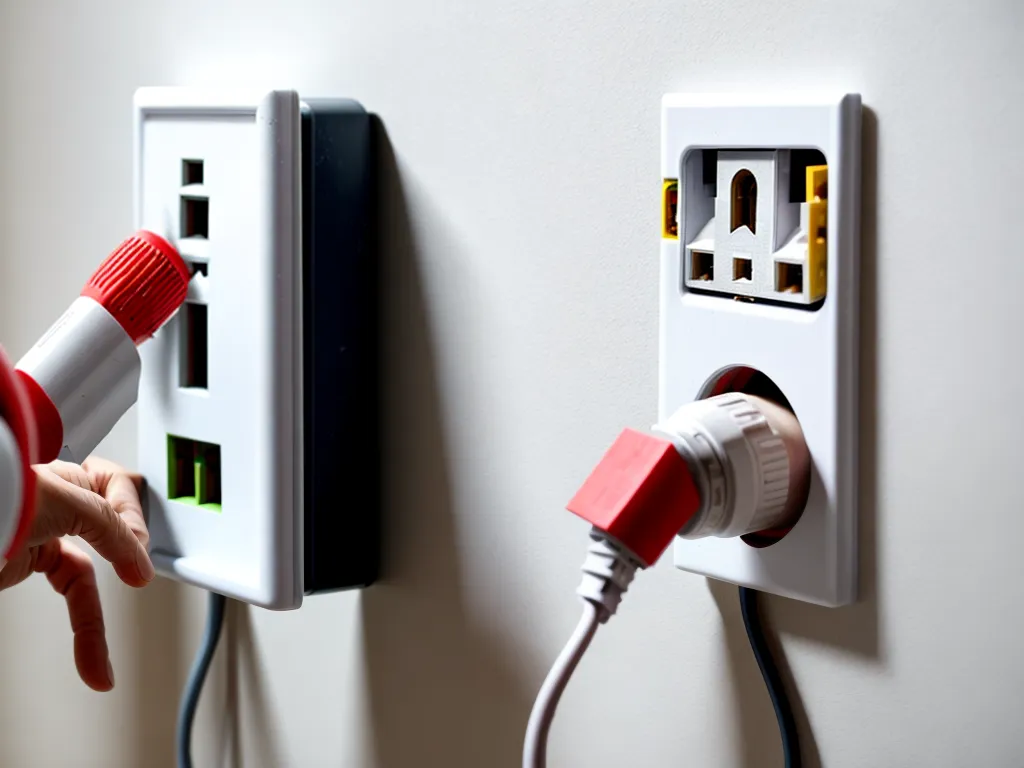
How to Install Electronic Wall Sockets Yourself
Installing wall sockets yourself can seem daunting, but with the right preparation and safety precautions, it is quite doable for a DIYer. Here is a step-by-step guide on how I installed electronic wall sockets in my home.
Gather Materials and Tools
Before starting any electrical project, you need to ensure you have the proper materials and tools. Here is what I gathered before installing wall sockets:
-
Electrical sockets and wall plates - Make sure to get the right number and type for your needs. I needed 5 simple duplex receptacles.
-
Electrical box extender - This allows you to install the receptacle flush with the wall surface if there is not enough room in the electrical box.
-
Voltage tester - To safely check that the circuit is dead before working on it.
-
Wire strippers - To strip the ends of the wires to make connections.
-
Needle-nose pliers - Helpful for bending and manipulating wires in the electrical box.
-
Electrical tape - To insulate wire connections.
-
Phillips screwdriver - For the wall plate and receptacle screws.
-
Drywall saw - To cut any drywall openings needed to access electrical boxes.
Turn Off Power and Confirm It's Off
Before doing any electrical work, you must turn off the circuit at the breaker and confirm it is off. To do this:
-
Go to your electrical service panel and identify the breaker that controls the circuit you'll be working on.
-
Switch the breaker to the OFF position.
-
Plug in and turn on a voltage tester at the nearest outlet on the circuit. It should not light up.
-
Test outlets and switches along the circuit to confirm power is off everywhere before proceeding.
Remove Existing Electrical Box Covers
With the power confirmed off, you can now safely access the electrical boxes:
-
Unscrew any existing wall plate covers on the outlets and switches on the circuit.
-
Unscrew the receptacles and switches and detach any wires connected to them.
-
Be careful not to let detached wires fall into the electrical box.
Install New Electrical Boxes if Needed
If you need to add a receptacle where there is no electrical box, you'll need to install new electrical boxes:
-
Mark the exact position for each new electrical box. Make sure there are no studs, pipes, or wires in the way.
-
Cut holes in the drywall for each box using a drywall saw.
-
Secure electrical boxes in the wall openings. Nail them directly to a stud if possible for stability.
-
Extend boxes flush to the wall surface using electrical box extenders if needed.
Feed and Connect New Wires
To add new receptacles, you'll need to run 14 or 12 gauge electrical wires from the existing receptacles:
-
Notch out access holes between studs so you can route the new wires from the existing boxes to the new boxes.
-
Feed and connect the hot, neutral, and ground wires between the new and old boxes properly using wire nuts.
-
Maintain proper wire polarity - hot to hot, neutral to neutral, ground to ground.
-
Include a pigtail wire in wire nuts for easier receptacle installation.
Mount and Connect Receptacles
With the boxes prepped and wired, you can now install the new receptacles:
-
Attach the receptacles to the electrical boxes using the included screws.
-
Match wire colors and connect the hot, neutral, and ground to the correct receptacle terminals.
-
Make sure wires are fully inserted and secure.
-
Bend wires neatly into the boxes. Don't overload the boxes.
-
Cap any unused wires with wire nut caps.
Attach Wall Plates and Restore Power
You're almost done! The last steps are to put everything back together:
-
Attach the wall plate covers over each of the electrical boxes using the included screws.
-
Go back to the breaker box and turn the circuit back on.
-
Test each receptacle with a voltage tester or by safely plugging in a light or device to confirm proper function.
-
Put any removed switch or outlet covers back on.
With that, you can plug in and enjoy your newly installed wall sockets! Just take your time, follow safety procedures, and ensure proper electrical connections. Let me know if you have any other home electrical questions!