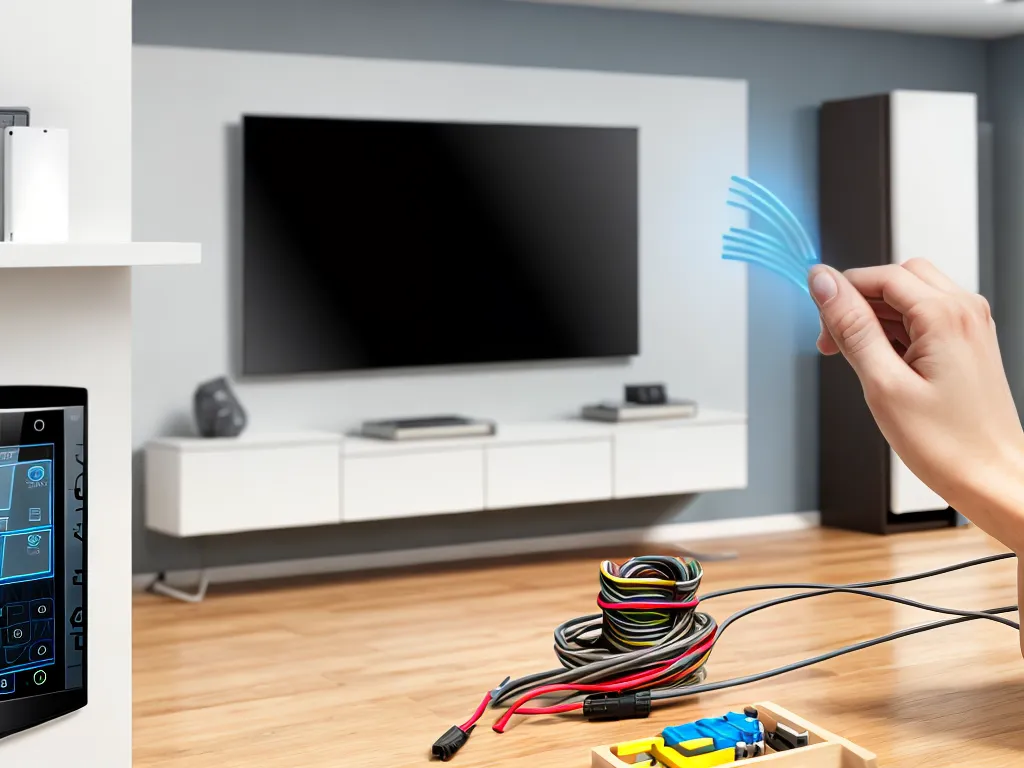
How to Install Hidden Wires for Advanced Home Automation
Introduction
Installing hidden wires for home automation allows you to control lights, temperature, security, entertainment, and more, all while keeping unsightly wires concealed. This guide will walk you through everything I learned while installing hidden wires in my own home. From planning to execution, I'll share tips and tricks to help you create an automated home with all the wires neatly tucked away.
Planning Your Home Automation System
The first step is deciding which systems you want to automate. Common options include:
- Lighting - Control lights with switches, remote controls, sensors, timers, etc.
- Climate - Adjust temperature and humidity with smart thermostats.
- Entertainment - Stream music and video to speakers and TVs throughout the home.
- Security - Monitor doors, windows, motion with sensors and surveillance cameras.
- Motorized window treatments - Open and close shades automatically.
Once you decide on the systems, map out their locations and connections. For example:
- Lights in each room controlled by smart switches.
- Thermostats wired to the HVAC system.
- Speakers pre-wired for surround sound in home theater.
This planning ensures you wire the correct cables to the right spots.
Choosing Low-Voltage Cable
Most home automation devices operate on low-voltage wiring, typically 24 volts or less. This allows smaller, more flexible cables to be hidden easily. Common options include:
- 2-conductor wire for simple on/off control.
- 18-5 thermostat wire for HVAC and complex systems.
- Ethernet cable for hardwired internet connections.
- HDMI for video and audio between components.
For my installation, I used 18-5 thermostat wire to connect switches, sensors, and controllers throughout the house. It provides 5 conductors for different signals.
Running Cables Through Walls
The key to a clean look is running cables through walls and ceilings. This conceals them completely while allowing access where needed. Here are some techniques I used:
Drilling Holes
Use a long flexible drill bit to drill straight through framing when running horizontal cables. For vertical runs in finished walls, drill small holes and fish wires between them.
Notching Studs
You can notch out sections in wood studs to lay cables in. Keep notches less than 1.5 inches deep so they don't weaken framing. Use metal plates to protect cables.
Removing Baseboards
Pry up baseboards to access the gap between drywall and floor joists. This creates an easy path to run wiring.
False Walls and Ceilings
Build new soffits or wall boxes to contain wiring. Or use existing coat closets on rear of walls.
Installing the Automation Controller
The automation controller is the brains of the system, connecting all the devices. I installed mine in a closet, along with the ethernet router. From there, I connected the controller to devices throughout the house using the hidden low-voltage wiring.
Key steps:
- Mount controller in a central, protected location.
- Plug controller into a surge protector, not just a power outlet.
- Connect low-voltage cables from controller to all devices.
- Connect ethernet from router to controller for WiFi control.
Testing and Troubleshooting
Before finishing the walls, test all your connected devices thoroughly:
- Turn devices on and off from the controller.
- Make sure dimmers ramp up and down smoothly.
- Confirm speakers play properly in every zone.
Check for loose connections, mixed-up wires, and defects. Troubleshoot and correct any issues before closing up the walls.
Completing the Installation
Once everything checks out, you can button up the installation:
- Patch up any holes and rebuild finished surfaces.
- Reinstall baseboards or wall panels.
- Seal any access points to keep out drafts.
- Connect smart devices and program the system.
With all the wires neatly tucked away, you can enjoy seamless voice or app-based control of your automated home!
Conclusion
Installing hidden wires takes planning and effort, but the results are worth it. By taking the time to properly install in-wall wiring, your home automation system will operate smoothly while maintaining a clean, modern aesthetic. With the tips above, you can create an automated home controlled by invisible low-voltage wiring hidden neatly behind the scenes.