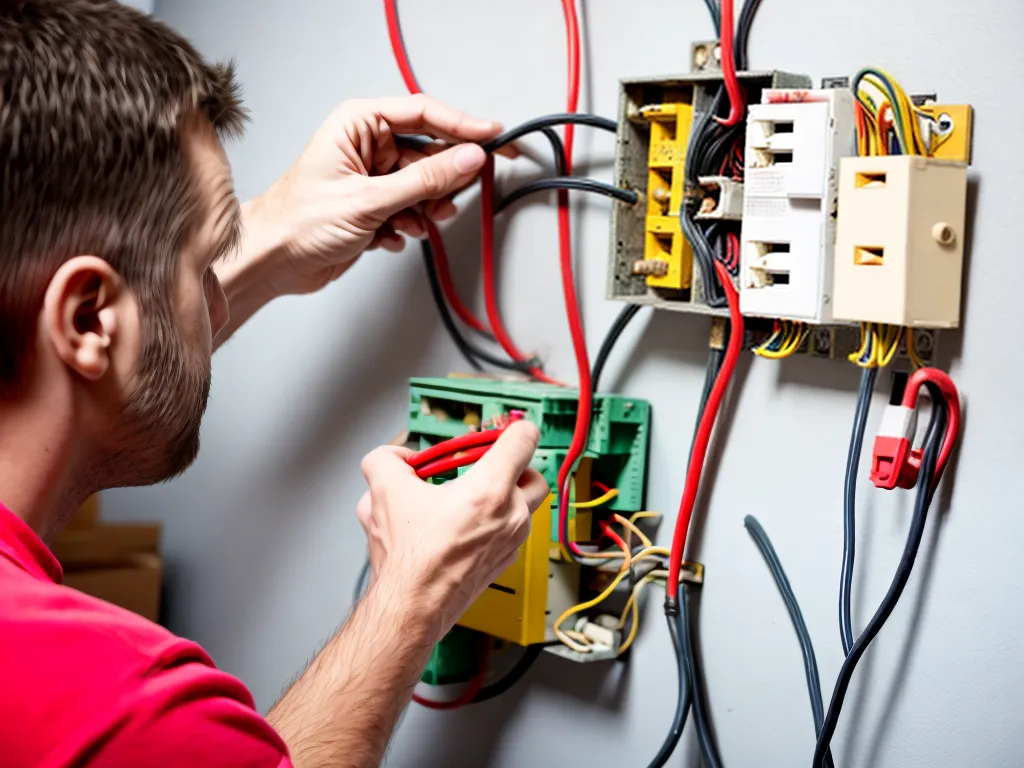
How to Install Home Electrical Wiring Yourself on a Budget
Installing electrical wiring in your home can seem daunting, but with proper planning and safety precautions, it can be a manageable DIY project even on a tight budget. Here is a step-by-step guide on how to install home electrical wiring yourself while sticking to your budget.
Tools and Materials Needed
To get started, you will need to gather some basic tools and materials:
- Wire strippers - to strip the insulation off the wiring
- Voltage tester - to make sure the power is off before working
- Hammer drill - to drill holes through studs for running wires
- Fish tape - to snake wires through walls
- Cable staples - to secure cables to studs and joists
- Wire nuts - to connect wires together
- Electrical tape - to insulate wire connections
- Romex NM-B wire - the most common type of wire for homes
- Breaker box and breakers - to connect your new wiring to the main power supply
Shop around for the best prices on materials, buy in bulk if you can, and borrow tools instead of purchasing to save money.
Planning the Wiring Layout
Before starting the installation, you need a solid plan:
-
Map out receptacles, switches, and fixture locations - mark where you want your outlets, switches, and lights located in each room.
-
Decide on circuit layout - group together devices that will be on the same circuit. Don't overload circuits.
-
Determine wire gauge size - the wire diameter required depends on length of run and amperage.
-
Calculate required materials - measure wire lengths needed and add up receptacles, boxes, breakers, etc.
Take time to carefully plan even if you're eager to get started. Rushing in without a plan can lead to mistakes and rework.
Turning Off Power and Inspecting the Service Panel
Safety first! Before touching any wiring, be absolutely certain the power is off to avoid electrocution:
-
Shut off the main breaker in the service panel.
-
Test outlets with a voltage tester to confirm power is off.
Then inspect the main service panel and take notes:
-
Identify the main power shutoff switch.
-
Note available space for breakers you'll be installing.
-
Verify the amperage rating meets your needs.
-
Check that the grounding is sufficient.
Do not skip this critical safety step!
Running and Securing the New Wires
Now you're ready to start running cables:
-
Carefully measure and cut wires to required lengths. Provide some extra length.
-
Use the hammer drill to bore holes through studs to route wires between boxes.
-
Fish wires through walls using fish tape where necessary.
-
Use staples to securely fasten the wire to studs and joists at regular intervals.
Take it slowly and be careful not to damage the insulation when pulling wires.
Connecting Switches, Receptacles and Fixtures
Next, you can start connecting everything:
-
Attach the wires to the terminals on outlets and switches. Follow diagrams.
-
For lights, connect wires to the fixture ballast or terminals.
-
Use wire nuts to join wires together, making sure connections are tight.
-
Insulate connections with electrical tape.
-
Install devices into electrical boxes and fasten securely in place.
Follow the manufacturer instructions carefully and connect grounds first.
Connecting the Circuit Breakers and Powering Up
The last step is connecting the new circuits to the main power supply:
-
Shut off the main breaker again before working inside the service panel.
-
Install new circuit breakers and connect new wire runs to them.
-
Carefully label each new circuit. This helps with testing and troubleshooting.
-
Close up the panel, turn the main breaker back on, and test operation.
Take it slowly and double check your connections before restoring power.
Safety Tips
- Shut off power at the breaker before starting and test that it's off.
- Wear insulated gloves and be cautious when working inside the breaker box.
- Keep wires free of defects and make tight connections.
- Install wall plates to keep wires concealed and protected.
- Call an electrician if you have any doubts or uncertain situations.
By following basic safety procedures, taking your time, and doing each step carefully, you can install home electrical wiring successfully yourself and save money. Just be sure to get any required permits and arrange for inspections when complete.