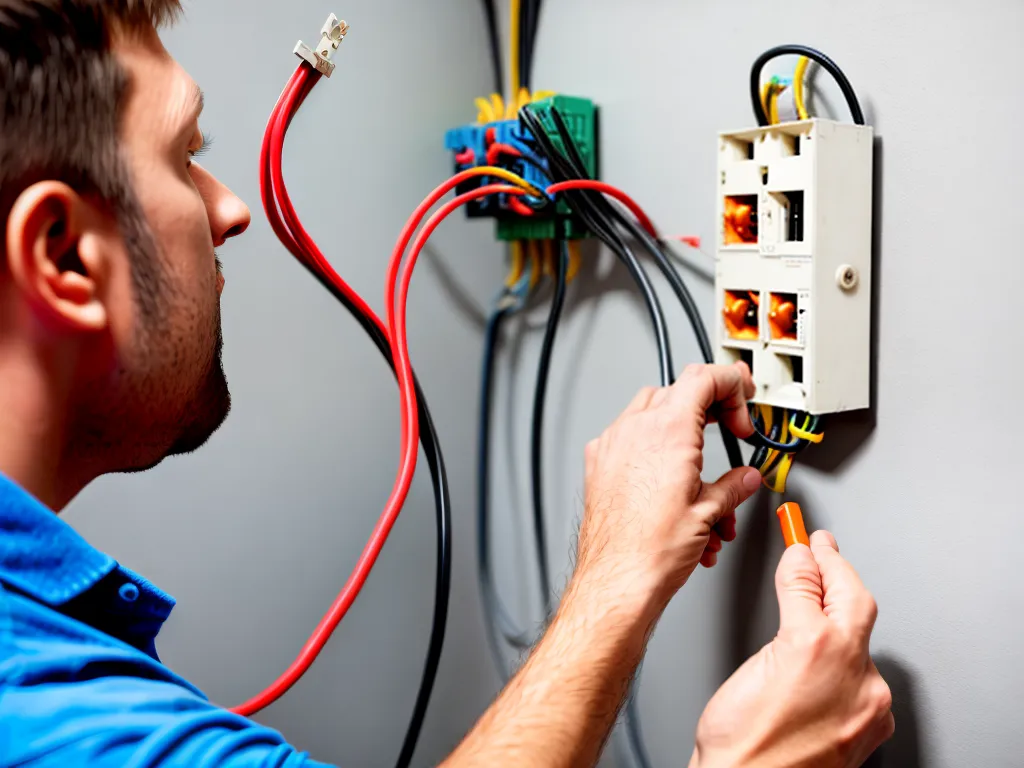
Installing electrical wiring in your home can be a daunting task, but with proper planning and by following safety procedures, it is possible for a homeowner to complete basic wiring projects. In this comprehensive guide, I will walk you step-by-step through the process of installing home electrical wiring yourself.
Researching and Understanding Electrical Codes
Before beginning any electrical project, the first step is to research and understand the local electrical codes that apply to your area. The National Electrical Code (NEC) forms the basis for most local codes, but your municipality may have additional requirements.
Some key things to research include:
-
Permit requirements - Most areas require permits for electrical work. Understand the permit process and costs.
-
Inspection requirements - Electrical work will need to be inspected by the local building department. Know when inspections are required.
-
Required materials - The NEC specifies required materials, wire sizes, breaker sizes, etc. Use only code-approved materials.
Thoroughly researching the applicable electrical codes will ensure your DIY electrical project meets all safety and legal requirements. Consider consulting a qualified electrician if you have questions.
Planning the Electrical Layout
Once you understand the relevant electrical codes, the next step is planning the layout for the circuits and connections. Important factors to consider include:
-
Existing electrical layout - Evaluate the existing wiring and plan new wiring to integrate properly.
-
Number of circuits required - Calculate expected electrical load to determine enough circuits.
-
Breaker box capacity - Confirm breaker box has space for additional breakers. Upgrade if needed.
-
Safety and code factors - Consider needs for GFCI protection, arc-fault breakers, wire sizing, etc.
-
Future expansion - Leave room for potential additions like EV chargers, solar panels, etc.
Taking time to carefully plan the electrical layout will save major headaches down the road. Have an experienced electrician review the plan to identify any potential issues or code violations.
Gathering the Right Tools and Materials
Electrical wiring projects require having the correct tools and materials on hand. Essential items needed include:
-
Basic hand tools - Screwdrivers, wire strippers, pliers, hammer, stud finder, level, etc.
-
Voltage tester - To safely check for live wires.
-
Clamp meters - For measuring current and troubleshooting circuits.
-
Junction boxes - For housing wire connections.
-
Conduit and fittings - If using a conduit wiring method.
-
NM cable - Romex style nonmetallic sheathed wiring.
-
Breakers - Properly sized for the circuits.
-
Wire nuts - For joining and insulating wire connections.
-
GFCI and AFCI breakers - For protection on required circuits.
Only use materials approved for electrical use. Purchase extras in case of wiring errors.
Safety Considerations and Precautions
Working with electrical wiring carries major safety risks, including electrocution, shocks, burns, and fire. To stay safe:
-
Power off the circuit - Turn off power at the breaker and verify it is off before working.
-
Personal protective equipment - Wear insulating gloves, long sleeves, safety goggles.
-
One circuit at a time - Focus on fully completing one circuit before moving to the next.
-
Double check connections - Verify wires are securely connected and insulated.
-
Work with a partner - Have someone available to help in case of emergency.
-
Avoid working live - Never work on hot, energized wiring.
Staying focused and working carefully will help avoid critical and potentially fatal mistakes. Stop immediately if you feel unsure or unsafe at any point.
Installing and Connecting the Electrical Wiring
Once your plan is set and you have all the necessary materials, it is time to start the wiring installation. The basic process includes:
1. Mounting the Junction Boxes
- Plan locations of junction boxes for access.
- Mount boxes securely to studs or structural surfaces.
- Follow minimum size requirements per NEC.
2. Running and Securing the Cable
- Run cables between boxes according to plan.
- Staple cables at regular intervals according to code.
- Leave extra slack at boxes for connections.
3. Making Wire Connections
- Strip insulation properly without damaging conductors.
- Make tightly twisted connections with wire nuts.
- Follow color coding standards for hot, neutral, ground.
4. Installing the Breakers and Devices
- Mount breakers in the panel per the layout.
- Connect wires securely to devices like receptacles and switches.
- Label all circuits clearly on breakers and devices.
Work systematically from the breaker panel outwards to install each run and connection. Take photographs along the way to document the wiring.
Testing and Troubleshooting Your Work
Once the basic wiring installation is complete, it's critical to thoroughly test your work and troubleshoot any issues, including:
-
Visual inspection - Check for loose connections, pinched wires, improper gaps or insulation.
-
Voltage testing - Verify power and ground at outlets and devices.
-
Current testing - Use clamp meter to check for overload on circuits.
-
Function testing - Confirm proper operation of devices like switches and GFCIs.
-
Continuity testing - Check for continuity or open wires.
Finding and correcting issues now can prevent electrical fires or shock hazards down the road. Be meticulous in your testing before completing drywall or finishes.
Final Touches and Turning Power Back On
Once you've confirmed through testing that all wiring is properly connected and functioning safely:
-
Install wall or ceiling covers and insulation as required.
-
Caution light - Initially turn on breaker with a warning light plugged in to confirm power before using.
-
Permanent power - Remove warning light and turn breaker on fully to energize circuit.
-
Inspection - Call the electrical inspector to have your work reviewed and approved.
Take time to clean up properly, store materials safely, and discard excess wiring scraps which could cause shorts. Your meticulous electrical wiring skills will power your home safely for decades to come!