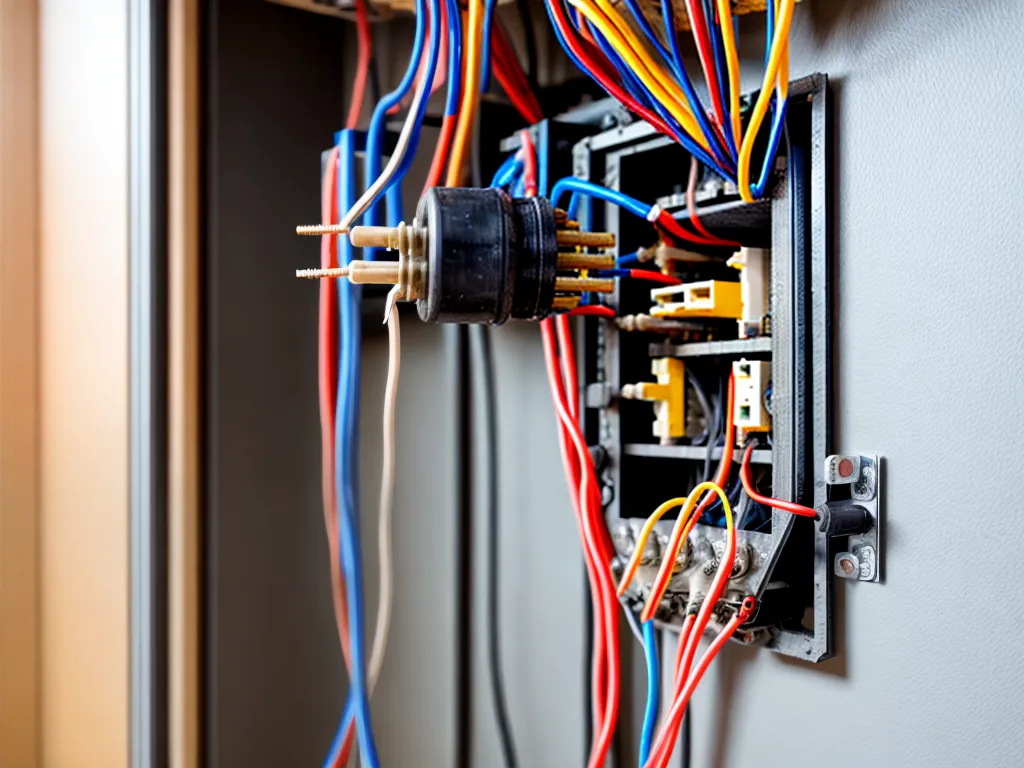
What is Knob and Tube Wiring?
Knob and tube (K&T) wiring was an early standardized method of electrical wiring used in buildings in Canada and the United States from about 1880 to the 1940s. It consisted of single insulated copper conductors run within wall cavities, passing through joists and studs. Porcelain knobs mounted on the framing supported the wires along straight sections while porcelain tubes protected wires where they passed through framing members.
K&T wiring has largely been replaced by newer types of insulated home electrical wiring, including non-metallic sheathed cables and plastic insulated wires, due to the substantial improvements in electrical safety. However, some older homes still contain functioning knob and tube circuits.
Reasons to Install New K&T Wiring
There are a few reasons why you may need or want to install new knob and tube wiring today:
-
Historic preservation - If you own a historical building and want to preserve original K&T wiring for aesthetic reasons. New installation must comply with local building codes.
-
Limited budget - K&T wiring is less expensive than modern wiring methods. However, very few electrical inspectors will approve new installations.
-
Inaccessible areas - Repurposing existing wall cavities and framing may be easier with K&T wiring versus installing modern cables.
In most cases, installing new K&T wiring is not recommended due to safety concerns and code restrictions. Always consult local building codes before beginning any electrical project.
Dangers and Downsides of Knob and Tube Wiring
While K&T wiring was a major improvement over previous wiring methods when initially introduced, it has some drawbacks compared to modern electrical systems:
-
Fire hazard - Insulation materials have improved greatly since the 1940s. Old, cracked K&T wire insulation can expose bare conductors to adjacent flammable materials.
-
Unsafe wiring practices - Early K&T systems often used improper splicing methods and did not include safety devices like circuit breakers.
-
Inadequate grounding - K&T wiring lacks a continuous equipment grounding conductor. This can be unsafe for occupants and devices.
-
Overloaded circuits - Early wiring was designed for fewer electrical devices. Adding modern loads can overheat undersized K&T circuits.
-
Difficult upgrades - Installing new circuits often means fishing cables through inaccessible wall and ceiling cavities rather than through open channels.
Planning Your K&T Wiring Project
If you've decided to take on a new knob and tube wiring installation, careful planning is required:
-
Research local building codes and verify K&T wiring is permitted for your intended use case. Most jurisdictions prohibit new installations.
-
Hire a licensed electrician if you lack the knowledge and experience to safely install electrical systems.
-
Select the correct wire gauge for your circuit amperage and length. Use only new, UL-listed K&T wire.
-
Choose porcelain knobs, tubes, and insulating materials rated for electrical use. Authentic antique hardware can be scarce and expensive.
-
Plan the wiring pathways through walls, ceilings, and floors. Avoid drilling unnecessary holes whenever possible.
-
Include junction boxes to house splices and connections. Position boxes conveniently for maintenance and replacements.
Step-by-Step Knob and Tube Wiring Installation
Once your project is thoroughly planned out, you're ready to install new K&T wiring:
Gather Supplies
You'll need the following tools and materials:
- UL-listed single-conductor copper wire in an appropriate gauge
- Porcelain knobs and tubes
- Staples, hangers, and fasteners
- Junction boxes
- Wire stripping tool
- Hammer
- Handsaw or drill
- Wood chisel
- Screwdriver
- Multimeter
- Ladder
Mount the Knobs
-
Measure and mark knob positions in the framing cavities, spaced according to code requirements (typically every 4 to 5 feet).
-
Predrill holes slightly smaller than the knob shanks. This allows a tight, secure fit when hammering them in.
-
Use a hammer to insert the knob shanks into the predrilled holes. Leave the wired portion exposed within the cavity.
Install the Tubes
-
Measure and mark tube locations where wiring must pass through framing members.
-
Chisel a channel into the framing for each tube, aligned with the wire path. Make it slightly wider than the tube diameter.
-
Fit the tubes into the channels. They should seat firmly without needing fasteners.
Run and Connect the Wires
-
Use the knobs and tubes to guide and support the wire through the planned path. Leave some slack.
-
At connection points, strip the ends using a wire stripper and attach wiring to devices or splices.
-
Verify safe and secure connections by gently tugging the wires. Poor connections can arc and overheat.
Inspect and Test the Circuits
-
Visually inspect all wiring for damage before energizing the circuit.
-
Turn on the power and use a multimeter to test voltage and polarity at outlets and devices.
-
Check for secure connections by wiggling splices and fittings. Faulty joints may need to be redone.
-
Fix any issues found before putting the system into service.
Safety Tips
- Turn off power at the main breaker before starting work. Verify it's deenergized.
- Only splice wires inside approved junction boxes. Never make open connections.
- Use extreme caution when working near live knob and tube wiring.
Replacing original knob and tube wiring requires knowledge, skill, and scrupulous attention to safety. Always consult the appropriate electrical codes and wiring standards for your region before attempting any installations. Hiring a professional electrician is highly recommended.