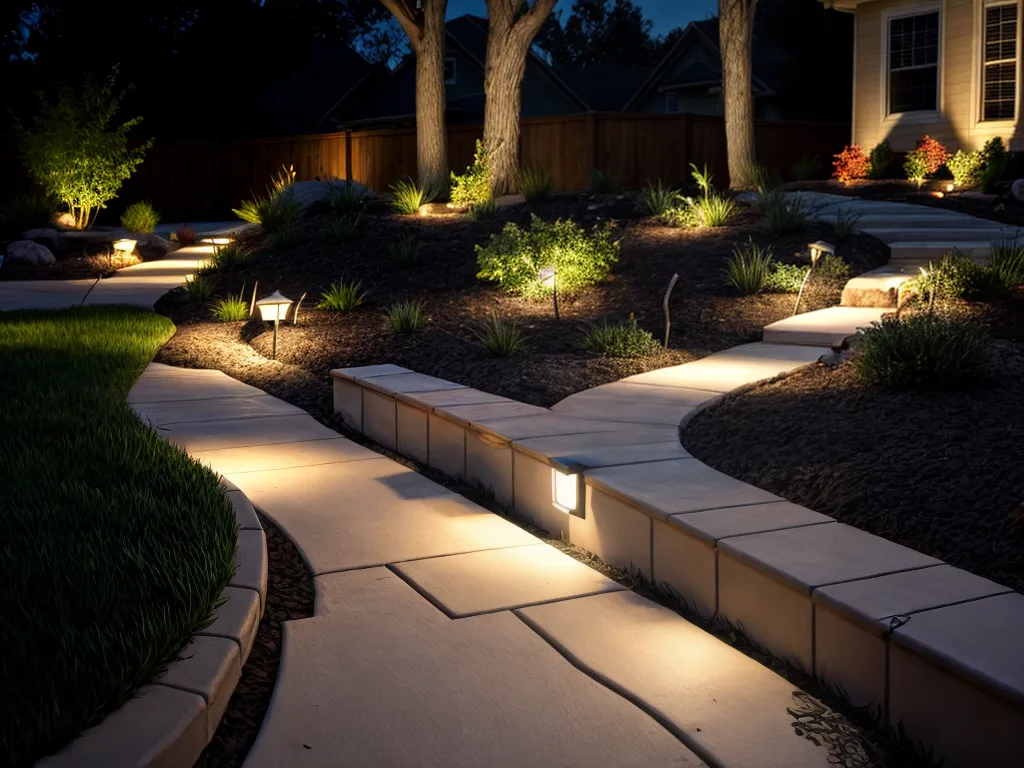
Installing underground low-voltage landscape lighting can add beauty and safety to your outdoor space. With the right planning and materials, I can install a low-voltage lighting system myself without too much difficulty.
Develop a Landscape Lighting Plan
The first step is to decide where I want to place landscape lights and what areas I want to illuminate. I need to consider:
-
Accent lighting: Use spotlights or floodlights to highlight focal points like trees, statues, or architectural features.
-
Path lighting: Light walkways and paths to improve visibility and safety.
-
Area lighting: Brighten up larger areas like patios, gardens, or yards.
I should create a simple lighting plan that shows the location of each light fixture. Measure the area carefully and indicate where electrical wires will connect to the transformer and light fixtures.
Choose Low-Voltage Lighting Components
Low-voltage landscape lighting systems run on 12V or 24V power instead of the 120V power in your home. This makes installation safer. I'll need to purchase:
-
Transformer: Converts high-voltage power to low voltage. Size it according to the number and wattage of lights.
-
Light fixtures: Choose spotlights, floodlights, path lights, etc. LED lights last the longest.
-
Wiring: Outdoor-rated, low-voltage landscape wire. Get the length needed for your plan.
-
Timer: An automatic timer turns the system on/off on a schedule. Get a waterproof timer designed for outdoor use.
-
Accessories: Things like light mounts, wire connectors, cable staples, etc.
Purchase high quality, outdoor-rated components designed to last.
Layout the Lighting System
I'll need to carefully layout where all the components of the lighting system will go:
-
Transformer: Place this within reach of an outdoor electrical outlet. Ensure it's in a sheltered spot or install it in a waterproof housing.
-
Lights: Position the fixtures where your lighting plan indicates. Outline the locations with spray paint or stakes.
-
Wiring: Map the wiring runs between the transformer, lights, and timer. Leave slack for adjustments.
-
Timer: Choose an accessible location protected from weather. Near the transformer is ideal.
Think about how you'll dig trenches for wiring and conceal components for a clean look. Call 811 before digging to avoid hitting underground utility lines!
Install the Landscape Lighting System
With everything laid out, I'm ready to install:
-
Lights: Dig holes for light fixtures. Place lights and secure with mounting stakes or hardware.
-
Wiring: Dig trenches (6-12 inches deep). Lay wiring and conceal with ground cover or PVC conduit for protection.
-
Transformer: Mount the transformer to a wall or other secure surface.
-
Timer: Mount the timer according to manufacturer instructions. Connect to the transformer.
-
Connections: Use gel-filled wire connectors to connect all low-voltage wires as per your lighting plan. Seal connections to prevent moisture damage.
Make sure all wiring connections are tight and insulated properly. Test lights as you go to confirm proper installation.
Troubleshooting and Maintenance
It's important to provide ongoing maintenance to maximize the lifespan of your landscape lighting system:
-
Inspect: Check light fixtures and wiring seasonally for damage. Replace bulbs as needed.
-
Test: Confirm lights and timer work properly. Check circuits for faults.
-
Adjust: Redirect or reposition lights over time to optimize lighting effects.
-
Clean: Use a damp cloth to clean external fixtures and lenses.
-
Seal: Reseal any cracked gel connectors or degraded insulation.
With regular maintenance, an underground low-voltage system can provide years of attractive and hassle-free landscape lighting!
Proper planning and following safety precautions will enable me to successfully install a low-voltage lighting system to enhance my outdoor space. Taking my time to lay out components and making well-sealed connections will ensure optimal performance and longevity. With some regular upkeep, I'll be able to enjoy dramatic and reliable landscape lighting for years to come.