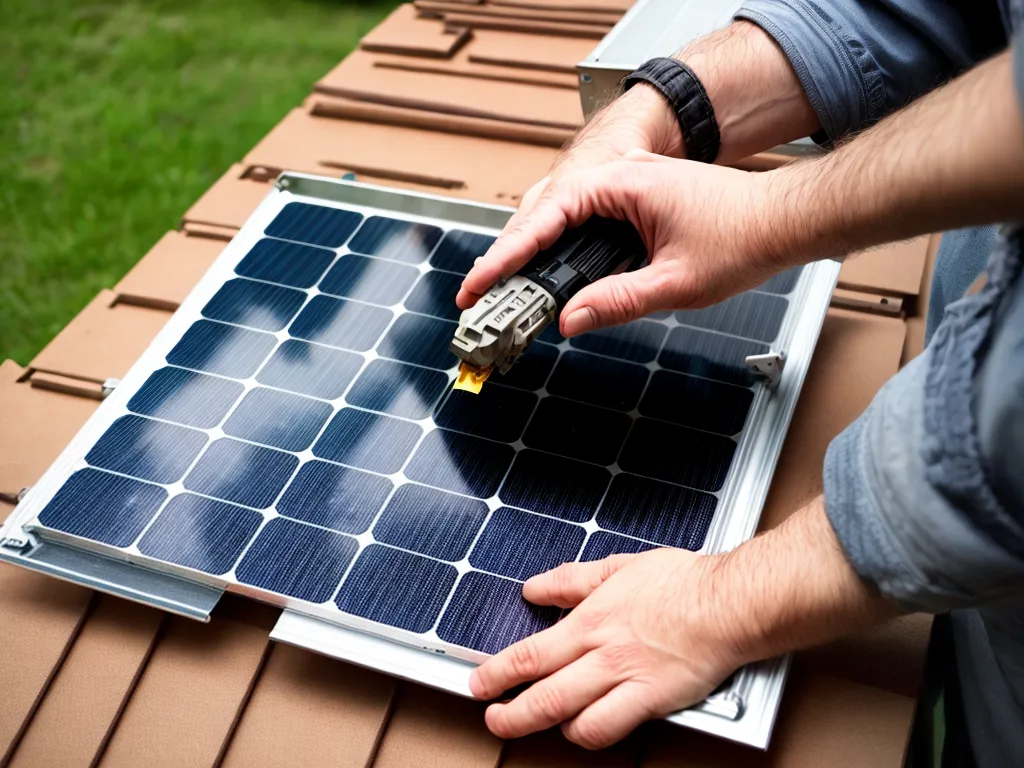
Making your own solar panels from scrap materials can be a fun and rewarding project. With some basic materials and tools, you can build a small solar panel capable of generating usable electricity. This guide will walk you through the process step-by-step from start to finish.
Gather the Necessary Materials
The core components needed to make a simple solar panel are photovoltaic cells, a protective covering, wires, and a frame. Here's what you'll need to gather:
-
Photovoltaic cells - The PV cells are the main active component that actually converts sunlight into electricity. You can salvage these from broken solar garden lights, battery chargers, or calculators. Target cells rated around 0.5V or higher.
-
Protective covering - Clear plastic sheets, acrylic glass, or even recycled window glass can be used to cover and protect the PV cells.
-
Wires - You'll need sufficient lengths of insulated copper wiring for connecting the cells together. Scavenge from old appliances or electronics.
-
Frame - This provides structure and rigidity for the finished panel. Wood strips, plastic or metal lattice, and picture frames are some ideas.
-
Soldering iron - Used for connecting the cells and wires together electrically.
-
Silicone caulk - Acts as an adhesive and waterproofer between the cells and plastic covering.
Optional items that are handy but not essential include tin snips for cutting and shaping metal framing, wood glue or epoxy for the frame, and a multimeter to test the electrical output.
Design and Layout
Once you've gathered the components, the next step is planning the panel layout. Some guidelines:
-
Arrange the PV cells in a matrix, spacing them evenly to fit the frame size. Group cells with similar current ratings together.
-
Wire cells in series to increase voltage. Parallel connections boost current. Experiment to get the desired output.
-
Ensure cells do not cast shadows on each other, especially if spaced unevenly.
-
Leave room at edges for electrical connections and mounting.
-
Maximize use of available space to increase power output.
Sketch various layouts on paper first. Having a neat, organized wiring scheme makes assembly much easier.
Wire and Solder the Connections
With the layout complete, it's time to wire up the cells and solder the connections:
-
Begin by soldering the cells together in series as dictated by the layout, taking care not to overheat them.
-
Connect the ends of the cell chains to positive and negative bus wires running to the terminal wires.
-
Use adequate wire gauges to minimize resistive losses, e.g. 16 AWG and up. Insulate if necessary.
-
Apply electrical tape over solder joints for insulation and mechanical strength.
-
Double check polarity of all connections before proceeding. Wiring mistakes can destroy cells.
-
Attach terminal wires to the bus wires, extending them out the back of the panel.
-
Test with a multimeter to confirm cell voltages are summed correctly.
Proper soldering technique and insulated tools are important when working with electricity. Working methodically from cell to cell helps avoid errors.
Assemble the Enclosure
The wired cell matrix must now be sealed and protected within the panel enclosure:
-
Cut transparent plastic to match the dimensions of the frame using a sheet material like acrylic.
-
Drill small holes in the frame corners for mounting and wiring.
-
Mount the frame together using corner brackets, wood/epoxy glue, or silicone.
-
Lay the cell matrix into the frame, then adhere the plastic cover on top with silicone caulk.
-
Press the cover down firmly to seal the panel and ensure good optical coupling without air gaps.
-
Run the wires through one of the back holes and seal with silicone.
-
Allow caulk to fully cure before continuing. The enclosure protects the cells and wiring.
Add Finishing Touches
To complete the solar panel:
-
Attach suitable mounting hardware to the back like keyhole hangers, grommets or screws.
-
Consider adding a plexiglass top layer for extra impact protection and improved weather sealing.
-
Label wires with "+" and "-" to identify polarity for safe connections.
-
Test with a multimeter to confirm the panel works and delivers expected voltage.
-
Add brackets or a stand to angle the panel towards the sun if desired.
Your scrap solar panel can now be mounted outside to harvest free energy from the sun! Start small then build bigger panels to power all kinds of devices.
Usage Tips and Safety
Here are some usage tips and precautions when working with homebuilt solar panels:
-
Check local electrical codes for any restrictions on DIY solar devices.
-
Use protective eyewear and gloves when soldering. Molten solder can cause burns.
-
Generate more power by connecting panels together in parallel.
-
Use charge controllers and batteries to regulate and store power.
-
Underload conditions can damage panels - add load resistors if needed.
-
Properly cover and insulate panel terminals to prevent shock hazard.
-
Adhere to the electrical ratings of cells, wires and connections.
-
Avoid shading - clean off any dirt or debris regularly.
Scrap solar panels are a fun way to learn about photovoltaics hands-on and generate green electricity. Follow safety guidelines when working with electricity. Position your panels to maximize sun exposure and let the free energy flow!