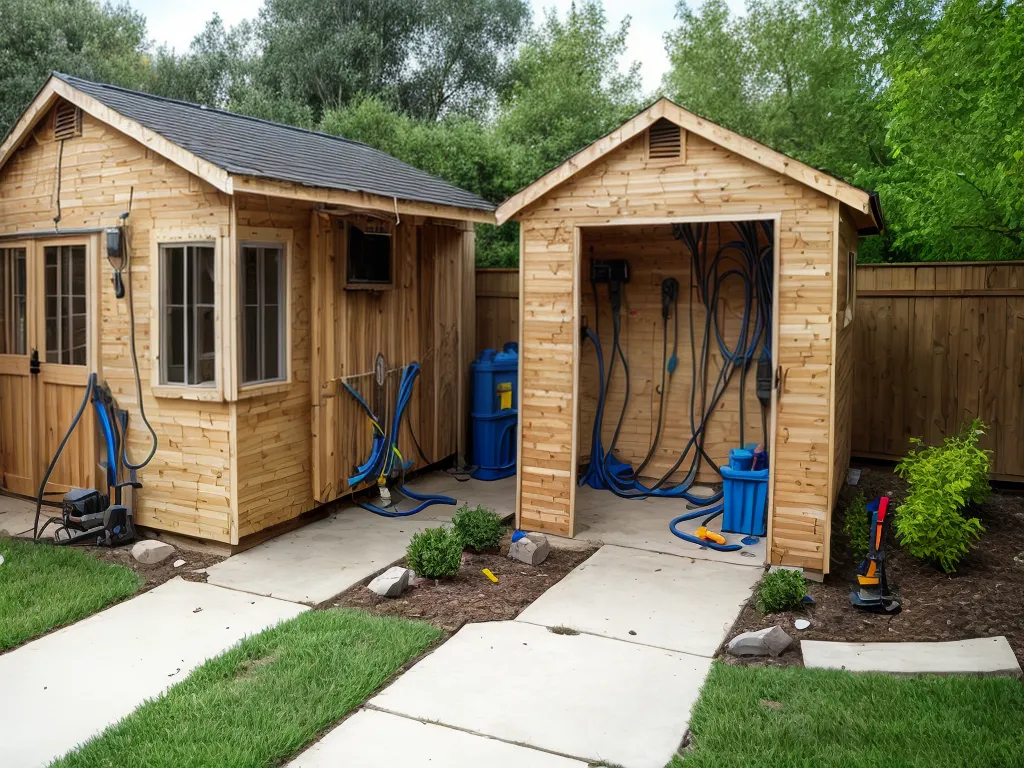
How to Repair Old Electrical Wiring in Your Backyard Shed
Repairing the old electrical wiring in your backyard shed can seem like a daunting task. However, with some basic knowledge of electrical systems and the right tools, a DIY shed rewiring project is totally manageable. Here is a step-by-step guide on how to safely repair old electrical wiring in your backyard shed.
H1: Assess the Existing Electrical System
The first step is to assess the existing electrical wiring in your shed to identify any potential hazards or code violations.
-
Check the wire insulation for any cracks, fraying or exposure. Damaged insulation can lead to shorts, shocks or fires. Replace any questionable wiring.
-
Inspect connections and splices. They should be secure and contained in electrical boxes. Exposed connections can short and cause sparks.
-
Look for proper grounding. There should be a ground wire connected to metal boxes, fixtures and equipment. Ungrounded systems are unsafe.
-
Note the wire gauges. Wiring that is too small for the electrical load can overheat. #12 AWG is the minimum for 15-20 amp circuits.
-
Check for GFCI protection near water sources like exterior outlets. GFCIs prevent shocks.
Document any issues to be addressed in the rewiring project. Taking photos can help too. Safety should be the top priority.
H2: Develop a Rewiring Plan
Once you have assessed the electrical defects, the next step is to develop a plan for the shed rewiring project.
-
Consider layout changes you want to make. This will determine new wiring and box locations.
-
Choose appropriate wire sizes for lighting and receptacle circuits. #12 AWG can handle most 15 amp shed loads.
-
Select updated boxes and devices like GFCIs. Check local codes for any requirements.
-
Obtain necessary supplies like wire, boxes, outlets, switches and tools. Make sure you have everything you need.
-
Develop a logical sequence for the rewiring to minimize downtime without power. Safety first though.
-
Consider permits and inspections. Your city may require these for shed electrical work. Check with your local building department.
Having a well-thought-out plan will ensure an organized, seamless shed rewiring project.
H2: Turn Off Power and Remove Old Wiring
Before starting the new wiring installation, the power must be disconnected at the circuit breaker.
-
Turn off the breaker supplying the shed. Use a contact voltage tester to confirm power is off.
-
Remove light bulbs and cover switches/outlets. This prevents accidental contact when hot.
-
Take down existing wiring and boxes. Removing the old materials will provide a clean slate for new wiring.
-
Inspect the condition of any hidden wiring in walls, under flooring, etc. Replace as needed.
-
Collect old lighting fixtures or equipment to re-use if still in good shape. Properly dispose of any unusable wiring.
Rendering the shed circuits dead is a critical first step for personal safety. Proceed with removal once power is confirmed off.
H2: Install New Electrical Boxes and Wiring
With the old wiring cleared out, it's now time to install the new electrical system components.
-
Mount new electrical boxes for lighting, receptacles, switches, etc. Follow box fill limits for the number of wires.
-
Run wire between boxes. Clamp neatly with staples but avoid overtightening. Use nail plates when passing through studs.
-
Make wire connections using proper techniques like wire nuts or crimp splices. Securely connect ground wires.
-
Label wires with tape to identify the circuit they belong to. This avoids mixups.
-
Test wires with a multimeter to confirm no shorts are present before re-energizing.
Take care to size boxes properly and make tight connections. This ensures a safe, reliable shed wiring installation.
H2: Install Switches, Lights and Devices
The completion steps involve installing the components that connect to the new wiring system.
-
Mount switches and receptacles in boxes and connect wires securely to terminals. Follow manufacturer instructions.
-
Install interior and exterior lighting fixtures. Make sure bulbs match voltage and wattage ratings.
-
Connect appliances, outlets or hardwired equipment according to instructions. Use GFCI protection near water sources.
-
Attach cover plates to all boxes to protect wiring. Install light globes and covers.
-
Add labels to identify circuits at the breaker panel. This makes shutoff easier for safety.
With devices, lights and equipment connected, the shed rewiring project is nearing completion.
H2: Restore Power and Test
The final steps are to turn the power back on and test operation. This verifies a safe, functional shed electrical system.
-
Close breaker to restore power one circuit at a time. Check for proper function of lights, outlets, appliances, etc.
-
Inspect for safe connections with no exposed conductors. Also check for hot wires or loose connections using an infrared thermometer.
-
Test GFCI outlets by pressing the "test" and "reset" buttons according to instructions. The reset should restore power.
-
Verify adequate grounding using a circuit tester with ground indication. Three proper lights should illuminate.
-
Consult an electrician if there are any remaining issues. They can inspect and resolve problems.
Thorough testing provides assurance the DIY shed rewiring was successful and hazard-free. Enjoy your revitalized backyard workspace!