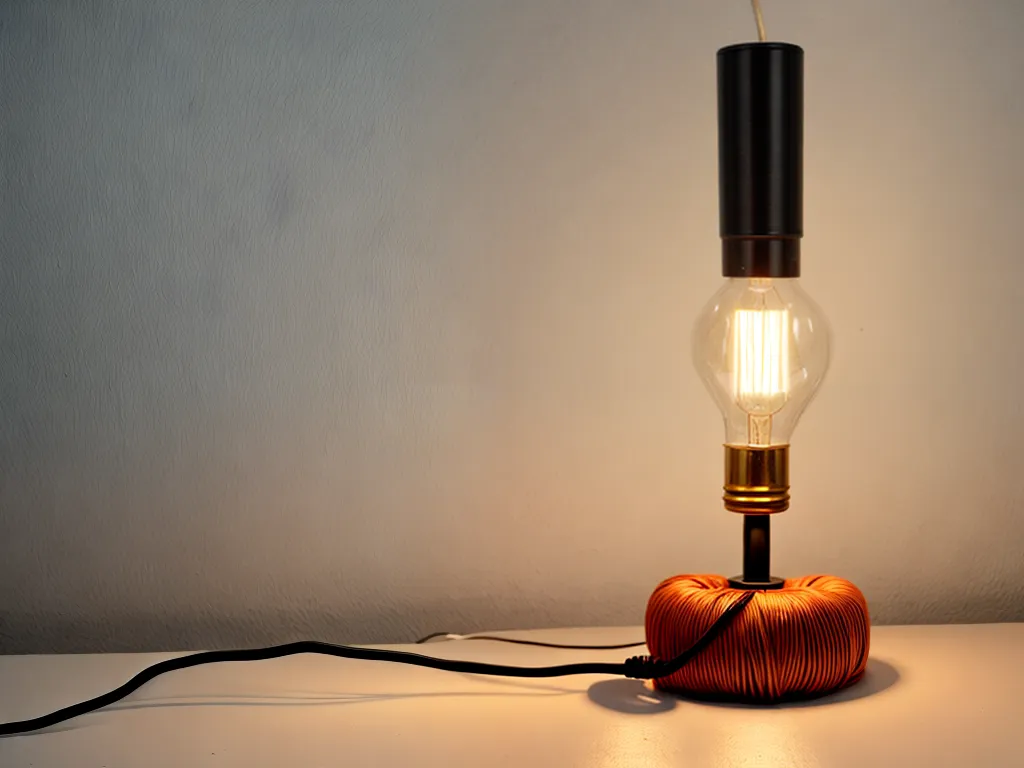
How to Repair Old Lamp Cord
Introduction
Replacing an old, worn out lamp cord can extend the life of a treasured lamp and make it safer to use. While rewiring a lamp is not difficult, it does require some basic skills and tools. In this guide, I will walk through the complete process of repairing an old lamp cord step-by-step.
Assess the Damage
Before beginning any repairs, I need to carefully examine the existing cord and determine why it needs to be replaced. Here are some common reasons lamp cords fail:
-
Fraying or exposed wires - This is very dangerous and the lamp should not be used until the cord is replaced. Exposed wires can deliver a serious shock.
-
Cracks or damage to the cord's insulation - Any cracks or damage that reveal the inner wires indicate the cord needs to be replaced. Damaged insulation can lead to shorts.
-
Loose connections - If the cord is loose where it connects to the socket or base, this can cause wires to disconnect and stop working.
-
Brittleness - An old dried out and stiff cord can crack over time. It's best to replace it before any damage occurs.
I'll inspect the length of the cord for all these potential issues. If I find any, I'll proceed with the rewiring steps below.
Gather Materials and Tools
Replacing a lamp cord is a simple project, but I'll need a few supplies:
- Replacement lamp cord kit (matched to lamp voltage)
- Wire cutters/strippers
- Needle nose pliers
- Electrical tape
- Screwdriver
I'll want to get a replacement cord that matches the gauge and length of the original. Lamp cord kits can be found at most hardware stores and come with detailed instructions.
Disconnect the Old Cord
Before installing the new cord, I need to disconnect and remove the old one:
- Unplug the lamp! This ensures no current is flowing during repairs.
- Use a screwdriver to detach the cord from the base of the lamp. There are usually just a couple short screws.
- Remove the old cord by pulling it out of the base. Make note of how it was threaded through for reassembly.
- Snip the cord near the lamp socket and pull it out completely.
With the old cord removed, I can now focus on installing the new replacement cord.
Prepare the New Cord
The new lamp cord will have three internal wires - a neutral, hot, and ground wire. Here are the steps to prepare the wires:
- Use wire strippers to remove 3/4" of insulation from the end of each wire.
- Use needle nose pliers to twist the wire strands tight. This ensures a good connection.
- Trim away any stray wire strands and insulate the ends with electrical tape. This prevents shorts.
Repeat these steps for both ends of the new cord.
Install the New Cord
It's now time to install the fresh cord through the base and reconnect everything:
- Feed the new cord through the lamp base as the old one was threaded. Leave plenty of slack.
- Reconnect the hot, neutral, and ground wires to the terminals on the lamp socket. Double check connections are tight.
- Secure the new cord with the screwdriver and screws at the base. Verify no bare wire is exposed.
- Use wire nuts to cap all connections with a final layer of electrical tape. This prevents any wires from touching.
- Restore power and test that the lamp works properly before reassembling the base.
Taking the time to properly connect and insulate all wires gives the lamp a safer and longer lasting repair.
Safety Tips
When working with electrical repairs, following basic safety measures is very important:
- Turn off power at the breaker before starting work. Verify power is off!
- Use gloves and eye protection when stripping or cutting wires.
- Keep children and pets away from any exposed wires or the work area.
- Double check all screw connections are tight and no bare wire is exposed.
- Do not overload the cord. Use an appropriate wattage bulb.
- Coil excess cord safely inside base to avoid tripping hazards.
Taking simple precautions greatly improves electrical safety when repairing old lamps.
Conclusion
Replacing an outdated lamp cord is a straightforward process that can give an older lamp new life. By methodically assessing the damage, gathering the right materials, safely removing the old cord, prepping and connecting the new wires, and verifying proper function, I can complete this repair successfully. Paying close attention to each step results in a safely wired lamp that's ready to light up for years to come.