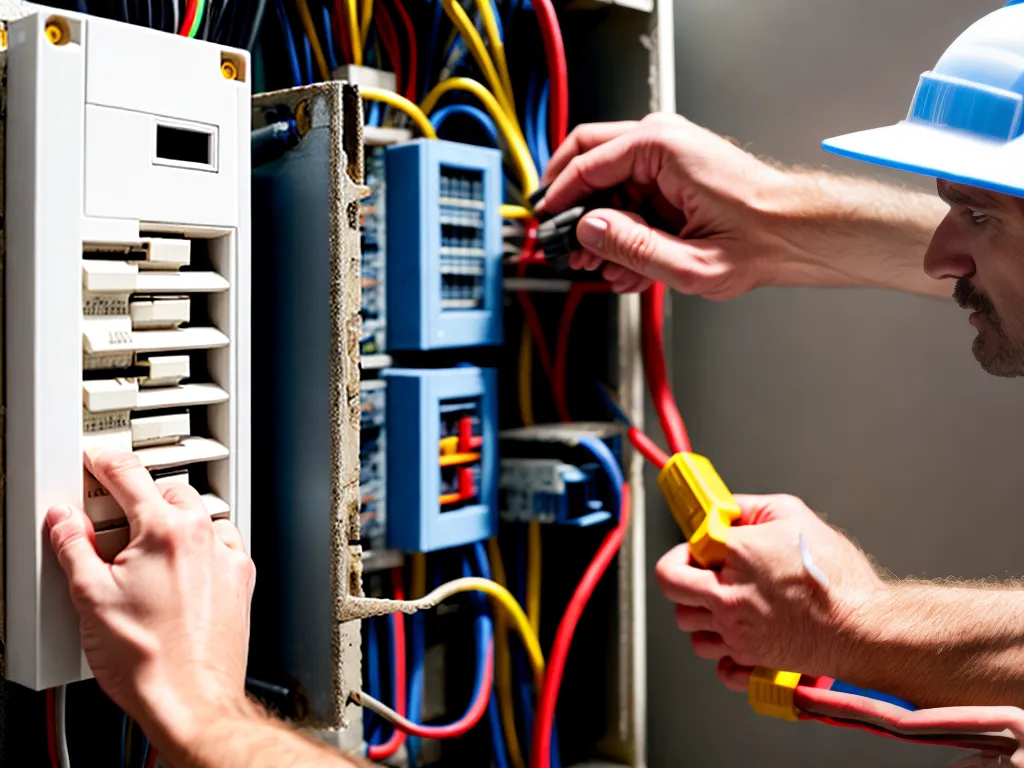
How to Replace a Bad Breaker in Your Electrical Panel
Replacing a faulty circuit breaker is an important electrical repair that homeowners should know how to do safely. With some basic safety knowledge, the right tools, and by following key steps, you can swap out a bad breaker yourself. Here is a comprehensive guide on how to replace a breaker in your home's electrical panel.
Safety Precautions When Working with Electrical Panels
When working inside your home's electrical panel, safety should always be your top concern. Electrical shocks and electrocution are real risks. Follow these safety measures:
- Turn off the main circuit breaker. This isolates your panel's circuits and reduces the risk of shock.
- Verify the power is off. Test outlets and switches to confirm the electricity is off before working.
- Wear insulated gloves. Use thick rubber gloves rated for electrical work.
- Use insulated tools. Choose tools with insulated grips and avoid metallic tools which can conduct electricity.
- Avoid jewelry. Remove all rings, watches, bracelets to prevent accidental contact with live circuitry.
- Keep your workspace dry. Never work in damp conditions as water is an electricity conductor.
Following proper safety protocols is crucial when replacing a breaker yourself. It's also advisable to have someone present in case of an emergency when working in your electrical panel.
How to Identify the Faulty Breaker
Before replacing a breaker, you need to determine which specific one is causing issues. Here are ways to pinpoint the problematic circuit breaker:
- Tripped breaker: Check for a switch in the OFF position. This likely indicates the faulty breaker.
- Loose wire connection: Inspect wire terminal screws for looseness which can cause tripping.
- Overloaded circuit: If certain outlets/lights repeatedly trip a breaker, it may be overloaded.
- No power to circuit: Use a multimeter to trace circuits with no power back to their breaker.
- Signs of overheating: Look for discolored, warm, or buzzing breakers which should be replaced.
Once you've identified the malfunctioning breaker, it's time to replace it. Make sure the main breaker is OFF for safety.
Choosing the Replacement Breaker
When selecting a new circuit breaker, you need the correct amperage rating and size:
- Match amperage: The amp rating must match the faulty breaker to avoid overloading.
- Check breaker style: Breakers come in different styles - ensure the replacement matches your panel.
- Match pole configuration: Replace single pole breakers with single pole, double pole with double pole.
- Match wire size: Larger wire gauge may need a breaker with a higher amperage rating.
- Check code compliance: Choose a replacement breaker approved for residential electrical panels.
Consult your panel's labeling and your home's electrical documentation to select the properly rated replacement breaker. Getting one with matched specifications is vital for safety.
Step-by-Step Breaker Replacement Procedure
Once you have the correctly rated new breaker, follow these key steps to safely replace the faulty unit:
1. Turn Off Electricity and Verify
Shut off the main breaker then confirm power is off before starting work. Test outlets to be double sure.
2. Remove Old Breaker
Unscrew the retention screw holding the faulty breaker in place. Grip its handle firmly and pull straight out to remove it.
3. Install New Breaker
Align the new breaker with the panel slots and gently push it into place until fully seated. Do not force it.
4. Connect Wires
Use a screwdriver to securely fasten the circuit wires to the new breaker's terminals. Refer to its labeling.
5. Secure New Breaker
Tighten the retention screw to firmly fix the replacement breaker into the panel. Do not over tighten.
6. Restore Power
With the work complete, turn the main breaker back on to restore electricity to the panel.
Carefully follow each step and use proper safety gear. Take your time and don't rush the process. With patience and caution, you can swap a bad breaker for a functioning one.
Testing the Newly Installed Breaker
Once installed, test the new breaker to verify normal operation:
- Reset any tripped circuits on the breaker.
- Check for secure wire connections.
- Test outlets and lights on the replaced circuit to confirm power restoration.
- Make sure the breaker switch toggles smoothly between ON and OFF.
- Listen and feel for any buzzing or excessive heat which may indicate issues.
If you encounter any problems, refer back to the installation steps to check for errors. The new breaker should operate properly, power its circuit, and feel cool to the touch during testing.
Replacing a faulty breaker requires safety awareness but is a doable DIY electrical task. Arm yourself with the right knowledge and tools ahead of time. Adhere to all precautions when working in the panel. With care and attention to detail, you can carry out a breaker replacement yourself and save the cost of an electrician service call.