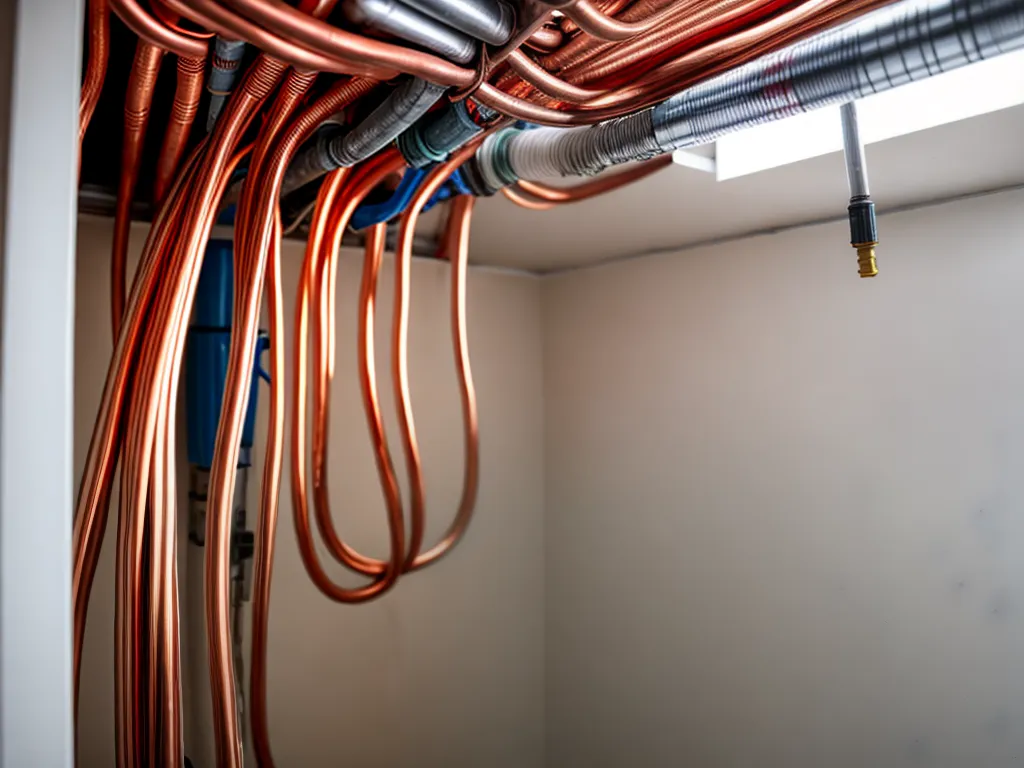
How to Replace Old Copper Wiring with PEX Piping
I recently decided to replace the old copper plumbing in my home with new PEX piping. This turned out to be a big project, but worth it to get rid of leaks and improve water flow. Here's how I did it.
Gather Materials and Tools
The first step is getting everything you need for the job. Here's what I purchased:
- PEX tubing in various diameters (1/2 inch, 3/4 inch)
- PEX elbows, T's, adapters, couplings, end caps
- PEX crimp rings and crimp tool
- PEX pipe cutter
- Sharkbite push-to-connect fittings
- Deburring tool
- Tubing hanger straps
- Plumbing putty
- Flashlight
- safety goggles
In addition to new PEX materials, you'll need basic plumbing tools like wrenches, a hacksaw, flashlight, buckets, and towels. Having a helper makes things go much faster too.
Locate Water Shutoff and Drain Pipes
Before removing any old copper, you need to shut off the main water supply to the house. This is usually located near the front of the house where the water line comes in.
Turning the valve clockwise until it stops shuts off water. Test by opening a faucet to make sure water is off.
Also locate the main drain pipe where all waste water drains out of the house. You may need to drain pipes as you remove old copper fittings. Place buckets underneath to catch water.
Map Out PEX Layout
Before cutting into walls, map out where you want the new PEX runs located. Measure and sketch drawings of:
- Main hot and cold supply lines
- Branch lines to fixtures
- Pipe diameters needed
Decide if PEX will be exposed, run through walls/attic, or under floors. This affects the amount of PEX and fittings needed.
Remove Old Copper Pipes
Now the dirty work begins! Start by cutting out sections of old copper pipe with a hacksaw. Remove any plastic or metal fittings.
Place buckets under cut pipes to catch water draining out. Remove pipe hangers or straps as you go.
Deburr the ends of any remaining copper pipe with a deburring tool so they are smooth.
Install PEX Manifold
The PEX manifold connects the main water supply to all the outlet PEX tubing runs. Install it near the main water shutoff valve.
Measure space needed and hold manifold in place. Mark mounting holes and drill pilot holes. Attach manifold to studs with screws.
Use push-to-connect fittings to link water supply to manifold inlet. Attach outlet tubing runs starting closest to manifold.
Run PEX Tubing
Measure PEX tubing needed for each run from manifold to fixtures. Cut tubes to length with PEX tubing cutter. Make clean, straight cuts.
Use hangers or straps to secure PEX lines every 32 inches along ceilings, walls, and floors. This supports the weight.
At connections, push PEX tubing into fittings or use crimp rings to secure. Crimp with crimp tool. Test for leaks.
Use elbows and T's to split tubing off to multiple fixtures. Slope tubing gradually to avoid low spots where water collects.
Insulate PEX tubing that is exposed to prevent freezing in cold climates. Use pre- slit insulation tubing.
Connect Fixtures
Where PEX tubing meets plumbing fixtures, install shutoff valves. This allows fixing leaks without shutting off main water.
Use push-to-connect fittings, sharkbite valves, or compression fittings to link PEX to fixtures. Make sure connections are tight.
If linking to existing copper pipe, use push-to-connect fittings or a coupling connector to join them. Verify there are no leaks.
Finally, attach any fixtures, replace access panels and covers, and turn main water back on once all PEX is installed and tested. Flush lines and check for leaks.
Tips for Success
Replacing old pipes is a big project, but it can be done DIY. Here are a few tips:
- Have a helper if possible - it goes much faster
- Label PEX lines and create a map for reference
- Take photos before removing any pipes to see how they were run
- Be patient - this takes time but is extremely satisfying when finished!
Let me know if you have any other questions! I'm happy to help with any part of the PEX installation process.