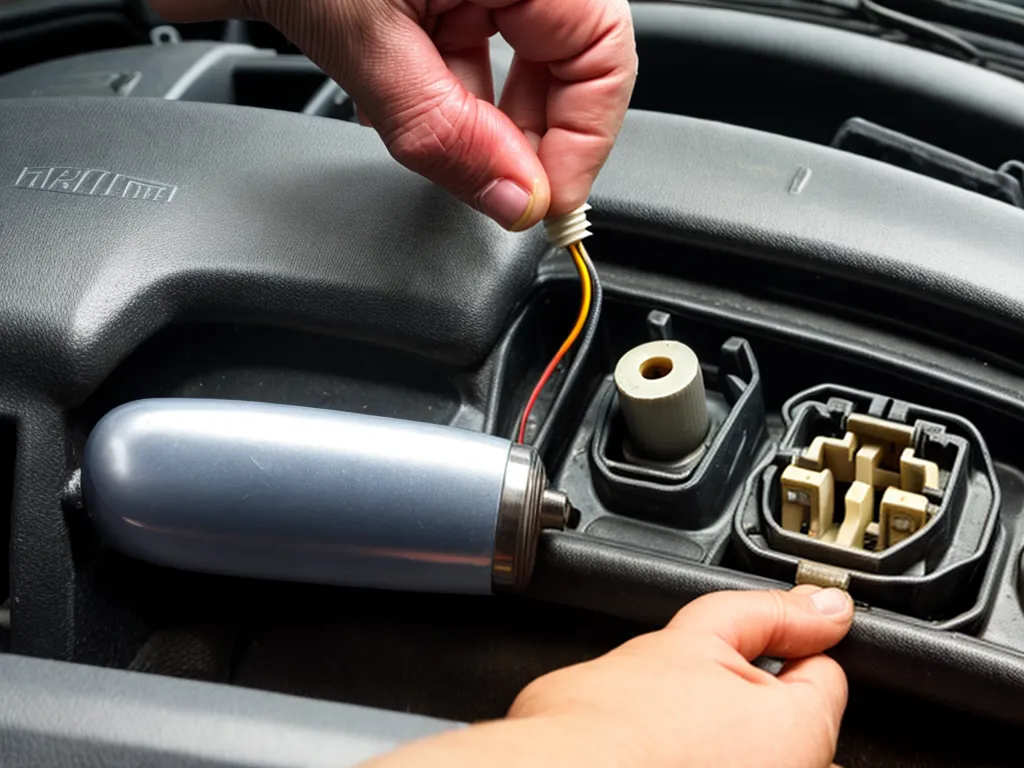
Introduction
Replacing the headlight switch in your 1997 Geo Metro is a straightforward repair that you can perform yourself in an afternoon. Over time, the contacts inside the headlight switch can wear out or get dirty, causing issues like flickering headlights or headlights that won't turn on at all. Replacing the switch will restore proper operation and only takes simple hand tools.
In this guide, I'll walk you through the entire process of removing the old headlight switch and installing a new one. I'll cover:
- Required tools and parts
- Locating and removing the headlight switch
- Installing the new headlight switch
- Testing operation
By following these steps and taking the proper safety precautions, you can replace your Geo Metro headlight switch and get your headlights working like new again.
Tools and Parts Needed
Replacing the headlight switch is a straightforward job, but you'll need a few basic tools and a new switch. Here's what you'll need:
- New headlight switch - Purchase an OEM replacement switch or aftermarket equivalent. Expect to pay $15-30.
- Philips screwdriver - To remove screws securing the lower dash panel.
- Needle nose pliers - Helps grip and maneuver the switch connectors.
- Flashlight - To see behind the dash area when removing the switch.
In addition to these tools, make sure you have gloves, eye protection, and other basic safety gear. It's also a good idea to disconnect the negative battery cable before beginning this repair.
Removing the Old Headlight Switch
With your tools gathered, you're ready to dive in and remove the old, faulty headlight switch:
Step 1: Remove Lower Dash Panel
The first step is to remove the lower dash panel to access the back of the headlight switch. Here's how:
- Open the driver's door.
- Using a Philips screwdriver, remove the two screws located under the steering column. These secure the lower dash panel.
- Pull down firmly on the lower dash panel to release the clips holding it in place. The panel should come free.
- Set the panel aside carefully.
Step 2: Disconnect Switch Connector
Once the lower dash panel is out of the way, you can access the headlight switch connector:
- Locate the headlight switch on the left side of the steering column.
- Follow the wires down from the switch to find the connector. It will have a locking tab.
- Press the tab and pull the connector free from the switch.
Step 3: Remove Mounting Screws
With the wiring disconnected, you can now detach the headlight switch from the steering column:
- Note that there are two mounting screws that hold the switch in place, one at the top and one at the bottom.
- Using your Philips screwdriver, remove both screws. Be careful not to drop them down below the dash.
- Carefully maneuver the switch out from behind the steering column. Move it up and over the column to remove it.
And with that, the old headlight switch is removed!
Installing the New Headlight Switch
With the faulty switch removed, it's time to install the new replacement unit:
Step 1: Position New Switch
- Locate the two screw holes on the back of the new headlight switch.
- Align these holes with the holes on the steering column where the old switch was mounted.
- Maneuver the new switch into position, being careful not to bend or damage any connector pins.
Step 2: Install Mounting Screws
Once the new switch is in position:
- Re-install the two mounting screws to secure the switch in place. Tighten them securely with your Philips screwdriver.
- Visually inspect to make sure the switch is firmly attached and not loose.
Step 3: Connect Switch Wiring
The last step is to reconnect the wiring:
- Plug the headlight switch connector back into the mating connector on the new switch. Make sure it clicks into place and locks.
- Carefully route the wiring back into place behind the dash. Avoid sharp bends or kinks.
- Reinstall the lower dash panel with the two screws. Make sure all clips are fully engaged.
And that's it - your new Geo Metro headlight switch is installed! Now it's time to test it out.
Testing the New Headlight Switch
Before considering the job complete, you need to test operation of the new switch:
- Reconnect the negative battery cable if you disconnected it earlier.
- Get in the driver's seat and turn the key to run (one position before starting).
- Flip the headlight switch through all of its positions - off, parking lights, headlights low and high beams.
- Verify that the proper lights activate in each position.
- Turn on the headlights and visually inspect that high and low beams are working.
- Test high beam flashing as well.
- If any issues, immediately turn the key off and re-check all connections.
If the new headlight switch operates properly through all positions, the repair is complete! Be sure to dispose of the old switch properly.
Conclusion
Replacing the worn out headlight switch in your 1997 Geo Metro isn't too difficult with some basic tools and the steps outlined in this guide. Taking your time and double checking all connections will result in a smooth installation. While it takes a little dash disassembly, the job can be accomplished in an afternoon. You'll save money doing it yourself too.
If you run into any issues during your Geo Metro headlight switch replacement, don't hesitate to consult a service manual or trusted mechanic. But following this guide closely should result in a successful repair. You'll be back on the road with a fully functioning headlight switch.