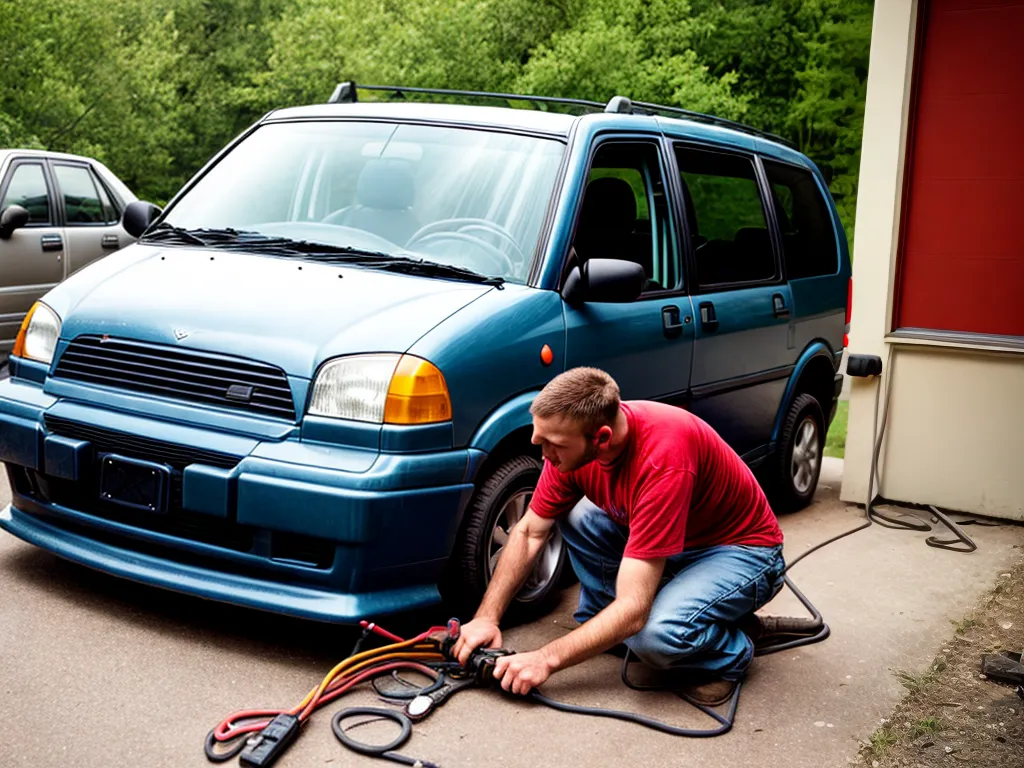
Rewiring a 20 year old minivan can seem like a daunting task, but with some preparation and the right tools, it can be done relatively easily by most car owners. Here is a comprehensive guide on how I rewired my 1998 Toyota Sienna to restore its electrical system and give it new life.
Assessing the Existing Wiring
The first step is to carefully inspect the existing wiring harness and electrical components. Check for:
- Fraying, cracked or damaged insulation on wires
- Corroded connections
- Burnt or melted areas indicating short circuits
- Faulty ground connections
Make notes on problem areas to repair or replace. ** faded brittle wiring must be replaced. Carefully removing trim panels provides access to inspect all wiring.**
Gathering the Right Materials
Wire
Use high quality, automotive-grade primary wire in the appropriate gauges. 16 or 14 AWG is suitable for most applications. Have multiple spools in different colors for easy circuit identification.
Terminals and Connectors
The vast majority of connections will use crimp connectors. Stock up on various connector sizes - both male and female ends. Weatherproof electrical tape will be useful for insulating crimped ends.
Fuses, Relays and Breakers
Mini blade fuses protect each circuit. Check the fuse ratings against wire gauges. Relays help higher draw items like headlights. Resettable circuit breakers are useful when circuits are overloaded.
Hand Tools
Here are some essential hand tools:
- Wire stripper
- Crimping tool
- Needle nose pliers
- Electrical tape
- Multimeter - for diagnosing faults
- Test light - for checking connectivity
Safety First
- Wear protective eyewear when working under the dash - debris can fall into eyes.
- Disconnect the battery before beginning any work.
- Take care around airbag components - do not rewire or disconnect them.
Rewiring Step-By-Step
With the right materials gathered, we can now begin the rewiring process:
1. Remove Old Wiring
- Take photos to reference wire routing. Label connectors.
- Remove trim panels to access all wires.
- Cut cable ties, electrical tape and carefully pull out the old harness.
2. Repair or Replace
- Inspect wires and replace brittle, cracked insulation with new wire.
- Rewrap any harness sections in protective loom or conduit.
- Solder and heat shrink any faulty connections or splices.
3. Install New Circuits
- Run fresh wires for new circuits like backup camera, remote start etc.
- Use separate conduit for these additions to protect them.
4. Connect to Components
- Carefully reconnect wiring to all components like lights, ignition etc.
- Double check connections to ensure terminals are fully seated.
5. Secure and Protect Wiring
- Use cable ties and wire loom to neatly route harness and prevent sagging.
- Ensure wires have adequate clearance from hot or moving components.
- Reinstall trim panels and secure wires behind them.
6. Perform Final Checks
- Reconnect battery and test all functions - signals, wipers, electronics etc.
- Start engine and test alternator recharge performance.
- Fix any remaining issues before driving.
With some patience and diligence, I was able to fully rewire my aging minivan to restore solid electrical function. The wiring is now neat, well-protected and designed to last many more years. Let me know in the comments if you need any help rewiring your own vehicle!