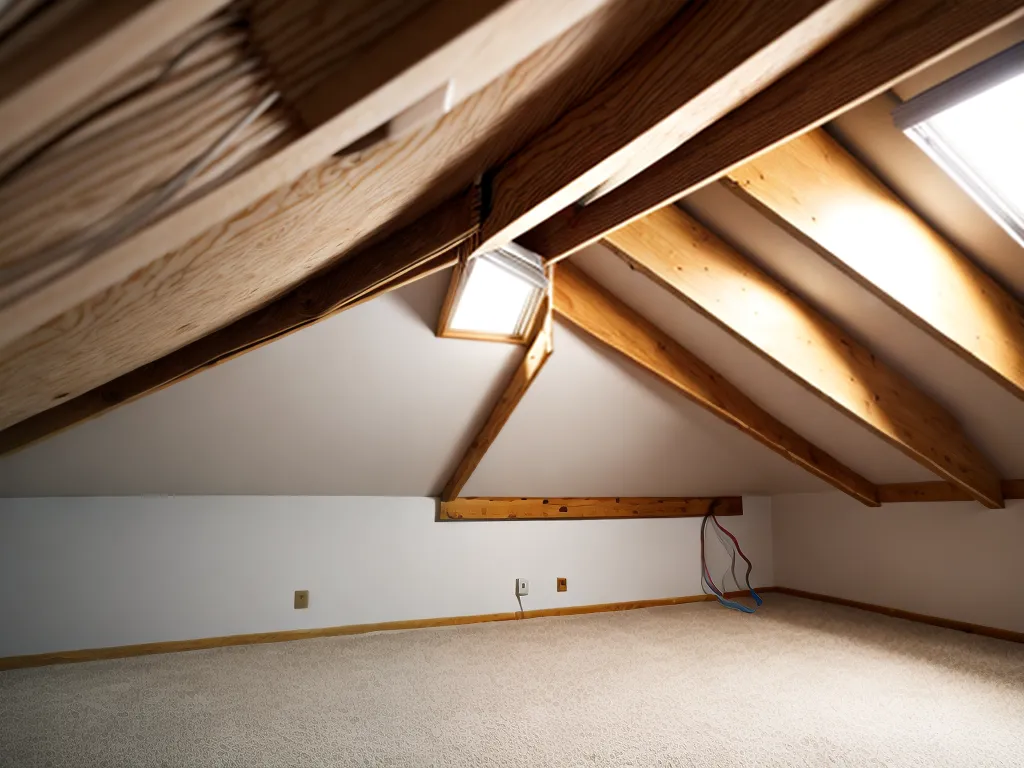
How to Run Low Voltage Wiring Through Your Attic
Introduction
Running low voltage wiring like ethernet, cable, or speaker wires through your attic can be a tricky task. An attic's insulation, framing, and limited accessibility can make fishing wires a challenge. However, with the right planning and materials, you can successfully run wires to add connectivity or speakers to another floor. Here is a step-by-step guide on how to run low voltage wiring through your attic.
Gather Materials and Tools
Before going up to the attic, gather the necessary materials and tools:
-
Low voltage wiring: Speaker wire, ethernet cable, coaxial cable, etc. Make sure you have enough length to span the distance you need to cover. Leave some extra.
-
Fish tape: A fish tape allows you to route cables through cavities and around obstacles.
-
Gloves: Wear gloves to protect your hands from insulation and splinters.
-
Knee pads: Knee pads will make crawling around more comfortable.
-
Headlamp: A headlamp frees up both hands to work.
-
Drill: For drilling access holes through top plates. A right angle drill is ideal.
-
Wood bit: For drilling through wood framing and top plates. Match bit size to holes or grommets.
-
Drywall saw: For cutting access holes in drywall if needed.
-
Ethernet wall plates or speaker terminals: To terminate the wiring connections.
Map the Route
Before climbing up to the attic, map out the route you want the wiring to take. Consider where the wires need to start and end on the upper and lower floors. Determine if you can access the top plates of the walls to feed wires straight down. Otherwise, plan a route along the perimeter of the attic near the soffits.
Mark stud locations on the ceiling below to identify framing to avoid drilling into. Having a route planned ahead of time makes fishing the wires easier.
Drill Access Holes
Drill access holes through top plates where you want wires to drop down to the room below. You may also need to cut holes in drywall on the attic side. Make holes centered between studs about 2 inches in diameter for low voltage cabling.
Use grommets or conduits in these holes to protect the wiring from the sharp wood edges. Feed lengths of wire through to connect later.
Fish the Wires
With access holes drilled, you can begin routing the wires through the attic following your planned path.
Use the fish tape to snake wires around obstructions like ducting or to pull wires up from below. Take advantage of spaces along plumbing vents or chimneys to run wiring if needed.
Avoid stepping directly on drywall or insulation and use caution around ductwork. Staple cables to exposed framing or use cable hangers to suspend and route wires above insulation.
Connect the Wiring
When the full length of wiring is pulled, feed the ends through the access holes to the rooms below. Allow some slack in the wiring.
On the lower floor, pull cables through and make connections. Insert speaker wires into terminals. Crimp ethernet connectors or use keystone wall plates for network cabling. Ensure cables have been properly connected for signals to transmit.
Conceal the Wires
For a clean finish, conceal attic wires by securing them to joists or rafters using staples or cable hangers. Any slack should be bundled neatly.
On the lower floor, insert wires fully into the wall cavities and cover open drywall access holes. Install wall plates or inserts to hide the wiring coming through. Caulk around holes and repaint for a seamless look.
Tips
-
Label wires at both ends for easier identification.
-
Seal holes with fireblock caulk to retain fire rating.
-
Use existing wiring holes whenever possible.
-
Wear a dust mask when working in the attic space.
By taking the proper precautions and following these steps, you can safely run low voltage cabling through your attic. Just allow enough time to work around obstructions and take care when moving around up there. With some patience, you can enjoy the benefits of whole-home connectivity or audio.