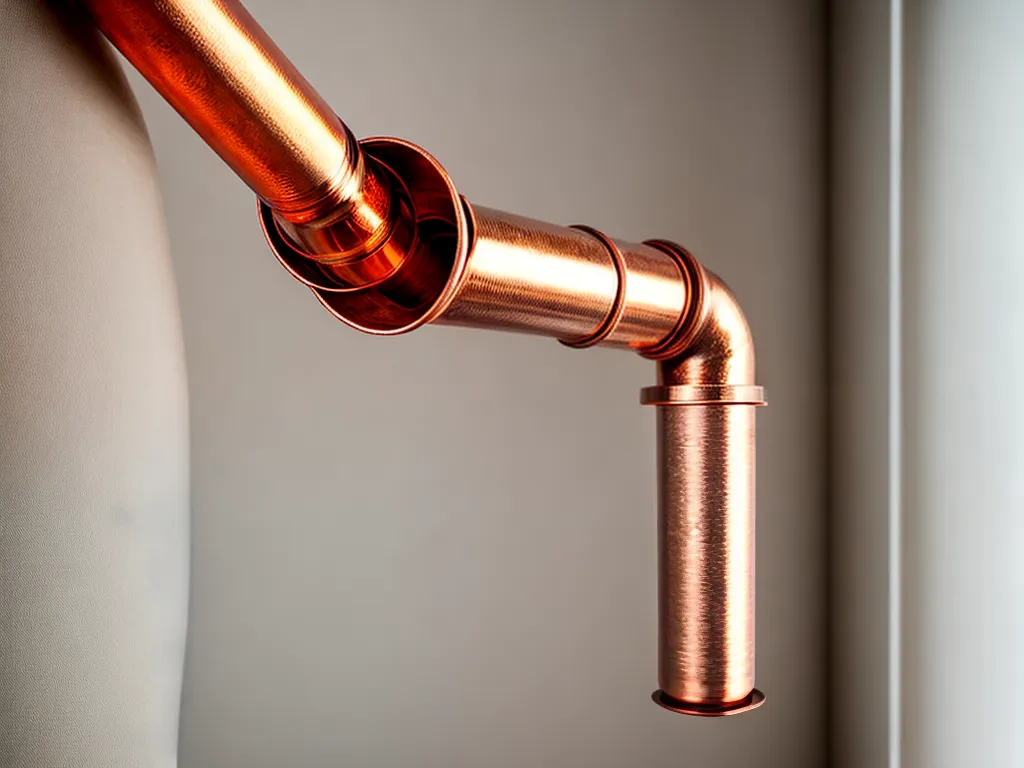
Installing exposed copper piping in your home can add an elegant, industrial look to your space. However, it's important to install exposed copper piping properly to ensure safety and prevent leaks or other issues down the road. In this comprehensive guide, I'll walk you through the complete process of safely installing exposed copper pipes in your home.
Choosing the Right Copper Pipe
The first step is selecting the right type of copper pipe for your project. Here are the main options to consider:
Type M Copper
- Type M copper pipe has thin walls but is still very durable.
- It's the least expensive type of copper pipe and often used for supply lines.
- Type M works well for exposed applications since it's easy to bend and route.
Type L Copper
- Thicker walls make Type L copper more rigid and durable than Type M.
- It resists pressure well and is often used for main water supply lines.
- The added thickness gives it a bold, industrial look when exposed.
Type K Copper
- With the thickest walls, Type K copper is the most rigid and durable.
- It's the best choice for high-pressure applications like main water lines.
- Type K has a particularly striking appearance when installed exposed.
I'd recommend Type L copper for most exposed copper piping projects around the home. It has the ideal blend of durability, pressure resistance, workability, and visual appeal.
Gathering the Right Tools
Installing copper piping requires some specialized tools. Here are the essentials you'll need:
- Tube cutter - For straight, clean cuts through copper pipe.
- Reamer - To smooth and deburr the cut pipe edges.
- Bending tools - Either a hand bender or bending machine for shaping curves.
- Pipe brush - To buff and shine the pipes before installation.
- Flux and solder - For joining copper pipes.
- Torch - To heat and melt the solder at the joints.
Safety gear like gloves and eye protection is also a must when soldering. Having the right tools makes the installation process much smoother.
Preparing the Pipe
With the right pipe and tools in hand, you're ready to start prepping:
Measuring and Cutting
- Carefully measure each section of pipe needed for the run.
- Use a tube cutter to make straight, precise cuts through the pipe.
- Always leave a little extra length and trim to fit later.
Deburring and Beveling
- Use a pipe reamer to smooth the cut edges and remove any burrs.
- Bevel the ends slightly to assist with solder flow.
Polishing and Cleaning
- Buff the cut lengths of pipe with a wire brush to bring out the copper shine.
- Wipe pipe ends clean with a dry rag before soldering.
Proper pipe preparation results in better looking, more professional joints.
Mounting and Securing the Pipes
There are a few options for mounting exposed copper pipes:
Brackets and Straps
- Copper pipe brackets attach directly to walls and hold pipes in place.
- Use metal straps to anchor pipes to wood surfaces or ceilings.
Space Holders
- Pre-formed foam spacers fit between the pipe and wall.
- They prevent vibration and hold spacing for a consistent look.
Saddle Supports
- Saddle clips fit underneath the pipe and screw into the mounting surface.
- They provide a secure hold while keeping pipes evenly spaced.
I recommend saddle supports for their strength and low profile appearance. Place a mounting point every 2-3 feet to properly secure long exposed runs.
Joining and Soldering the Pipes
Now it's time to connect the prepped pipe lengths. Follow these best practices for safe, leak-free joints:
Apply Flux to Joints
- Use a flux brush to coat the inside of each joint thoroughly with soldering flux.
- The flux helps the solder adhere and flow smoothly.
Assemble Joints
- Insert pipes fully into elbows, tees, and other fittings.
- Secure joints with copper crimp bands or clamps if needed.
Heat and Flow Solder
- Use a propane torch to evenly heat each joint area until hot enough for solder melt and flow.
- Touch solder wire to heated joint and let it melt and fill gaps through capillary action.
Take your time and solder each joint fully for maximum strength and leak protection.
Inspecting and Testing the Copper Piping
Once all soldering is complete, thoroughly inspect and test your work:
Visual Inspection
- Check every joint and connection for complete, smooth solder flow.
- Ensure pipes and fittings are straight and evenly aligned.
Pressure Test
- Temporarily pressurize the system and check for any leaks at joints.
- Listen closely and look for water droplets.
Function Test
- Turn on water supply and walk through the system, checking each outlet.
- Verify full water flow and pressure at every fixture.
Your exposed copper piping installation is complete after passing inspection and testing with flying colors! Enjoy the beautiful, functional accent it adds to your home. Let me know if you have any other plumbing or home improvement questions!