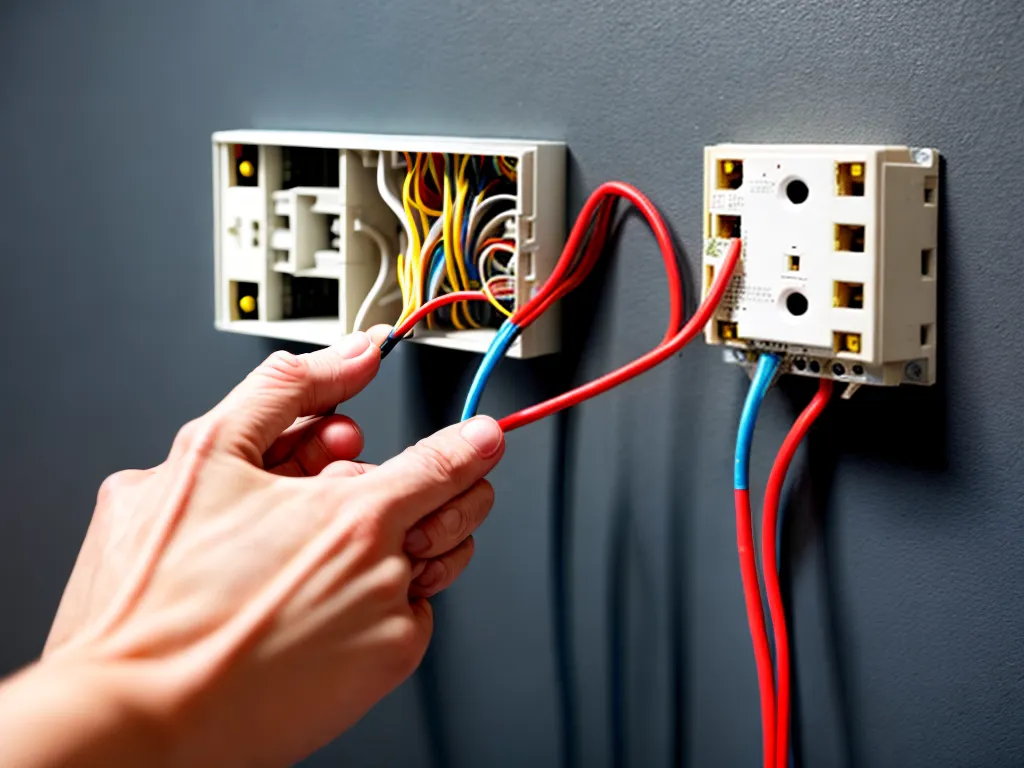
Installing electrical wiring in your home can be an intimidating task, but with proper planning and attention to safety, even beginners can successfully wire new lighting, switches, and outlets. As someone new to home electrical work, following safety procedures and guidelines is crucial. By educating yourself, taking precautions, and working carefully, you can enhance your home's lighting and functionality while avoiding the risk of shock or fire.
Research Electrical Codes and Permits
Before purchasing supplies and materials, be sure you understand the electrical codes and regulations for your region. The National Electrical Code (NEC) provides the national standard, but your local jurisdiction may have additional requirements. Failing to follow code could make any work you complete illegal and hazardous.
You'll likely need permits for any substantial electrical work beyond basic repair and maintenance. Permits ensure your plans are reviewed by inspectors and that the finished work meets all safety codes. Be sure to research permit needs and secure them before starting.
Buy the Right Electrical Supplies and Tools
Installing home wiring requires having the proper supplies for the job. At a minimum, you'll need:
-
Wire - Buy the correct gauge wire for the amperage rating and length of your wiring runs. Commonly used gauges include 12 AWG and 14 AWG. Use only copper wire.
-
Boxes - Electrical boxes house wiring connections and outlets. Purchase boxes approved for the location (bathroom, outdoors).
-
Conduit - Conduit protects wiring and provides safe routes along walls and ceilings. Common types are EMT and PVC.
-
Switches and outlets - Match the style and amperage capacity of devices to your circuit. Include wall plates.
-
Wire connectors - Use twist-on wire connectors matched to your wire gauge. Avoid wire nuts.
-
Circuit breakers - Circuit breaker ampacities should match the ampacity of your wiring. Double-pole breakers are needed for 240-volt circuits.
-
Grounding - Install ground wires and grounding rods/blocks to protect from shocks.
You'll also need basic hand tools like a voltage tester, cable ripper, wire strippers, and screwdrivers. Safety gear like gloves and eye protection is a must.
Turn Off Power and Work Safely
Before doing any work, use a voltage tester to be sure power is off to the circuits you'll be handling. Turn off power at the main breaker panel. Then open the panel and switch off the individual circuit breaker controlling the wires you're working on. Verify power is off by testing.
With power confirmed off, follow other safety steps:
-
Disconnect any wires you'll be replacing or removing to keep them inactive.
-
Never work alone. Have someone available in case of emergency.
-
Avoid working live wires. If needed, use insulated tools and extreme caution.
-
Don't wear jewelry or metal when working.
-
Use a ladder securely when access is needed.
-
Wear protective equipment like gloves and eyewear.
Install New Wiring and Devices
Once you have all your supplies and safety preparations in place, you're ready to install new home electrical wiring:
1. Mount the New Electrical Box
-
If replacing an existing box, remove the old box and all wires.
-
Position the new box where desired and fasten securely to a stud. Knockout holes should align with your conduit runs.
2. Run Conduit Between Boxes
-
Map out your wiring runs from the panel to boxes. Install conduits along these paths through walls and ceilings.
-
Run cables through conduit from box to box, leaving extra length for connections. Don't run conduit longer than 100 feet without a junction box.
3. Connect Switches and Outlets
-
Strip insulation from wire ends using strippers.
-
Connect wires to devices using twist-on connectors. Follow diagrams.
-
Ground all devices properly using ground wires and screws.
4. Connect Wires at the Panel
-
Route cables into the main panel through knockouts using clamps.
-
Label all wires clearly indicating their runs.
-
Connect wires to circuit breakers securely matching ground, hot, and neutral.
5. Secure Boxes and Devices
-
Coil excess wire neatly into boxes to avoid stress on connections.
-
Mount devices like switches and outlets properly to boxes.
-
Attach wall plates once everything is positioned correctly.
-
Close up all access panels securely.
Get Inspections and Test Thoroughly
Before turning power back on, get all necessary electrical inspections by your local building department. They will examine work to ensure conformance to the National Electrical Code. Make any corrections noted.
Energize your new wiring slowly and methodically. Switch on the main breaker first, followed by individual circuits. Carefully test outlet functionality and light switches. Check for secure connections by feeling for hot spots on devices like receptacles.
Use a multimeter to test voltage and continuity. On outlets, verify 120v between hot and neutral and 0v from hot/neutral to ground. Continuity should show no resistance between bonded neutral and ground.
With safe installation confirmed, you can now enjoy the benefits of enhanced lighting, added outlets, and improved functionality throughout your home thanks to your meticulous DIY electrical work. Just be sure to follow good safety practices whenever modifying or repairing wiring in the future.