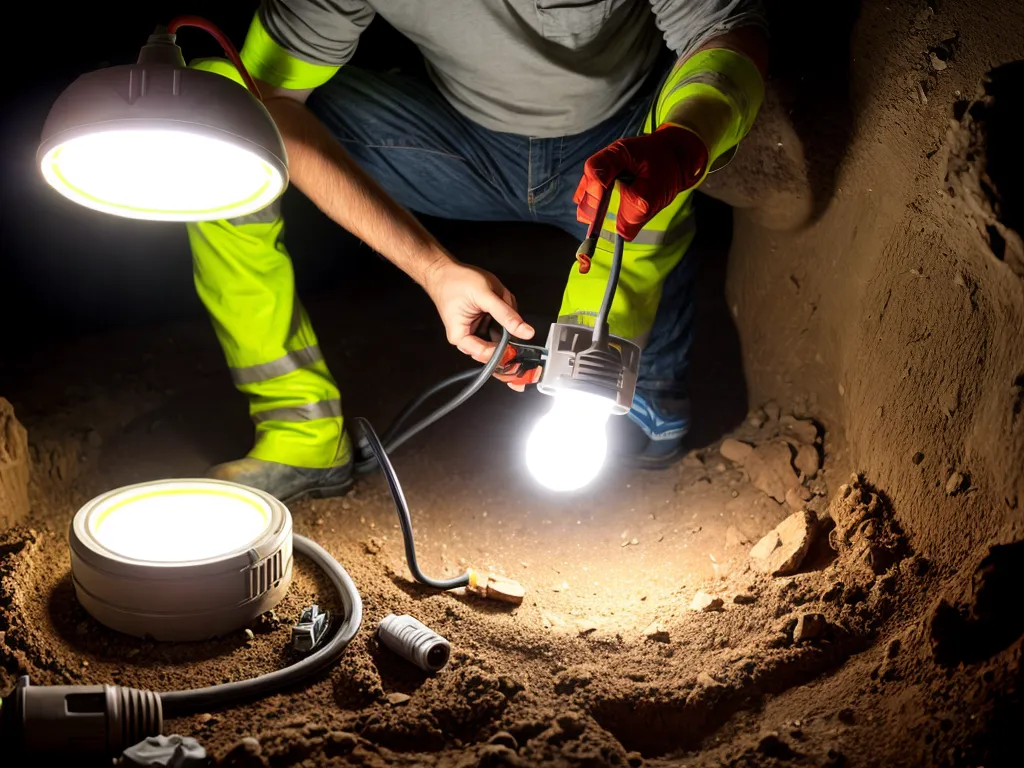
How to Safely Install Underground Low Voltage Lighting
Installing underground low voltage lighting can transform your outdoor space by adding beauty, safety, and functionality. While a rewarding DIY project, proper planning and execution is crucial to ensure correct and safe installation. Here is a step-by-step guide on how to safely install underground low voltage lighting for your home.
Gather the Right Supplies
Installing an underground low voltage lighting system requires collecting the right materials beforehand. Here are the key items you'll need:
-
Low voltage lighting fixtures - Select fixtures rated for direct burial and outdoor use like path lights, spotlights, and floodlights. Ensure the transformer can handle the lighting load.
-
Low voltage wiring - Use direct burial-rated, UV-resistant, outdoor-approved cable. Choose a gauge that can handle the lighting load over required distances.
-
Landscape staples - Use UV-resistant plastic or metal staples designed for securing low voltage cables.
-
Wire connectors - Use gel-filled, direct burial wire connectors to join wires. Avoid open-style wire nuts.
-
Outdoor-rated conduit - Use conduit for any above ground wire runs to protect cables.
-
Shovel and digging tools - Use a round point shovel and other digging tools to trench lines.
-
PPE gear - Wear safety glasses, gloves, long sleeves, and close-toed shoes when digging and installing.
Plan the Lighting Layout
Carefully plot out where you want to install the underground lights. Here are some tips:
-
Mark locations - Use spray paint or flags to mark exact fixture spots and trench routes.
-
Consider spacing - Place lights between 3 to 5 feet apart for continuous coverage.
-
Note burial depth - Low voltage cables should be buried 6 to 8 inches underground.
-
Follow codes - Ensure layout meets local codes for placement near buildings, utilities, and property lines.
-
Design for visibility - Position lights to maximize visibility on paths, steps, benches, trees, and other landscape features.
Install the Transformer
The transformer converts high voltage power into safe, low voltage power for the lighting system. Properly install the transformer by:
-
Mounting the transformer to a wall or other permanent structure using the included hardware.
-
Installing it in a weatherproof enclosure if mounted outdoors.
-
Situating it within reach of a GFCI-protected outdoor 120V receptacle.
-
Keeping it close to the first lighting fixture on the wire run for minimal voltage drop.
-
Ensuring the transformer capacity exceeds the total wattage of all fixtures it will power.
Trench and Bury the Cable
Trenching allows buried cables to be run safely underground to each lighting fixture. Follow these guidelines when trenching:
-
Dig a trench 6 to 8 inches deep using a rounded shovel.
-
Make the trench narrow enough that cables lay flat with 2 to 3 inches of space between.
-
Keep trenches in straight lines from light to light.
-
Avoid trenching across sidewalks or driveways if possible.
-
Lay cables loosely in the trench, avoiding tight bends.
-
Go around obstacles like large roots rather than digging under them.
-
Bury cables immediately to avoid damage. Backfill and compact the soil.
Connect the Lighting Fixtures
With the cables buried, you can now install and connect the fixtures:
-
Attach stakes, mounts, or bases to firmly fix each light in place.
-
Ensure fixture wiring terminals are corrosion resistant and watertight.
-
Use gel-filled direct burial connectors to join fixture wires to main cables.
-
Leave 12 to 18 inches of slack at each fixture to allow for repositioning.
-
Attach fixtures to bases, mount solidly, and aim as desired before backfilling.
-
Test lights as you go and troubleshoot as needed.
Final Touches
Apply finishing touches for a complete lighting installation:
-
Use landscape staples every 1 to 2 feet along cable routes for extra hold.
-
Test the lighting at night and adjust fixtures as needed for optimal coverage.
-
Run the lighting system for a few nights to confirm all fixtures work properly.
-
Stow extra lengths of wire and cable neatly underneath fixtures.
By taking time to safely plan the layout, trench, connect cables, and install fixtures, you can enjoy a well-lit outdoor space enhanced by the ambiance and beauty of low voltage lighting. Proper underground installation means the lighting requires minimal future maintenance while lasting for years to come.