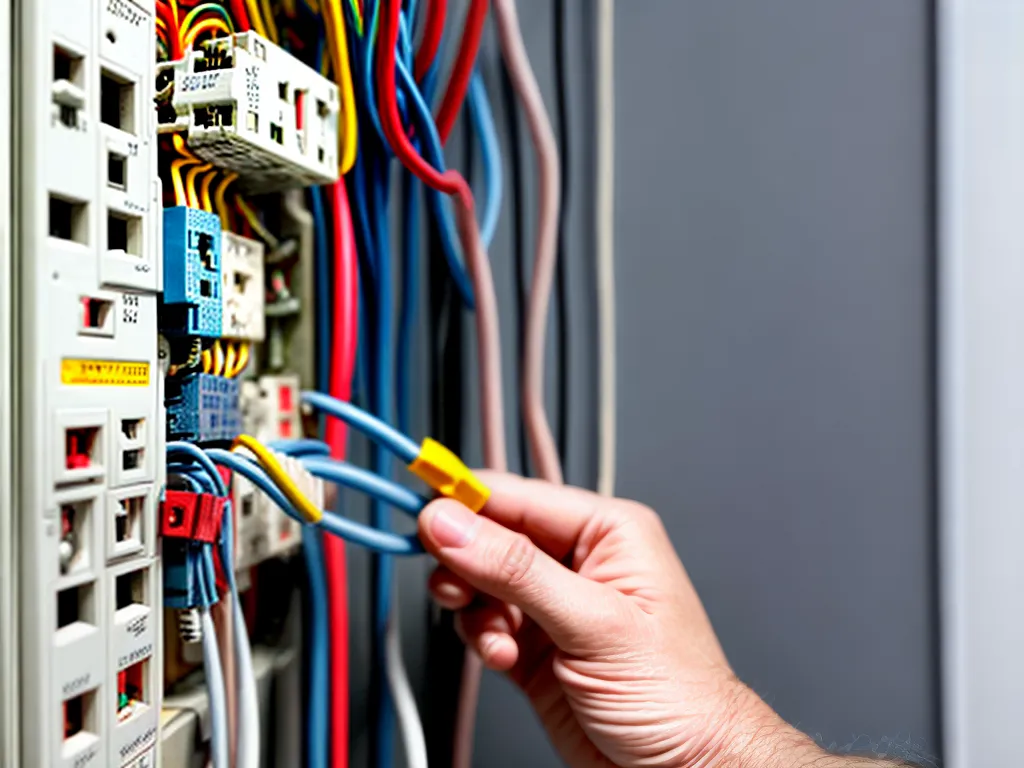
Rewiring the electrical system in your home can be a daunting task, but with proper planning and precautions it can be done safely, even by a dedicated DIYer. As with any major home improvement project involving electricity, caution and attention to detail are paramount.
Understanding Home Electrical Systems
The first step is educating yourself on the components of a residential electrical system and how they work together.
The Main Service Panel
The main service panel, or breaker box, is the central hub that connects your home to the main electrical supply from the utility company. This panel contains circuit breakers that serve as the on/off switches for each circuit in your home.
Branch Circuits
Branch circuits distribute power from the main panel throughout the home. A typical branch circuit includes the hot wire that carries current, a neutral wire that completes the circuit, and a ground wire for safety. Common household circuits include lighting, outlets, appliances, etc.
Wire Gauge
The wire gauge, or diameter of the conductor, must be adequate for the amperage rating of the circuit. For a 15 amp circuit, use 14 gauge wire. For a 20 amp circuit, use 12 gauge wire.
Electrical Boxes
Wires connect to fixtures and devices via electrical boxes. Outlet and switch boxes must remain accessible. Junction boxes connect multiple wires within wall and ceiling cavities.
Conduit
For new wiring, electrical code requires running wires through rigid metal or PVC conduit for protection. Conduit size must match the wire gauge.
Safety Switches
Circuit breakers act as safety switches that trip and disconnect power when a circuit is overloaded. GFCI outlets provide protection from shocks.
Develop a Rewiring Plan
Carefully planning the details of the rewiring project is essential for success.
Evaluate Existing System
Examine the existing wiring to see if it can be reused or if it needs replacement. Look for cloth-wrapped wire, small gauge wire, and other out-of-date or hazardous materials.
Circuit Mapping
Create a circuit map noting what each breaker controls. Labeling the purpose of each circuit will be helpful during and after the rewire.
Develop New Layout
Determine a new circuit layout tailored to your home's needs. Plan appropriately sized branch circuits for lighting, outlets, appliances, and specialized loads like electric heaters, AC units, or EV chargers.
Calculate Electrical Load
Add up the wattage of all fixtures, lights, and appliances on each circuit to ensure the overall load does not exceed the circuit capacity.
Choose Panel Size
Select a main service panel with enough circuit breaker spaces to accommodate the planned branch circuits, plus some spare room for future expansion.
Develop Wiring Diagram
Draw up a detailed wiring diagram mapping out all new and existing wiring, circuits, junction points, and connections.
Safety Gear
Obtain electrical PPE including insulated gloves, glasses, hard hat, and arc flash protective clothing. Also gather tools like conduit benders, cable pullers, wire strippers, a voltage tester, etc.
Permits
Check with your local building department to determine if you need an electrical permit and inspection for a homeowner DIY rewiring project.
Rewiring Step-by-Step
With proper planning in place, you're ready to get to work. Take it slowly and safely.
Turn Off Power
The first step is to flip the main breaker to disconnect power from the panel and home. Then turn off individual breakers and unplug appliances. Test that power is off before working.
Remove Old Wiring
Take down outdated wiring. Carefully remove nails, staples, and other attachments. Pull wires out of boxes by the sheathing, not the individual conductors.
Run New Conduit
Determine conduit routes between the panel, boxes, and fixtures. Cut and thread rigid metal conduit. Run flexible conduit for final connections. Use elbows and junction boxes to route around obstacles.
Pull New Wires
Use cable lubricant to pull conductors through conduit. Tape wire ends so they don't snag. Don't kink or overstress the copper. Leave extra length for connections.
Update Main Panel
Install a new main service panel if needed. Feed the main power lines in through conduit. Use a torque screwdriver when terminating. Keep wire connections tight and neat.
Connect Circuits
Referring to the wiring diagram, connect up the planned branch circuits. Clip the wires securely under the breaker terminals. Follow code for wire color: hot (black), neutral (white), ground (green).
Attach Devices
Mount new electrical boxes. Make safe connections to outlets, switches, lights, appliances, etc. using wire nuts or other approved connectors.
Install Grounding
Properly bond neutral and ground wires. Connect grounds to metal boxes and panels. Run a grounding electrode conductor to a ground rod outside.
Inspect and Test
Visually inspect all connections and splices. Verify safe operation and polarity with a multimeter. Check ground continuity and resistance. Thoroughly test each circuit before energizing. Consider having the work inspected.
Energize Panel
When ready, switch the main breaker on to restore power. Carefully check for problems and fix any issues. Turn on individual circuits systematically.
Rewiring Safety Tips
Working with electricity poses severe risks if proper precautions aren't taken.
- De-energize the system and verify power is off before working.
- Wear insulated gloves and other safety gear when handling wires.
- Never work on "hot" energized wiring.
- Use circuit testers and multimeters cautiously.
- Connect only one wire at a time so wires don't touch.
- Keep dry and use GFCI protection. Water and electricity don't mix!
- Take it slow. Don't rush or take shortcuts.
- If in doubt, consult an electrician or inspector.
By educating yourself, planning meticulously, adhering to code, and working carefully, a DIY electrical rewiring project can be completed safely. But this challenging endeavor is not advisable for novices. Hire a professional if you lack the skills, knowledge, tools, time, or confidence to rewire your home correctly.