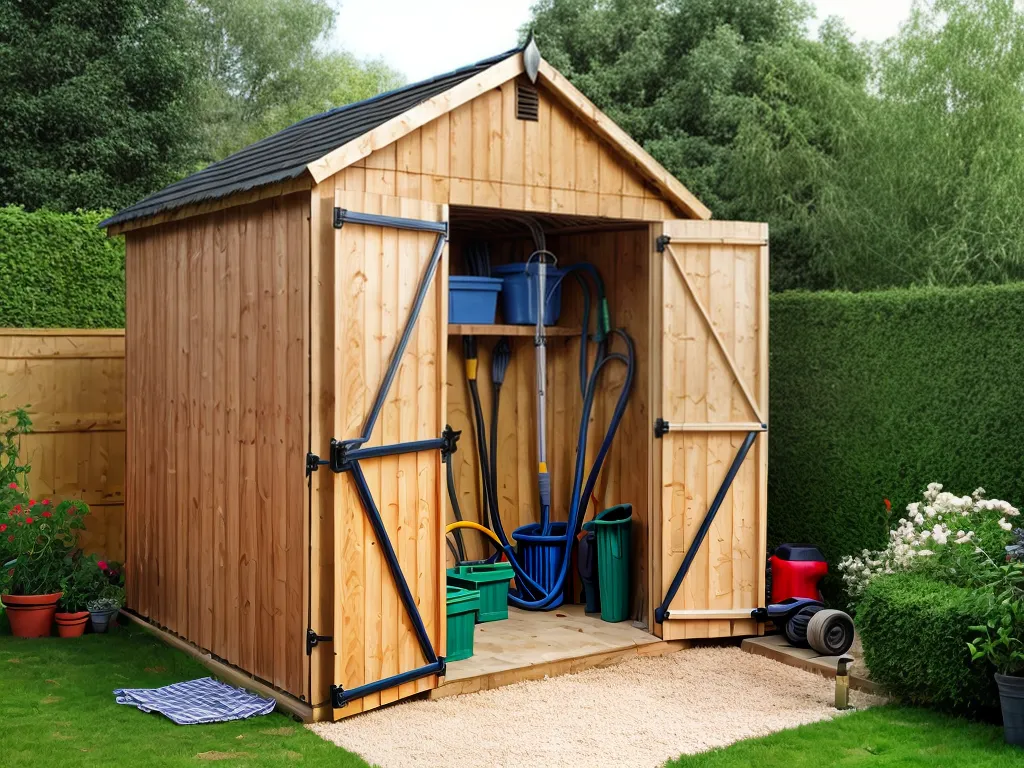
Installing electrical wiring in your garden shed can seem like an intimidating task, but with some planning and basic DIY skills, you can safely wire your shed without breaking the bank. In this comprehensive guide, I'll walk you through the entire process step-by-step.
Choosing the Right Materials
When wiring a shed on a budget, it's important to choose the right materials to keep costs down without sacrificing safety or code compliance. Here are some affordable options to consider:
-
Romex Cable - Romex is an inexpensive, flexible cable made of copper conductors and a protective plastic sheath. 12/2 Romex with a ground wire is sufficient for most basic shed wiring.
-
Breaker Box - Choose a small load center main breaker box with a few circuits to cover lighting, outlets, and devices in the shed. A 100 amp, 8-12 circuit panel works for most sheds.
-
GFCI Outlets - Install GFCI (ground fault circuit interrupter) outlets for power; they provide protection from shocks and electrocution. Weather-resistant covers add outdoor safety.
-
LED Lights - LED light bulbs cost a bit more upfront but use much less energy and last longer than incandescents. Choose cool white bulbs for the best brightness.
-
Conduit and Boxes - For exposed areas on walls or ceilings, use rigid metal or PVC conduit and weatherproof electrical boxes to run and terminate the wires.
Working Safely
When dealing with electricity, safety should always be your top concern. Follow these tips to avoid hazards:
-
Turn off the main breaker before doing any work. Verify power is off with a non-contact voltage tester.
-
Wear rubber-soled shoes and avoid damp conditions when wiring to prevent shocks.
-
Use GFCIs to protect against electrocution from ground faults. Test them regularly.
-
Label all circuits clearly so you and others know what's what.
-
Cap unused wires with wire connectors to prevent shorts and shocks.
Planning the Wiring Layout
Take time to plan your wiring layout before installation. Consider:
-
What will you use the shed for? Plan for adequate lighting, outlets for tools and devices, etc.
-
How will you run the wires - overhead, along walls, underground? Plan conduit and wire routing.
-
Where will the breaker panel go? Choose a protected indoor spot not likely to get wet.
-
What size shed breaker box do you need based on your planned circuits? Size it accordingly.
-
Draw up a basic wiring diagram to visualize the circuit routes and connections.
Installing the Shed Breaker Box
The shed's breaker box is the backbone of the whole system. Follow these steps to install it properly:
Mount the Breaker Box
-
Choose an indoor shed wall free of moisture and condensation.
-
Cut in the box using a drywall saw - make sure it fits snugly.
-
Screw the box directly to framing studs for a secure mount. The box must be level and plumb.
Run Power to the Shed
-
Run wire from the house breaker box to the shed subpanel.
-
For DIY, call an electrician to install a dedicated circuit with 10/3 NM cable trenched underground in conduit.
Connect the Subpanel
-
Cut power and test wires are dead before connecting.
-
Attach the ground wire to the subpanel's ground bar.
-
Connect the neutral wires to the neutral bar in the subpanel.
-
Connect the hot wires to the main breaker/lug.
-
Ensure all wires are tight and terminals screwed down securely.
Add Breakers
-
Clip 1-pole breakers of the correct amperage into slots.
-
Connect wires from each planned branch circuit to breakers.
-
Don't forget a GFCI breaker for bathroom or outdoor outlets.
Running the Circuit Wiring
With the breaker box installed, it's time to run wiring to outlets, lights, and devices.
Plan Circuits
-
Group lights and outlets in sections for different circuits - don't overload one.
-
Run no more than 12 outlets/devices per 20 amp circuit.
-
Have an electrician install 240V circuits for large appliances/tools.
Run Cable
-
Notch studs so cable lays flush against framing.
-
Drill holes in top plates for wiring between floors. Avoid insulation contact.
-
Staple Romex every 4-6 feet for security; avoid puncturing insulation.
Install Boxes and Make Connections
-
Cut in electrical boxes, insert cables, and clamp them securely.
-
Strip wires, join to others with wire nuts, and tighten firmly.
-
Attach outlets and switches, then screw boxes to studs.
Label and Test Circuits
-
Label each wire with circuit number using tape or tags for safety.
-
Turn power back on and test each outlet and light. Verify proper connections.
Finishing Touches for a Code-Compliant Shed
Before using your newly wired shed, add these final touches to meet electrical code:
-
Install a ground rod with #6 copper wire run to the subpanel ground bar.
-
Put outlet and junction box covers on to prevent exposed wires.
-
Caulk exterior conduit penetrations to keep moisture out.
-
Post an updated electrical panel schedule listing all circuits on the door.
-
Ensure circuits are GFCI protected where required (bathrooms, sinks, exterior outlets).
-
Have the completed work inspected by the town to get a certificate of approval.
With good planning and attention to detail, you can safely wire your own garden shed without busting your budget. Just take it step-by-step, work carefully, and don't be afraid to call a professional electrician if you need help. A properly wired shed will provide years of reliable power.