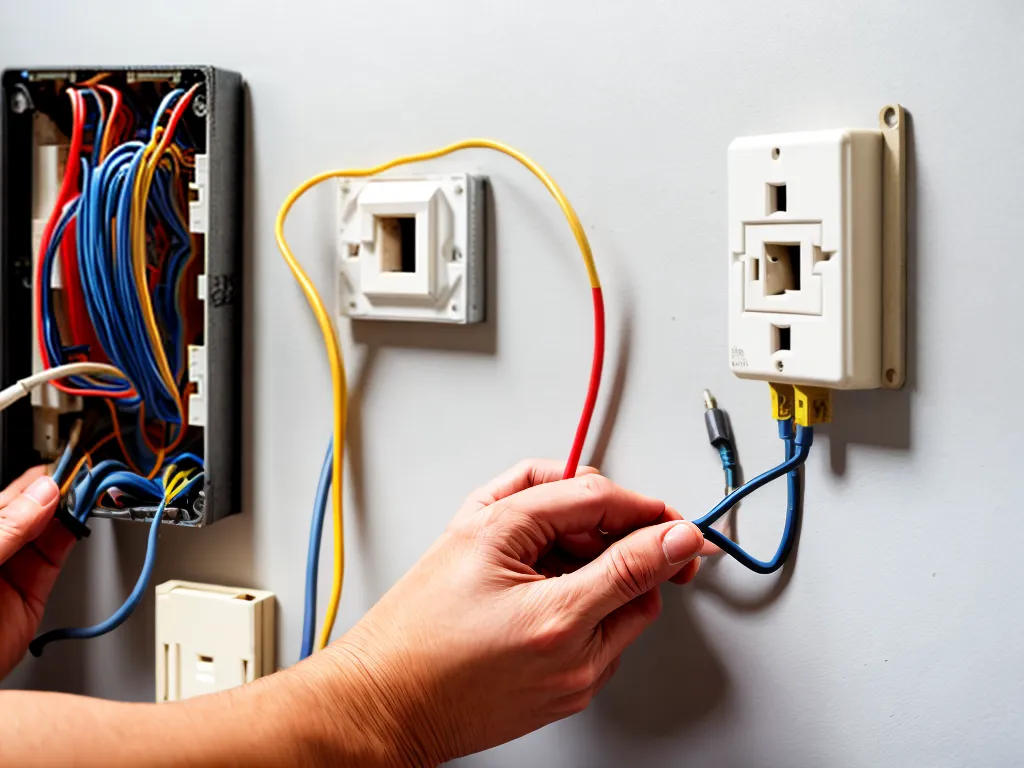
How to Save Money by Installing Your Own Electrical Wiring
Installing your own electrical wiring can seem daunting, but with proper planning and adherence to electrical codes, it can be a great way to save money on home improvement projects. Here is a step-by-step guide on how to safely install electrical wiring in your home.
Gather Tools and Materials
Before starting any electrical project, you need to acquire the proper tools and materials. Here is a list of what you will need:
- Wire strippers - Used to strip insulation off electrical wires
- Voltage tester - To make sure power is off before working
- Hammer - To knock in electrical boxes
- Screwdrivers - Flathead and Phillips head to secure boxes and fixtures
- Fish tape - To route wires through walls
- Electrical tape - To tape wire connections
- Wire nuts - To join copper wires together
- Cable staples - To secure cables running through joists
- Electrical boxes - Plastic or metal boxes for mounting fixtures and outlets
- NM cable - The appropriate gauge (thickness) of copper wiring
- Cable clamps - To secure cables entering electrical boxes
You may also need a drill, stud finder, ladder, and other basic DIY tools. Acquire all materials before starting.
Study Electrical Codes
The National Electrical Code (NEC) outlines standards and best practices for safe electrical installations. Read through the NEC before any wiring project, as improperly installed wiring can cause fires or shocks. Pay attention to rules concerning:
- Proper wire gauges for circuits
- Maximum outlet and fixture loads on a circuit
- Required GFCI and AFCI outlet placement
- Minimum box size for the number of wires present
- Proper wire securing and connections
Check with your local permitting office about required inspections. Doing your homework will make for an inspection-ready project.
Turn Off Power
Before touching any electrical wiring, the power must be turned off. Follow these precautions:
- Turn off the circuit breaker for the affected circuits
- Unplug any appliances on those circuits
- Use a non-contact voltage tester to confirm power is off
- Check outlets with a plug-in tester to guarantee they are dead
Working on live wires can cause severe shocks or death. Verify the power is off with multiple tests before handling any wires.
Plan the Wiring Route
Decide where you want new outlets, switches and lighting fixtures placed. Consider:
- Distance from the electrical panel or existing wires
- Accessibility of the location
- Getting wires into walls, through studs and joists
- Avoiding plumbing pipes, ductwork, and other obstructions
Draft a basic diagram of the planned circuit wiring. Map out how the wires will route from the panel to each device. This will serve as your guide as you install the wiring.
Feed and Secure Cables
Based on your wiring plan, cut NM cables to length. Use cable staples to secure cables running through joists or studs every 4.5 feet. Follow these guidelines:
- Leave 8-10 extra inches of cable at outlets and switch boxes
- Avoid making sharp cable bends or overtightening staples
- Keep cables at least 1 inch from other wires and building materials
- Use cable clamps when entering metal boxes
Take care when feeding cables to avoid damage that could lead to shorts or fires. Leave some slack in the line for mistakes.
Install Electrical Boxes
Mount new electrical boxes where devices and fixtures will go. Boxes come in plastic or metal and in different volume sizes.
- Use the correct box volume for the number of wires present
- Plastic boxes for drywall, metal boxes for masonry
- Mount boxes recessed or flush with stud faces
- Position boxes exactly where outlets, switches or fixtures will go
Follow minimum clearance requirements between boxes. Check codes for the proper mounting heights for various box types.
Connect Switches and Outlets
Make black hot wire connections to switches and outlets and white neutral wire connections as well. Wrap clockwise around terminal screws or push all the way into quick connect holes.
- Double check wires are going on the correct terminals
- Make very tight connections and trim excess wire
- Use wire nuts to connect multiple grounds together
- Wrap connections with electrical tape for additional protection
Consult diagrams to wire multi-switch and split receptacle circuits. Take care to connect the hot feed wire to the common terminal.
Connect Fixtures and Devices
Light fixtures, appliances, and specialty devices all connect a little differently. Consult manufacturer instructions for specifics. Some guidelines:
- Match wire colors (black to black, white to white, green to green)
- Connect grounds first, then neutral, then hot wires
- Use wire nuts to connect fixture wires to power cables
- Tuck wires neatly into electrical boxes before mounting
- Ensure no loose strands are exposed outside wire nuts
Do not exceed fixture wattage limits. Overloaded fixtures can overheat and start fires. Verify you purchased the right bulbs.
Inspect and Test Circuits
Before completing a wiring project, thoroughly test your work. Double check that:
- No loose connections are present
- Wires are secured tightly to boxes with cable clamps
- Circuits have ground wires and ground connections
- GFCI outlets are installed anywhere required
- All functions (outlets, lights) work properly
- Breakers are labeled accurately
Consult inspection checklists and use a voltage tester pen. Fix any issues before considering the wiring complete. Thorough inspection prevents safety hazards.
Safety Tips
- Never work on live wires
- Keep exposed wire ends capped when leaving unfinished work
- Avoid kinking or puncturing wire insulation
- Ensure electrical boxes are big enough for the wires inside
- Wear safety glasses and gloves when cutting metal
- Check your local area for any permit requirements
Take your time and focus completely on the electrical work. Rushing leads to dangerous mistakes. Following basic guidelines makes DIY electrical work completely safe for homeowners.