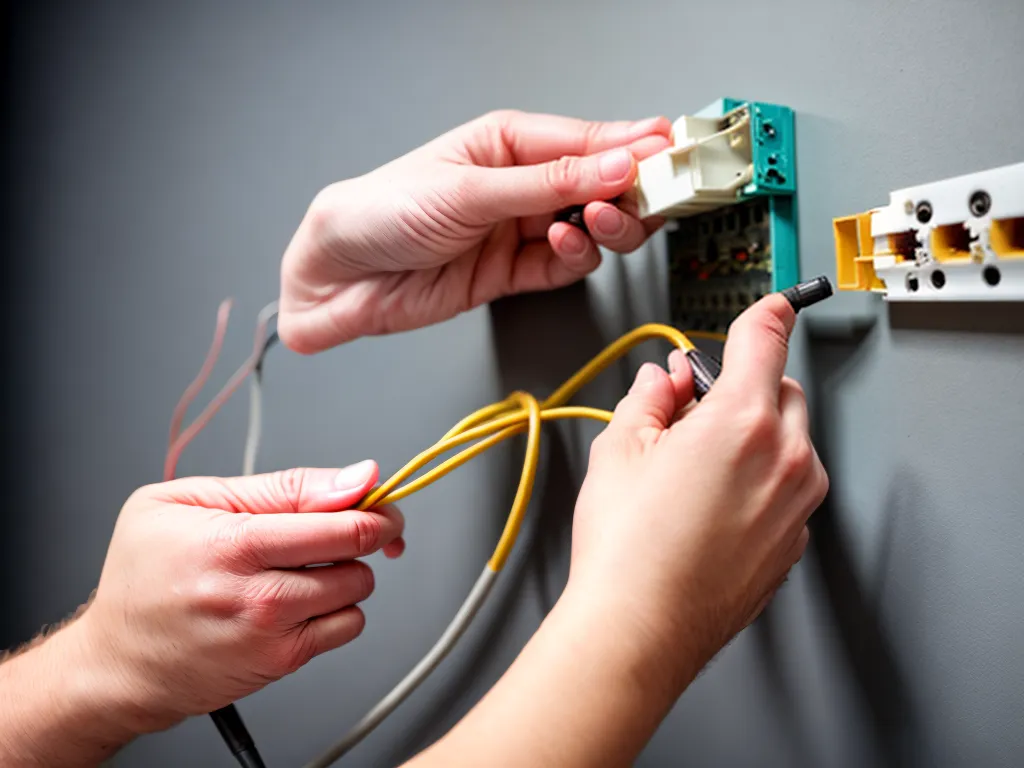
How to Splice Cloth-Covered Wiring
Introduction
Splicing cloth-covered wiring refers to joining two pieces of electrical cable that have an outer braided cotton or cloth insulation. This type of wiring was commonly used in homes and buildings constructed before the 1960s. While more modern wiring uses plastic or rubber insulation, cloth-covered wiring can still be found in some older structures. Splicing this vintage wiring properly is important for safety and maintaining electrical connectivity.
Reasons for Splicing Cloth-Covered Wiring
There are several reasons why you may need to splice cloth-covered wiring:
-
Repairs - The wiring may become damaged or frayed over time and need to be repaired. Splicing allows you to remove the damaged section and reconnect the intact portions.
-
Renovations - If you're updating an older home, you may need to splice cloth-covered wiring when making changes to the existing electrical system. This allows you to extend circuits or reconnect wires.
-
Upgrades - You may be upgrading the capacity of the electrical system by replacing smaller, outdated wires with larger ones. Splicing gives you a way to connect the old and new wires.
-
Safety - Cloth-covered wiring becomes less flexible and more brittle with age. Replacing long runs of wiring can be expensive. Strategic splicing can upgrade the most hazardous sections first.
Supplies Needed for Splicing
Splicing cloth-covered wiring properly requires the right supplies. You will need:
-
Electrical tape - Used to wrap and insulate splices. The tape helps improve electrical contact and provides protection.
-
Wire nuts - Used to physically connect the wires being joined. Wire nuts screw onto the ends of the wires to hold them together.
-
Wire strippers - Allows you to strip away the cloth insulation so you can access the inner conductor metal.
-
Soldering iron and solder - Recommended for creating a permanent solid splice. Helps prevent future corrosion and loose connections.
-
Heat shrink tubing - Once splice is completed, heat shrink tubing offers a good protective outer layer.
How to Splice Wires
Follow these key steps when splicing cloth-covered wiring:
1. Turn Off Power
Before starting any electrical work, always turn off power to the circuit at the main breaker panel. Verify power is off by testing with a non-contact voltage tester.
2. Remove Cloth Insulation
Use gentle twisting motion and wire strippers to remove about 3/4" of the outer cloth insulation from each wire end you are splicing. Avoid nicking the inner metal conductor.
3. Clean Wires
Use sandpaper or steel wool to gently polish the newly exposed sections of wire. Remove any oxidation, dirt and debris. Clean wires allow better electrical contact.
4. Join Wires with a Wire Nut
Hold the two stripped wire ends to be spliced side-by-side with ends even. Twist a properly sized wire nut over the ends to hold them firmly together.
5. Solder for Permanent Connection
For a more permanent splice, apply solder after joining the cleaned wires with the wire nut. Heat the splice with the iron and flow solder into it. Allow to cool completely.
6. Wrap with Electrical Tape
Wrap the spliced area with overlapping layers of electrical tape for insulation. Stretch tape tight for a smooth wrap without gaps.
7. Install Heat Shrink Tubing
Slide properly sized heat shrink tubing over the taped splice. Apply heat to shrink the tubing for a snug outer protective layer.
8. Test and Restore Power
With splicing complete, carefully restore power and test operation. Turn breaker on and verify proper function.
Key Splicing Tips
-
Stagger splice location between wires rather than opposite each other. Creates a smoother joint.
-
Twist wires together firmly before capping with wire nut for better contact.
-
Use rosin-core solder and proper technique for best results when soldering.
-
Verify wire nut size matches wire gauge. If loose, it could arc and overheat.
-
Take time wrapping tape smoothly and tightly over splice area. Air gaps risk insulation failure.
-
Replace any cloth-covered wiring that appears too degraded or damaged to splice properly.
Conclusion
-
Splicing outdated cloth-covered wiring takes care and the right materials.
-
Properly spliced joints are safe and can extend the useful life of vintage electrical systems.
-
Permanent soldered splices offer reliability. But any method done correctly and wrapped with tape can suffice.
-
When in doubt, consult a licensed electrician to ensure safety and code compliance.
Splicing older cloth-covered wiring may seem intimidating, but following basic procedures can give you solid, long-lasting results. Take the necessary precautions and work carefully when upgrading the wiring in your historic home.