Introduction
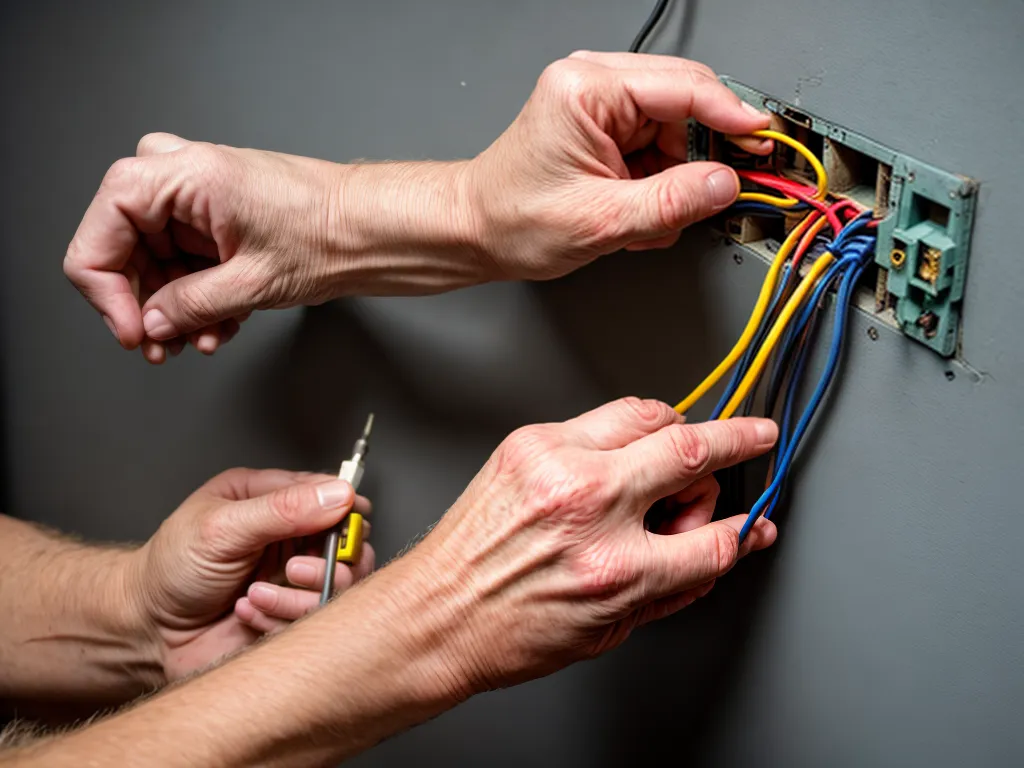
Splicing electrical wires is the process of joining two or more wires together to extend their length or redirect the flow of electricity. While splicing can be done in several ways with modern tools and connectors, splicing wires like they did in the old days requires more rudimentary materials and techniques. In this article, I'll walk through the step-by-step process of splicing electrical wires the old fashioned way using tape and solder.
Gather the Necessary Materials
To splice wires the old school way, you'll need the following materials:
- Wires to splice - You'll need the two wires you intend to join together through splicing. The wires should be stripped of insulation on the ends you'll be splicing.
- Electrical tape - Rubber or vinyl electrical tape was used for both insulating splices and securing the wires together.
- Solder - Solder wire or solder paste to melt and adhere the wires together.
- Flux - Flux helps the solder flow and adhere to the metals of the wires.
- Torch - A handheld torch is required to heat and melt the solder.
- Wire strippers - To strip the plastic insulation off the ends of the wires before splicing.
- Razor blade - Optionally used to finely strip wire ends or scrape them before soldering.
Strip the Wire Ends
The first step is to strip off about 1 inch of plastic insulation from the ends of the wires using wire strippers. This exposes the metal conductive core of the wires that needs to be joined.
If any plastic insulation remains on the stripped ends, you can carefully scrape it off with a razor blade. The wire ends should be completely clean and bare metal.
Prepare the Wires
With the wire ends stripped, you need to prepare them for soldering by twisting and tinning them:
-
Twist - Twist the exposed wire strands tightly together to consolidate them into a single conductor.
-
Tin - Using the torch, heat up each wire end one at a time while applying solder until it is fully coated in a thin layer of solder. The flux helps the solder adhere to the wires.
This coats the wires in solder and minimizes fraying when you go to join them together.
Join and Solder the Wires
With the wire ends tinned and twisted, you can join them together for splicing:
-
Overlap - Lay the two wires end to end so they overlap slightly by about 1/2 inch. The goal is to maximize surface contact area.
-
Wrap - Gently wrap the overlapped section with electrical tape to bind the wires together before soldering. Don't wrap too tightly.
-
Solder - Use the torch to heat up the overlapped section as you apply more solder. Let it flow over the joint to create a solid soldered bond between the wires.
-
Cool - Let the soldered joint fully cool and solidify. Avoid moving the wires until cooled.
Insulate the Spliced Joint
Once soldered and cooled, you need to insulate the joint:
-
Electrical tape - Use vinyl or rubber electrical tape to thoroughly wrap and cover the spliced wire joint. Wrap tightly to isolate it.
-
Optional adhesive lining - For extra insulation, you can coat the joint with electrical rubber/mastic tape adhesive before wrapping it with vinyl electrical tape.
The spliced joint should be fully encapsulated in tape with no exposed wire.
Tips for Quality Splicing
Follow these tips for creating solid, durable splices when joining wires the old fashioned way:
- Use rosin core solder containing flux for easiest application
- Keep wire ends twisted tightly and close together when soldering
- Heat both wires evenly and sufficiently when applying solder
- Solder until a smooth joint is formed with solder wicked into wires
- Avoid cold solder joints by fully heating wires first
- Tape joint securely with electrical tape for insulation and protection
- Stagger splice joints when joining multiple wires
Conclusion
While more convenient wire connectors exist today, splicing wires manually using solder and tape creates a very solid, long lasting electrical connection. It requires more skill and time compared to modern splicing, but produces a durable joint. Just be sure to insulate any splices properly for safety. With a bit of practice, you can master the technique of splicing wires old school style.