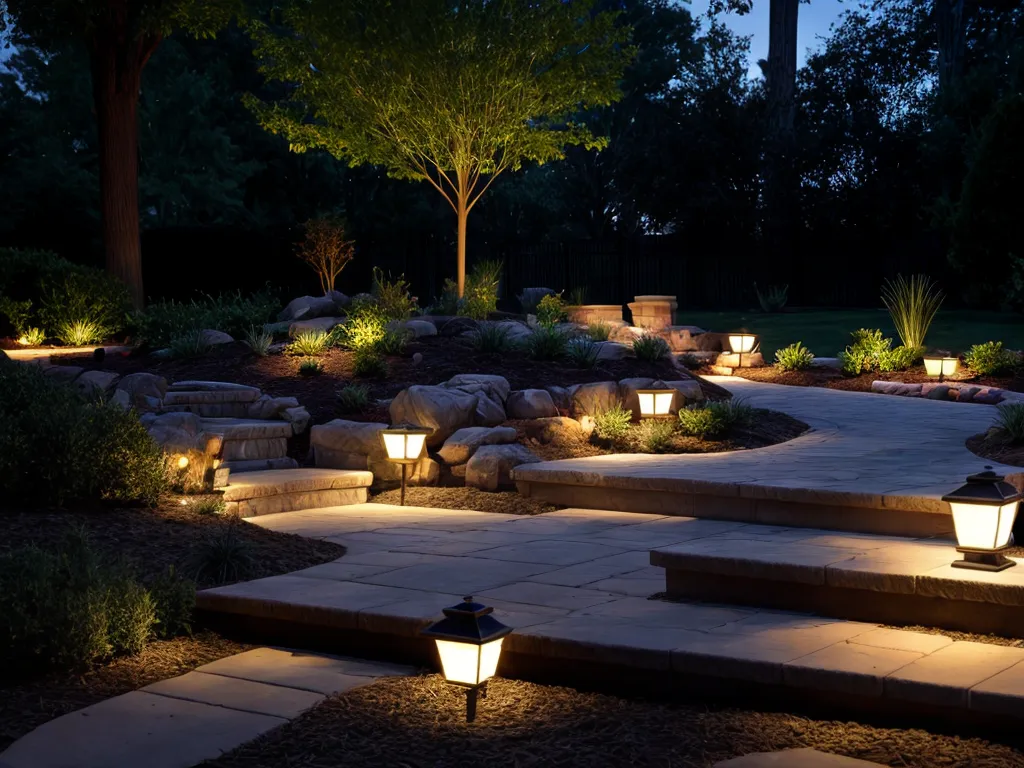
How to Successfully Install Low-Voltage Landscape Lighting Yourself
Installing low-voltage landscape lighting in your yard can dramatically improve the look and feel of your outdoor space. With the right planning and DIY approach, you can install an efficient and long-lasting lighting system yourself. Here is a step-by-step guide on how to successfully install low-voltage landscape lighting on your own:
Selecting the Right Low-Voltage Lighting System
The first step is to determine the type of low-voltage lighting that will work best for your needs. Here are some key factors to consider:
- Intended use - Will the lighting be for security, accenting features, or overall illumination? This will impact the type and placement of lights.
- Types of lights - Path lights, flood lights, spot lights, and deck lights are common options. Consider different lighting effects.
- Voltage - 12V or 24V systems are common. Lower voltage means less wire loss over distance.
- LED vs. halogen - LED lights last longer and are more energy efficient. Halogen lights are cheaper but have shorter lifespans.
- Wattage - 5W or 10W lights are typical. Higher wattage produces greater brightness.
- Spacing - Lights spaced 10-15 feet apart often provide ideal coverage.
Take measurements and sketch a layout to determine how many lights and fixtures you'll need for full coverage. Purchase a complete low voltage lighting kit or buy components separately.
Planning the Lighting Layout
Careful planning is crucial for an effective and aesthetic lighting layout. Here are some tips:
- Outline which areas you want to highlight - paths, trees, flower beds, other landscaping elements.
- Determine the type of light for each area - path lights to illuminate a walking area, flood lights to highlight trees or walls.
- Decide on light spacing based on type and brightness of bulbs. Spacing varies depending on lighting goal.
- Sketch a lighting map indicating fixture locations and connections to the transformer.
- Consider practical factors like access to power outlets and wire routing when mapping layout.
Preparing for Installation
Completing the right preparations will make installation smoother:
- Review your lighting layout and make sure you have all the components - lights, wires, transformer, timer, mounting stakes, connectors.
- If hardwiring the transformer, install a GFCI outdoor outlet near the interior access point.
- For path lights, mark light locations with small flags or spray paint.
- Use landscaping paint to mark wire routing if burying lines.
- Rent a trencher to dig trenches for burying wire if needed.
Installing the Transformer
The transformer converts high voltage power into low voltage for the lighting system. Proper transformer installation and placement is important:
- Mount the transformer to an exterior wall near an outlet using mounting brackets. The transformer should be sheltered from direct weather.
- If hardwiring, connect the transformer to the outlet following local electrical codes. Use conduit for the wiring.
- If using an exterior outlet, plug the transformer in and elevate/shelter it from rain and snow.
- Consider installing a timer to control when the lights turn on and off. Connect the timer to the transformer.
Running the Low-Voltage Wires
Connecting the low-voltage wires between the transformer and lights requires care:
- Use landscape stakes to hold wires in place above ground temporarily.
- Wires can be run above ground or underground in PVC conduit or direct burial lines. Underground provides the best protection.
- Use wire connectors to extend wires between lights. Keep connections dry.
- Leave slack where wires enter/exit the ground to prevent damage from ground movement.
- Bury wires at least 6 inches underground. Lay drainage gravel or sand beneath to prevent settling.
Installing the Fixtures and Lights
The final step is mounting the fixtures and connecting the lights:
- Attach path lights, spot lights and flood lights to the provided mounting stakes. Use landscape adhesive for the stakes.
- For deck lights, mount the fixtures to deck joists using screws.
- Cleanly connect the wires from lights to the main low-voltage lines using gel-filled wire connectors.
- Turn on the lights to verify all connections are secure. Check for any cracks or faults.
- Use caulk and sealant around light fixtures to prevent moisture ingress.
With good planning and attention to detail, you can have professional quality landscape lighting that adds beauty and functionality to your yard. Take it slow, follow electrical codes, and don't hesitate to consult tutorials or experts for help. Properly installed low-voltage lighting can be enjoyed for many years to come.