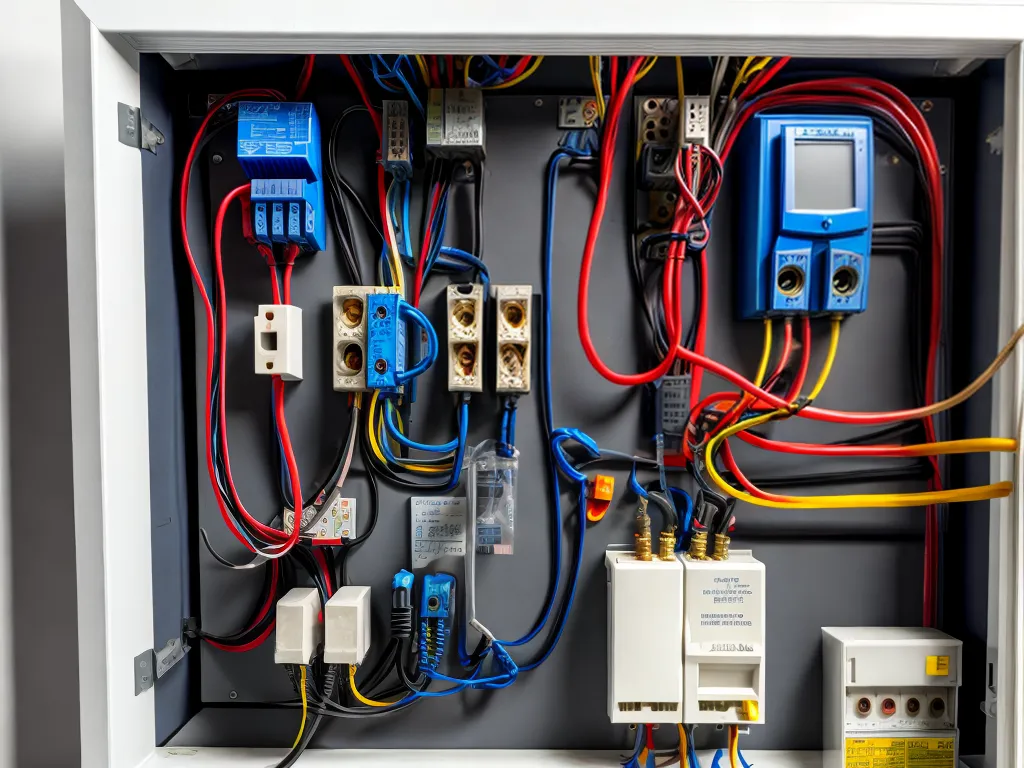
How to Wire a 200 Amp Service Panel
Introduction
Upgrading your home's electrical service to 200 amps provides more power for larger appliances and more circuits. It allows you to run multiple high-draw appliances simultaneously without tripping breakers. Wiring a 200 amp service panel is a complex job that requires expertise, but with proper precautions and the right materials, a knowledgeable homeowner can DIY the project. This guide will walk you through the complete process of wiring a 200 amp service panel safely and correctly.
Things You'll Need
Before starting, ensure you have all the necessary materials and tools:
- 200 amp load center or breaker panel
- Appropriate gauge copper or aluminum wire for 200 amp service
- Conduit or armored cable to run wires
- Breakers - 200 amp main breaker, branch circuit breakers
- Ground rods and ground wires
- Metal junction boxes
- Cable staples and clamps
- Wire strippers, cutters, screwdrivers
- Electrical tape, labels, markers
- Voltmeter and clamp meter
- Safety equipment - glasses, gloves, boots, etc.
Turn Off Power
The first step is to turn off power at the main breaker. Use a non-contact voltage tester to ensure power is off. Then, remove the cover and disconnect all wires from the existing panel.
Install New Panel
Mount the 200 amp load center in the desired location using appropriate screws or bolts. Ensure it is mounted securely. Leave at least 30 inches of clear space in front of the panel.
Run Conduit and Wires
Run conduit from the main panel to the electrical meter outside. Use the appropriate size conduit for the wire runs. Pull the correct gauge feeder wires through the conduit from the panel to the meter. Secure the wires neatly with cable clamps.
Connect Grounding and Neutral Wires
Connect the ground wire from the panel to the ground rods outside using proper clamps and fittings. Also connect the neutral wire to the ground at the main panel. Keep ground and neutral connections separated.
Connect Hot Wires
Connect the two hot feeder wires from the panel to the lugs on the meter. Use caution when working behind the meter, and follow local codes. Meters are owned by the utility company.
Install Breakers
Install a 200 amp main breaker in the panel, matching the conductor size. Then install appropriate branch circuit breakers for each new circuit as needed. Follow the panel's labeling scheme.
Connect Branch Circuits
Run branch circuit wiring from the breakers to new and existing loads and receptacles. Use cable staples as needed. Ensure wires are properly sized for each circuit. Connect the wires securely to breakers and outlets.
Apply Labels
Attach labels or tape with a marker to identify all wires. Label the main breaker, branch circuits, neutral bar, and ground bar. Include voltage and amperage ratings.
Close Up and Turn On Power
With all wiring complete, close up the panel cover securely. Turn power back on at the main breaker. Use a voltmeter to check voltage. Finally, turn on branch breakers and test outlets.
Wiring a 200 amp service panel is not a DIY project for a novice. Consider hiring a licensed electrician if you lack experience. Follow all electrical codes and exercise extreme caution when working with high voltage wires. With proper materials, careful planning, and attention to safety, you can upgrade your home's service panel to 200 amps.