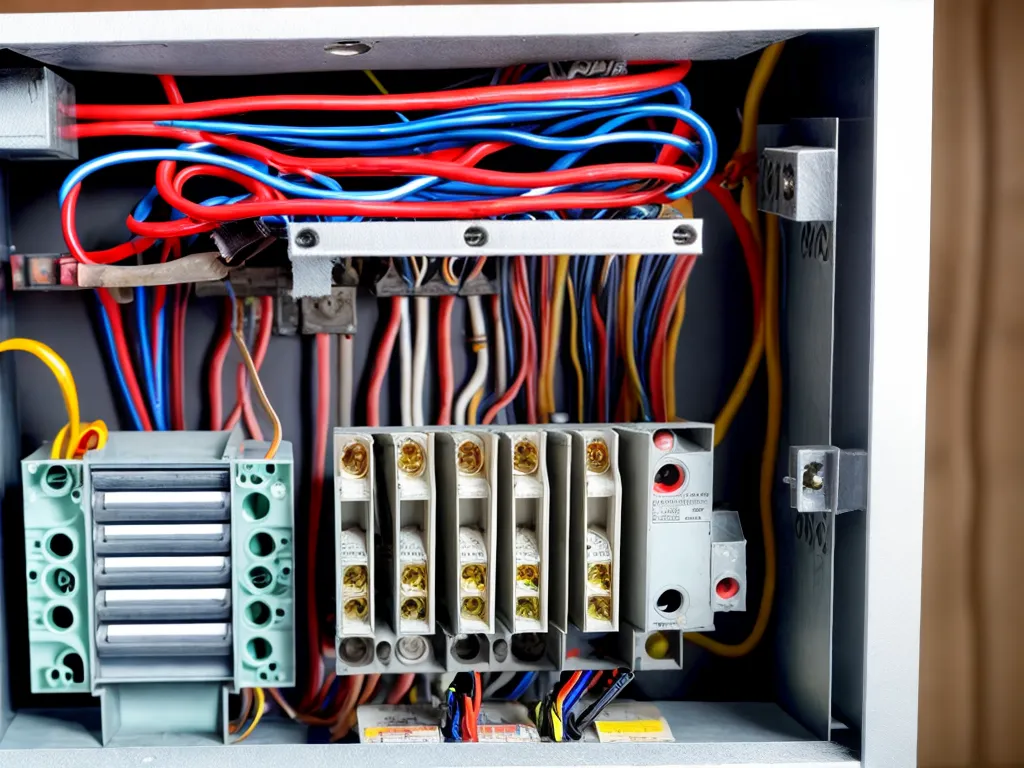
How to Wire a 200 Amp Subpanel From the Main Breaker Box
Introduction
Installing a new subpanel can provide additional circuits and increase the overall capacity of your electrical system. Wiring a 200 amp subpanel from the main breaker box is a project a knowledgeable DIYer can tackle with proper planning and attention to safety. In this comprehensive guide, I will walk through all the steps involved to add a new 200 amp subpanel fed from your existing main service panel.
Things You'll Need
Before getting started, make sure you have all the necessary materials and tools:
- 200 amp load center (subpanel)
- Appropriate gauge THHN wiring (typically 2/0 aluminum for 200 amp subpanel)
- Grounding rods and #6 solid copper wire for grounding subpanel
- Conduit or cable for running wiring between main panel and subpanel
- Breakers for subpanel (both main breaker and branch circuit breakers)
- Strain reliefs for conduit connections
- Cable cutters, strippers, wrenches, voltmeter, etc.
- Electrical tape, wire nuts, labels, and other misc supplies
You'll also need to obtain a permit from your local building department before starting work.
Step 1: Turn Off Main Power
The first step is to shut off the main breaker in your existing electrical panel, which will cut power to the entire house. This is an essential safety precaution whenever working on electrical wiring.
Use a non-contact voltage tester to double check that all wires in the panel are de-energized before proceeding. You can never be too safe when dealing with electricity!
Step 2: Install New Subpanel
Decide on a location for the new subpanel, keeping in mind the wiring run from the main panel. Garages, basements, and utility rooms are typical locations. Mount the subpanel securely to the wall using appropriate screws and anchors. The subpanel should be installed in an accessible, dry location with at least 30 inches of space in front of it.
If mounting the subpanel directly to masonry or concrete, use tapcons or a masonry drill bit to pre-drill holes. For mounting to wood studs, use heavy duty wood screws. Make sure the panel is mounted level and plumb.
Step 3: Run Conduit and Wires
Determine the wiring route between the main panel and subpanel location. The conduit containing the conductors can either run through walls and ceilings or along their surfaces. Common wiring methods include:
- EMT conduit - thin wall metal conduit for running through walls and ceilings
- PVC conduit - plastic conduit for running underground or concrete slabs
- Metal clad cable - armored cable pre-bundled with THHN conductors
The required wire size is dictated by the amp rating of the subpanel, in this case 200 amps. Typically, 2/0 AWG aluminum wire is sufficient. You'll need an insulated neutral, ground, and 2 hot wires (plus ground).
Run conduit and wires between main panel and subpanel. Use proper techniques for bending EMT conduit to avoid kinks. Attach conduit securely using straps or hangers. Label all wires with source and destination.
Step 4: Connect Grounding Electrode Conductor
The grounding electrode conductor (GEC) bonds the ground bus in the subpanel to the house's grounding electrodes. This provides a path to safely dissipate any electrical faults or surges.
Run a #6 AWG solid copper wire from the ground bus in the new subpanel to existing ground rods or a Ufer ground. Connect tightly using proper lugs and clamps. The GEC for a 200 amp subpanel should be kept as short and direct as possible.
Step 5: Connect Neutral and Ground Buses
In the new subpanel, the neutral bus and ground bus are isolated from each other. We need to connect them together just like in the main panel.
Run a short jumper wire between the neutral bus and ground bus in the subpanel. A 6 AWG copper wire is sufficient. This bonds the two buses together at the subpanel.
Step 6: Connect Hot Wires
Now we can connect the hot wires from the main panel to the subpanel main breaker. Make sure the main breaker in the subpanel is turned off before making these connections.
Land the two hots on the lugs of the 200 amp main breaker in the new subpanel. Double check that wire insulation clears the breaker enclosure. Verify tight, secure connections.
Step 7: Connect Neutral Wire
The neutral wire from the main panel gets connected to the neutral bus in the new subpanel.
Land the insulated neutral conductor onto the neutral bus bar in the subpanel. Torque properly to specifications. Use a non-contact voltage tester to verify all wires are de-energized before proceeding.
Step 8: Install Cover and Branch Breakers
Re-install the deadfront cover on the new subpanel. This protects internal components from debris and accidental contact.
Install any desired branch circuit breakers for additional circuits you may want to add. Follow manufacturer specifications for proper breaker sizes and types.
Step 9: Turn Power Back On
That completes the physical installation! Now we can turn everything back on and test operation.
First, turn on the main breaker in the new subpanel. Use a voltmeter to verify 240 volts between the hot wires. Next, switch on the main breaker in the main panel. Everything should now be energized.
Thoroughly test all circuits with the subpanel on and off. Verify proper voltage and operation. Your new 200 amp subpanel should now be fully installed and ready to power additional circuits!
Conclusion
Installing a 200 amp subpanel involves careful planning and attention to electrical codes and safety. But the project can certainly be DIYed by a knowledgeable homeowner. Following the steps outlined above will result in a safe, high capacity subpanel ready for new circuits and expanded electrical capability. Just be sure to obtain permits and have the finished work inspected before putting into service.