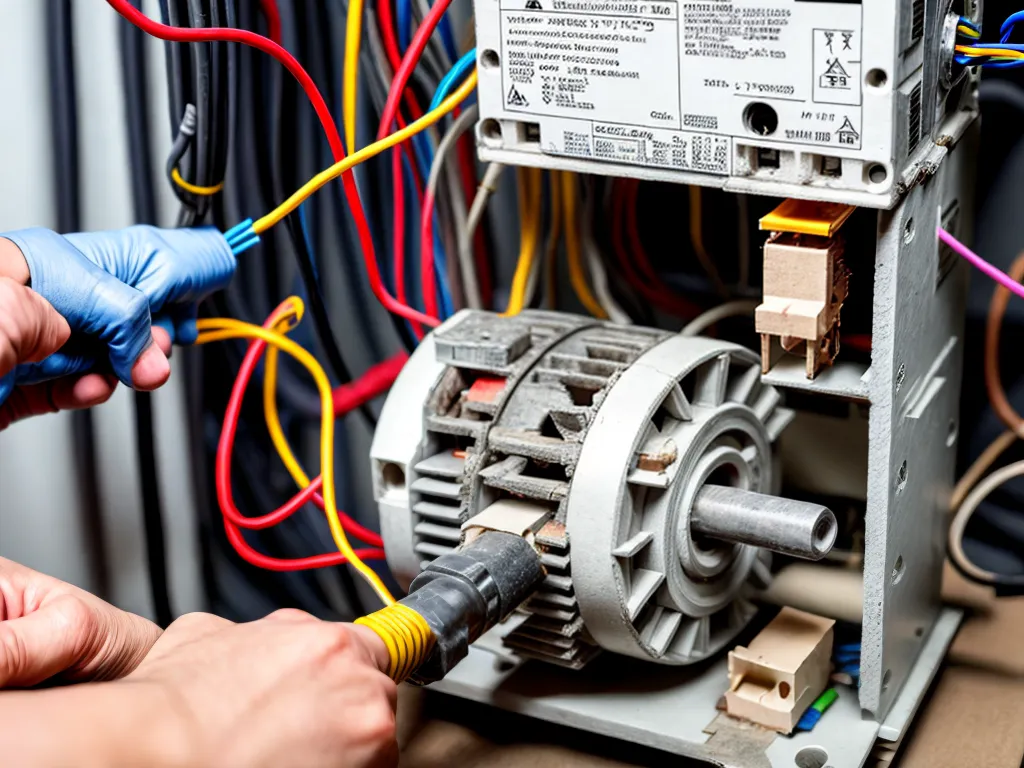
Wiring a 3 phase AC motor can seem intimidating to some, but with the right preparation and safety precautions, it can be done safely and efficiently. In this comprehensive guide, I will walk through the complete process of wiring a 3 phase AC motor, from understanding the different components, selecting the right wire and tools, to step-by-step instructions for making the connections.
Understanding 3 Phase Power and Motors
Three phase power consists of three AC voltages shifted in phase by 120 degrees from each other. This creates a more consistent power output compared to single phase electricity.
3 phase motors are powered by three phase electricity and can provide a higher starting torque and run more efficiently than single phase motors. They utilize all three phases of supplied voltage to create a rotating magnetic field which causes the motor to spin.
Some key advantages of 3 phase motors include:
- Higher starting torque
- Run more efficiently
- Produce smoother power
- Can be controlled easily using a VFD (variable frequency drive)
3 phase motors have applications in industrial settings, HVAC systems, large appliances and machinery. They are available in a wide range of sizes and configurations to suit different purposes.
Choosing the Right Wire
Selecting the appropriate gauge and type of wire is crucial for safely delivering power to the 3 phase motor. Here are some key factors to consider:
- Voltage - Select wire insulation rated for the voltage of your 3 phase power supply. Common voltages are 208V, 230V and 480V.
- Amperage - Choose a wire gauge thick enough to handle the full load amperage of the motor. Thicker wire is required for higher amperage.
- Temperature rating - Wire insulation should be rated for the maximum temperature environment it will be used in. Common ratings are 60°C, 75°C and 90°C.
- Type - Common wire types include THHN, XHHW-2, RHH/RHW-2 for wet/damp locations. Use wiring marked with AWM/THWN-2 for both dry and wet locations.
For most motors, 10 AWG wire is sufficient. 12 AWG can be used for smaller motors under 10 Amps. Use wire strippers, cutters and terminals rated for the wire size you are using.
Safety Precautions
Working with 3 phase power requires special safety precautions:
- De-energize and lockout/tagout the 3 phase breaker supplying power to the motor circuit before wiring.
- Verify with a multimeter that power is off to avoid shock hazard.
- Wear insulated gloves and be careful not to touch bare wires while energized.
- Use extra insulation like electrical tape when making connections.
- Ensure proper phasing - motors can be damaged if connected out of phase.
- Ground the motor frame using the grounding terminal to prevent shocks.
Step-by-Step Wiring Process
Follow these steps to safely wire a 3 phase AC motor:
1. Shut Off Power
The first crucial step is to shut off power to the 3 phase circuit at the breaker supplying the motor leads.
Lock out and tag the breaker to prevent accidental activation of power during wiring.
2. Inspect Motor Terminal Box
Remove any covers on the motor terminal box to access the wiring lugs/terminals. Inspect for any signs of damage, burned terminals or excessive dirt/debris. Clean if necessary and ensure the box is in good condition before wiring.
3. Phase Verification
Use a multimeter to test for power and verify the motor leads are de-energized before handling or connecting wires. Check for voltage between pairs of leads.
You may need to swap leads in the terminal box to match the phases from your power source. Motors can be damaged if connected out of phase.
4. Select Proper Wire Size
Choose the appropriate gauge wire based on the voltage, amperage and temperature rating required for your motor usage. Gather the necessary wire stripping and cutting tools for the wire size.
5. Cut and Strip the Motor Wires
Measure and cut wires to the required length to reach from your 3 phase supply to the motor leads. Add several extra inches for flexibility and mistakes.
Use the wire strippers to remove 3/4 in. of insulation from the ends of each wire. Take care not to nick the copper.
6. Connect Motor Wires
Thread the stripped ends of your supply wires through any required conduit and strain relief. Then firmly connect wires to the appropriate terminals for each phase:
- Phase 1 - T1, L1 or Black
- Phase 2 - T2, L2 or Red
- Phase 3 - T3, L3 or Blue
Consult motor documentation if you have any questions on terminal labels.
7. Secure the Terminals
Once wired, pull on each wire to verify a tight connection. Then tighten the terminal screws securely to lock the wires in place.
Use electrical tape to cover exposed sections of wire around the lugs for extra insulation. This prevents shorts.
8. Ground the Motor
Find the grounding terminal on the frame of the motor housing. Connect an adequate gauge ground wire here, running back to your grounded power supply.
This provides a safe path for any electrical faults to drain harmlessly to the ground instead of passing through a person.
9. Check Direction of Rotation
Briefly power up the motor and verify proper rotation of the shaft. If it is spinning in the wrong direction, swap any two of the 3 phase wires to change rotation.
Shut off and re-lockout power before swapping wires.
10. Re-check Connections
With everything wired up, check all connections for tightness one last time before closing up the terminal box. Replace any covers removed earlier.
11. Restore Power
The motor is now ready for full power. Remove lockout/tag and restore supply to the motor circuit. Monitor operation during initial startup in case any problems occur.
Take appropriate precautions and follow local electrical codes carefully when wiring up 3 phase motors. Although the process is fairly straightforward, mistakes can result in damage or dangerous operating conditions. Let me know if you have any other questions!