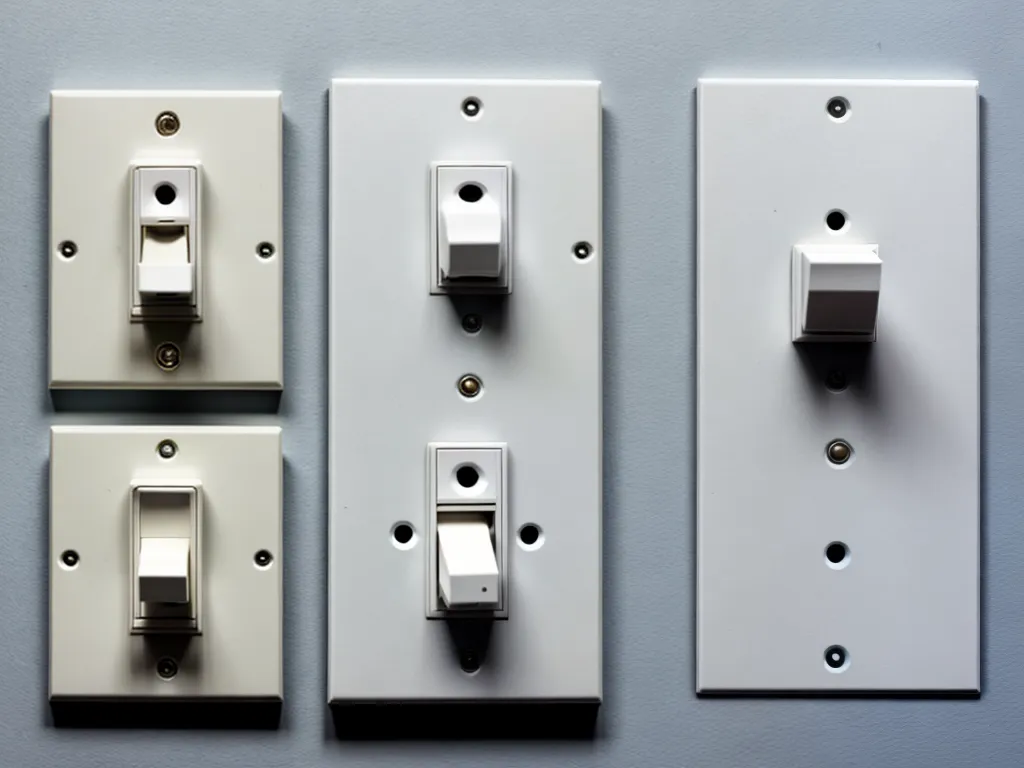
A 3-way dimmer switch allows you to control a light fixture from two different locations in a room. For example, you may have a dimmer switch by the bedroom door and another one next to the bed to turn the lights on or off and dim from both locations.
Wiring a 3-way dimmer requires basic electrical knowledge and expertise. Improper wiring can lead to dangerous situations like electrical fires or electrocution. If you are uncomfortable working with electrical wiring, it's best to hire an experienced electrician. However, if you want to DIY, follow these steps:
Electrical Safety Precautions
When wiring a 3-way dimmer switch, follow these electrical safety guidelines:
-
Turn the power off at the circuit breaker - Make sure the circuit you'll be working on is completely dead. Test with a non-contact voltage tester.
-
Use the proper tools - Lineman pliers, wire strippers, screwdrivers, electrical tape, and a voltage tester. Never use damaged or wet tools.
-
Wear personal protective equipment - Safety glasses, work gloves, and non-slip shoes.
-
Check wires and boxes - Replace damaged wires. Use properly sized electrical boxes.
-
Connect wires securely - Loose wire connections can lead to arcing and fires.
-
Organize wires neatly - Prevents wires from getting pinched or damaged.
How a 3-Way Dimmer Works
A 3-way dimmer circuit has the following components:
-
Line or Hot Wire - Carries power from the electrical panel to the switches and light. Usually black.
-
Load Wire - Connects the switches to the light fixture. Usually black.
-
Traveler Wires - Carry power between the two switches. Usually red and black/white.
-
Neutral Wire - Completes the circuit. Usually white.
-
Ground Wire - Safety wire that prevents shocks. Usually bare copper or green.
The two 3-way switches each have a common copper or black screw and two traveler brass screws. The traveler wires connect between the two switches in a crossover configuration. This allows the switches to communicate and control the light from both locations.
Switch Box Wiring
Follow these steps to wire two 3-way dimmer switches:
1. Turn Power Off and Identify Wires
Shut off the circuit breaker controlling the switch and light fixture. Remove the old switches and detach the wires. Identify the line, load, neutral, ground, and traveler wires with a voltage tester.
Tip: The line and load wires are usually the same color (black) and can be identified by testing voltage.
2. Connect Switches and Grounds
Connect the ground wires to the ground screws on each dimmer switch. If there is no ground wire in the box, attach grounds from each switch to the grounded metal boxes.
Connect the neutral (white) wire to the neutral silver screw on one switch. If there is no neutral, consult an electrician before proceeding.
3. Connect the Travelers
Connect one traveler between the brass screws on both switches. This connects the top screws.
Connect the other traveler between the bottom screws.
Note: One traveler from each switch must go to a top screw and bottom screw on the other switch.
4. Attach Load and Line
Attach the load wire to the black common screw on one switch.
Attach the line wire to the common screw on the other switch.
Double check that the line and load are on opposite switches.
5. Mount Switches and Test
Carefully mount the dimmer switches into the electrical boxes. Attach the faceplates and circuit breaker panel cover.
Restore power and test the switches. Make sure both can turn the lights on and off and dim properly.
Also test the switches with the light bulb removed. Both switches should still be able to turn power on and off at the fixture box.
Caution: If the circuit trips, immediately turn off power and re-check wiring.
3-Way Dimmer Switch Wiring Diagram
Here is a basic wiring diagram showing the electrical connections for two 3-way dimmer switches controlling a light fixture:

The line or hot source is connected to one switch, the load to the other. The traveler wires cross connect between switches. The neutral wire connects to just one switch, and grounds connect to both.
This covers the basics of how to wire 3-way dimmer switches. Always exercise caution and turn power off before wiring switches or other electrical components. Follow local electrical codes and permit requirements. If in doubt, consult a qualified electrician.