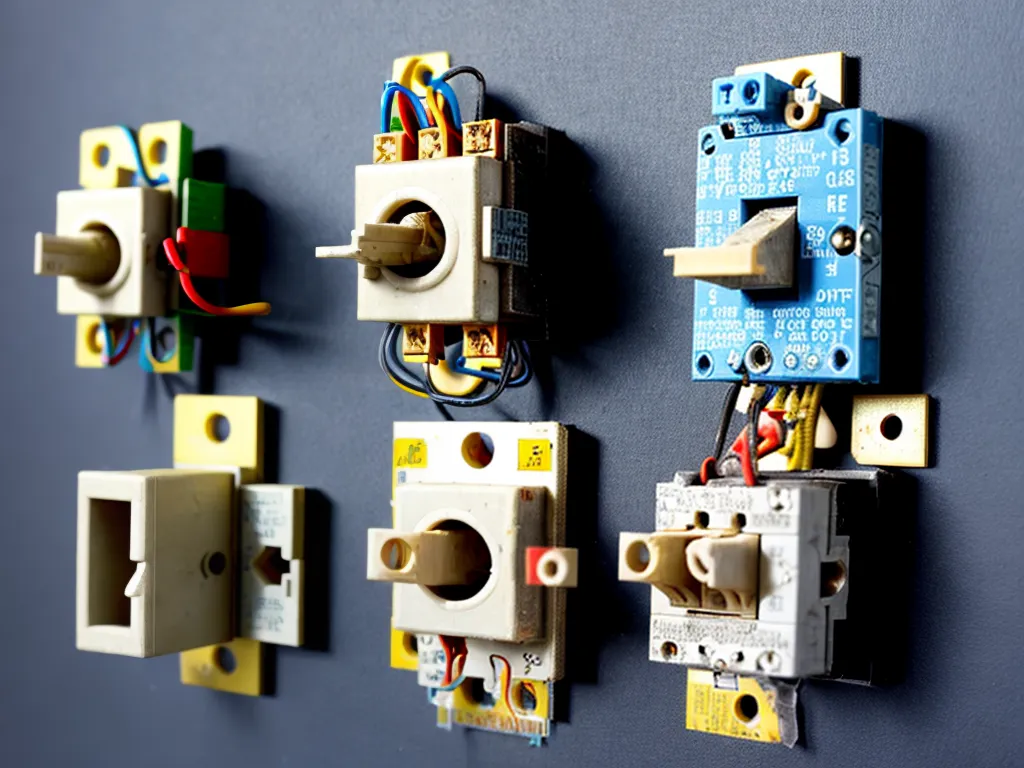
How to Wire a 3-Way Switch
Introduction
Wiring a 3-way switch allows you to control a light fixture from two separate locations, like at the top and bottom of a staircase. 3-way switches require a bit more wiring than standard single-pole switches but are not much more difficult to install. With some basic electrical knowledge and the right materials, wiring a 3-way switch is a project I can tackle.
What You Need
Before starting this project, I gathered the necessary materials:
-
Two 3-way switches - SPDT (single pole, double throw) switches with three terminals.
-
Electrical box - Plastic or metal box to mount the switches in.
-
Cable - 14/2 or 12/2 NM (nonmetallic) cable with black, white, red and ground wires.
-
Wire connectors - Twist-on wire connectors to join the wires.
-
Voltage tester - To make sure the power is off before working.
-
Phillips screwdriver - To mount the switches and connect the wires.
How a 3-Way Switch Works
Before wiring the switches, it helps to understand how a 3-way switch circuit works.
A 3-way switch circuit has two switches that control one light fixture. The switches are connected with a 3-wire cable that consists of a common wire and two traveler wires.
-
The common wire connects to one terminal on each switch.
-
The two traveler wires connect to the other two terminals, one wire per terminal.
-
The traveler wires carry the electricity between the two switches.
-
The common wire carries it to the light.
One switch will have the common wire and one traveler wire. The other switch will have the common wire and the other traveler wire. This allows the switches to either complete or interrupt the circuit to turn the light on and off from both locations.
Step-by-Step Installation
With an understanding of how 3-way switches work, I am ready to install them.
1. Turn Off the Power
The first step is to turn off the power to the circuit at the breaker box. Verify it is off by using a non-contact voltage tester. Safety first!
2. Install the First Switch
Choose one of the locations for the first 3-way switch. Remove the existing switch and disconnect the wires. There will likely be two cables, one from the power source and one leading to the light fixture.
Connect the common wire from the 3-wire cable to the common terminal on the new 3-way switch. Connect the live wire from the power source to the other terminal. Install the switch in the box and secure it in place.
3. Install the Second Switch
Go to the location for the second 3-way switch. Like before, remove the old switch and disconnect the wires.
One cable will lead to the light fixture. Connect this black "hot" wire to the common terminal on the second 3-way switch.
Connect the red traveler wire from the 3-wire cable to one of the other terminals. Connect the black traveler wire to the other terminal.
Mount the second switch in the box.
4. Connect the 3-Wire Cable
Run the new 3-wire cable between the two switch boxes. Make sure to secure it tightly.
5. Complete the Wiring
With the new 3-wire cable connected between the two switches, the wiring is complete.
-
Both switches should have the common wire on their common terminals.
-
One switch will have the red traveler, the other the black traveler.
-
The black wire from the fixture will connect to the common terminal on the second switch.
Double check all connections are tight and secure.
6. Test and Troubleshoot
Turn the power back on and test that the switches work properly. The light should turn on and off from both locations.
If it doesn't, turn the power back off and check the wiring against the diagram. Verify the traveler wires go to separate terminals on each switch and the common terminal is consistent.
Helpful Wiring Diagrams
Referring to wiring diagrams as you install 3-way switches helps avoid mistakes.
Here are two common 3-way switch wiring setups:

3-way switch wiring with power at the light fixture

3-way switch wiring with power at one switch
Following the appropriate diagram for your situation will ensure the switches and light operate correctly.
Conclusion
Installing 3-way switches is a great DIY home improvement project to take on. Following basic safety procedures and understanding switch wiring principles will ensure success. Take it slow, double check your connections, and be ready to troubleshoot if needed. With a little diligence, you'll get those 3-way switches wired up and working in no time!