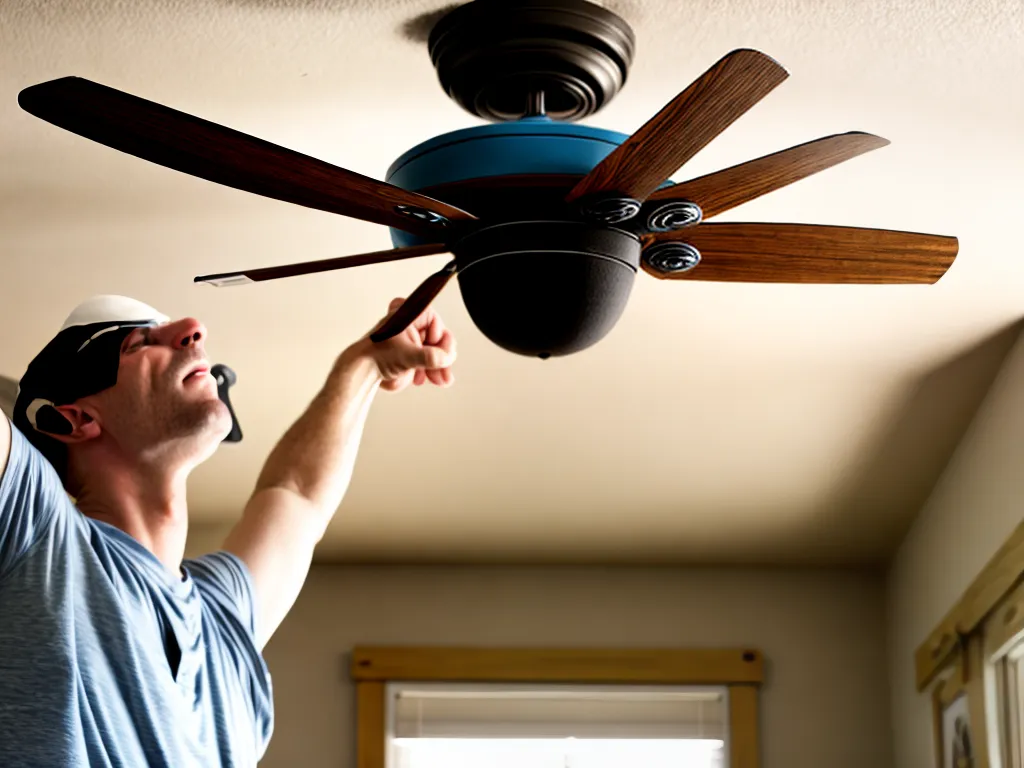
How to Wire a Ceiling Fan the Old-Fashioned Way
Introduction
Installing a ceiling fan can be an intimidating task, especially if you want to do it the old-fashioned way without relying on modern conveniences. However, with some basic electrical knowledge, the right tools, and a bit of patience, wiring a ceiling fan the old-fashioned way is completely doable as a DIY project. In this comprehensive guide, I'll walk you through the entire process step-by-step.
Things You'll Need
Before getting started, make sure you have all of the necessary supplies and tools on hand:
-
Ceiling fan - Purchase a ceiling fan that fits your needs and style. Make sure it is compatible with the type of electrical wiring in your home.
-
Wire strippers - You'll need these to strip the plastic coating off the ends of the wires.
-
Voltage tester - Essential for testing if the wires are live before you work on them.
-
Phillips screwdriver - To open up the ceiling fan motor housing and ceiling electrical box.
-
Pliers - Helpful for bending and shaping the wires.
-
Electrical tape - To cover wire connections.
-
Wire nuts - To join the wires together.
-
Ladder - To reach the ceiling electrical box.
Turn Off Power at the Breaker
Before touching any wires, you must make sure the power is switched off at the breaker box. Locate the correct breaker and turn it to the "off" position. Double check with a voltage tester that the wires in the ceiling box are no longer live. Working on live electrical wires can result in severe injury or death, so this step is critical.
Remove the Existing Light Fixture
If there is currently a light fixture installed in the location where you want to put the ceiling fan, start by removing it. Take note of how the existing light fixture was wired for reference later. Unscrew the mounting bracket and carefully take down the fixture.
Install the Ceiling Fan Mounting Bracket
The ceiling fan will hang from a mounting bracket that gets attached directly to the electrical box in the ceiling. Use the provided screws to securely fasten the mounting bracket based on the manufacturer's instructions. The bracket must be able to support the full weight of the fan.
Identify the Wires
There will likely be three wires coming from the ceiling electrical box - a black (hot), white (neutral), and either a green or copper (ground). There should also be a grounding screw on the electrical box itself. The wires for the ceiling fan will also have black, white, and green/copper. Identify and familiarize yourself with each.
Connect the Wires
This is where the actual wiring takes place. Follow these steps carefully and use the wire nuts to securely connect:
-
Green/copper to green/copper - Connect the ground wires from both the ceiling and ceiling fan.
-
White to white - Connect the neutral wires from the ceiling to the ceiling fan.
-
Black to black - Connect the hot wires from the ceiling to the ceiling fan.
Make sure all wire nut connections are tight and secure, then wrap electrical tape around each one as an additional protective measure.
Secure the Ceiling Fan
With the wiring complete, you can now mount the ceiling fan assembly onto the mounting bracket. Make sure the wires are tucked neatly into the electrical box and out of the way. Use the provided hardware to bolt the ceiling fan motor securely to the bracket according to the manufacturer's instructions.
Install the Fan Blades
Attach the fan blades to the motor using the provided blade arms and screws. Make sure the blades are firmly screwed into the arms, and all screws are tight. Refer to the ceiling fan manual for guidance.
Test and Finish the Installation
You're almost done! Turn the power back on at the breaker box. Grab your ladder and voltage tester to verify power is running to the ceiling fan. Installing the light kit and glass shades are next if your fan includes lights. Finally, turn on the fan to make sure it is operating and spinning properly.
With some patience and attention to safety, wiring a ceiling fan the old-fashioned way with basic electrical knowledge is an accomplishment you can feel proud of. Just be sure to turn off the power first and make secure wire connections. Enjoy your new breeze!