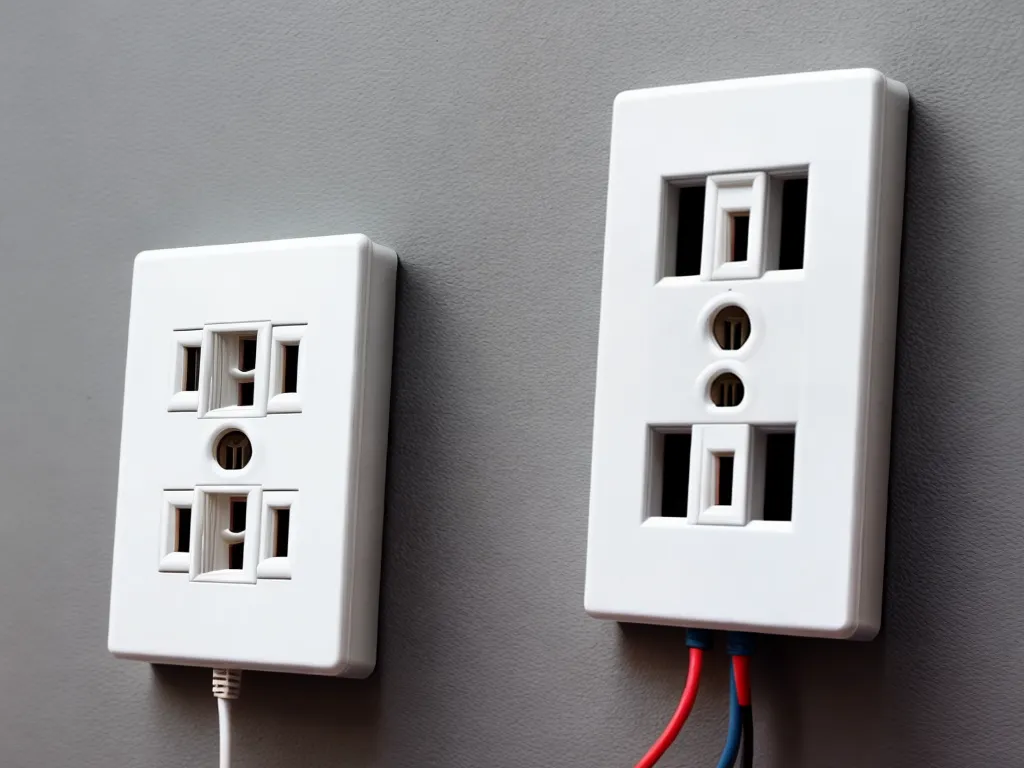
How to Wire a European Style 240V Outlet in Your American Home
Installing a 240 volt outlet in your home can be useful if you want to run large appliances that require a higher voltage. While most homes in the US use 120 volt outlets, wiring a 240V European-style outlet is a straightforward DIY project if some safety precautions are taken.
Understanding 240V vs 120V
The electricity system in Europe runs on 230-240 volts, while American homes operate on 110-120 volts. This difference means that European appliances are designed for higher voltage. Connecting a 240V appliance to a 120V outlet can damage the appliance or cause unsafe conditions.
Similarly, plugging a 120V appliance into a 240V outlet can also be hazardous and overload the appliance. To use European 240V appliances safely in your American home, you need to install a compatible 240V outlet.
Some examples of high-power appliances that may require 240V:
- Electric ovens/ranges
- Clothes dryers
- Air conditioners
- Electric water heaters
- Radiant floor heating systems
Wiring a 240V circuit requires running two 120V hot wires along with a neutral and ground wire. The double voltage allows more power to be delivered safely.
Circuit Requirements
Here are some important factors to consider for a 240V circuit:
-
Use the proper gauge electrical wire based on the amperage rating of the circuit. For example, a 20 amp 240V circuit will need minimum 12 AWG wire.
-
The circuit must connect to a double pole 240V breaker in your main service panel. Match the breaker amp rating to the outlet amperage.
-
Run the 240V circuit wiring directly back to the main breaker panel, with no connections to other outlets along the way.
-
Use a grounded NEMA 6-15 or NEMA 14-30 outlet designed for 240V. Match the outlet to the plug of your appliance.
Safety Precautions
Working with electrical wiring carries risk of shock and fire hazards. Here are some key safety tips:
-
Turn off the main breaker to disconnect power before wiring.
-
Only work on 1 circuit at a time to avoid confusion.
-
Follow local building codes for permitted work and electrical boxes.
-
Use extreme caution and double-check all connections.
-
Consider hiring an electrician if you are uncomfortable working with high voltage.
Step-by-Step Installation
Follow these general steps to add a 240V outlet in your home:
1. Turn Off Power
Switch the main breaker in your electrical service panel to the OFF position. Verify power is off by testing with a non-contact voltage tester.
2. Run Circuit Wires
Run a 10/2 NM cable from the service panel to the outlet location. Use 12 AWG for a 20 amp circuit or 10 AWG for a 30 amp circuit. Pull enough length to make connections.
3. Install Electrical Box
Cut into the drywall to install an appropriate electrical box to house the 240V outlet. Secure the cable clamps and attach the box.
4. Connect Outlet Wires
Strip the wire insulation and connect the hot, neutral, ground wires to the outlet terminals. Follow the outlet wiring diagram.
5. Connect Breaker
Route the wires into the main service panel. Cut to length and connect to the double pole 240V breaker.
6. Install Outlet
Attach the outlet into the electrical box per code requirements. Use spacers as needed to fit flush.
7. Test Circuit
Restore power, turn on the breaker, and use a voltmeter to test correct 240V at the outlet. Then switch off breaker.
8. Finalize Installation
Install a cover plate and seal up any openings. Turn breaker back on to use the 240V outlet. Test with appliance.
Wiring a 240V Outlet Safely
Installing a 240 volt outlet must be done with care and respect for the high voltage. Proper circuit sizing, grounding, and double-checking connections will ensure safe operation. Consider hiring an electrician if the project is beyond your skill level. Take your time, be cautious, and refer to electrical codes for your region. With the right safety approach, you can successfully wire a 240V European-style outlet in an American home.