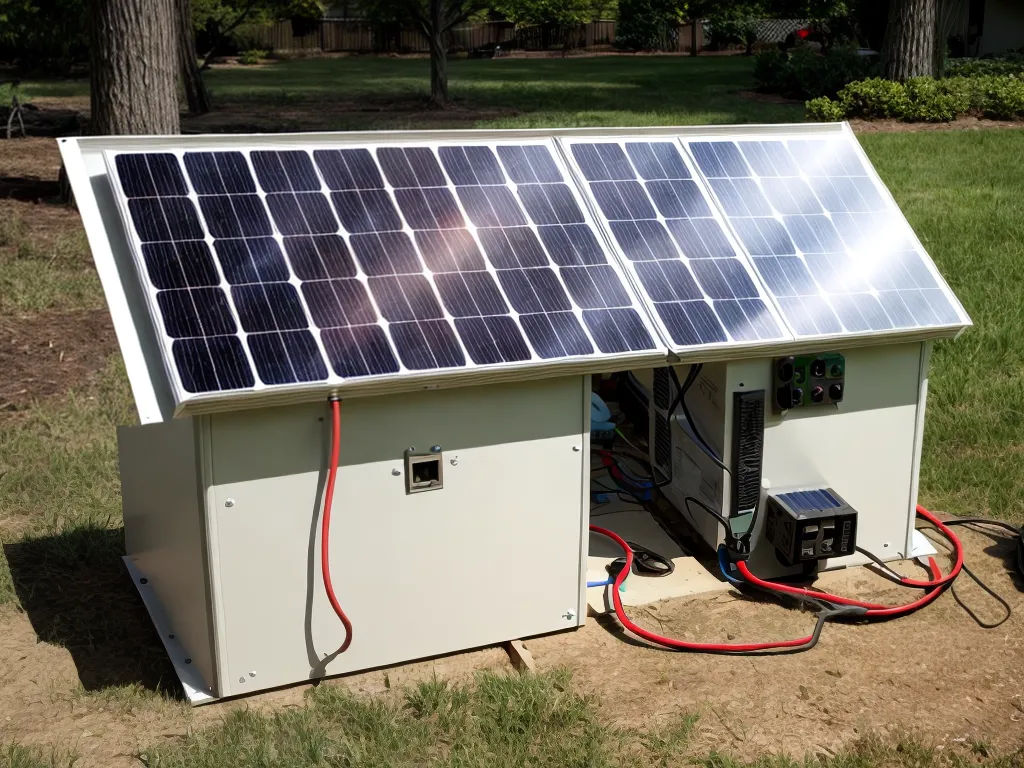
Introduction
Wiring a homemade solar generator provides an excellent way to harness renewable solar energy for powering various household appliances and electronic devices. With some basic electrical skills and components, you can build your own system that converts sunlight into usable electricity. This comprehensive guide covers everything you need to know to successfully wire a DIY solar generator.
Components Needed
To wire a homemade solar generator, you will need the following main components:
-
Solar panel - The solar panel absorbs sunlight and converts it into DC electricity. Select a panel or multiple panels with suitable wattage capacity for your needs.
-
Charge controller - The charge controller regulates the voltage and current from the solar panels going into the battery bank. It prevents overcharging and damage.
-
Batteries - Deep cycle lead acid batteries are commonly used to store the energy produced by solar panels. You need sufficient battery capacity and voltage (12V, 24V etc).
-
Inverter - The inverter converts the DC output from the batteries into standard 120V AC that powers appliances. Choose a pure sine wave inverter for smooth power output.
-
Wires and cables - You need adequate gauge wires and cables for connections that can handle the system voltage and current.
-
Fuses and breakers - Fuses and circuit breakers provide overload protection and safe disconnection of power when needed.
-
Enclosure box - This houses all the components together in one portable unit. Get a weatherproof box with good ventilation.
Sizing the System
When wiring your homemade solar generator, proper sizing of the components is crucial for efficiency and usability.
To determine the solar panel wattage and battery capacity needed, estimate your average power requirements. List all the devices you want to run and their wattage consumption. Choose deep cycle batteries with total capacity at least 2-3 times your estimated load.
The solar panel wattage should match the battery bank capacity. Under-sized panels charge slowly; over-sized panels are inefficient and waste power.
For the inverter, add up the starting and running watts of devices that may operate simultaneously. Choose an inverter with at least 25% more capacity than this total.
Wiring Diagram
Follow this standard wiring diagram to connect the components of your homemade solar generator:

The solar panel polarity connects to the charge controller which regulates charging into the battery bank. The battery bank then connects to the inverter which produces AC power for appliances. Fuses protect each connection point.
Step-by-Step Wiring Instructions
Follow these steps to wire your solar generator:
1. Mount Components in Enclosure
First, mount all the components neatly in the enclosure box, leaving space for wiring between them. The box should have adequate ventilation for cooling.
2. Connect Solar Panel to Charge Controller
Connect the cables from the solar panel to the charge controller terminals marked 'Solar Panel'. Match the polarity carefully - positive to positive and negative to negative. Add a fuse in the positive line for safety.
3. Wire Batteries to Charge Controller
Join the batteries in parallel first to reach desired capacity. Then connect the battery bank to charge controller at terminals marked 'Battery'. Run cables from the common negative first, then positive terminals. Add a fuse in the positive connection.
4. Connect Inverter to Batteries
Join the inverter to the battery bank - positive to positive, negative to negative. Use thick 10 AWG cables rated for the inverter output current. Add fuses in both lines for safety.
5. Add Load Terminals and Breakers
Install bus bars as load terminals to derive AC power. Connect the inverter output to bus bars via breakers that match your appliances. Add more ports if needed using additional bus bars.
6. Ground the System
Connect a grounding rod to the common negative bus bar to properly earth the system. This ensures user safety.
7. Complete Safety Checks
Double check polarity, tight connections and fuses before powering up. Check voltages at each stage. Turn on appliances one by one while monitoring voltage level.
Usage and Maintenance
Once wired up successfully, position the solar panel in direct sunlight and operate appliances as needed within the inverter capacity.
For maintenance, check wiring for damage, clean the solar panel periodically and equalize charge the batteries every few months.
With this comprehensive guide, you can now confidently build and wire your own high-quality, long-lasting solar generator for reliable off-grid power.