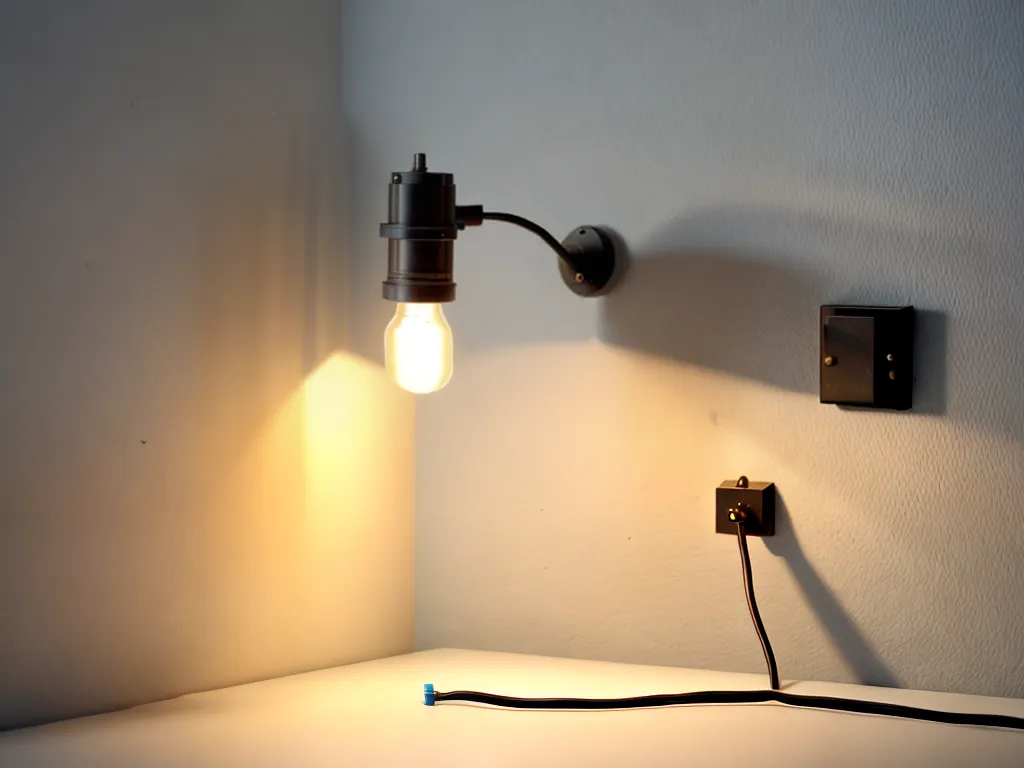
How to Wire a Lamp Socket
Wiring a lamp socket is a straightforward project that can add functionality and style to your home. With some basic supplies and following safety precautions, you can wire a lamp in about 30 minutes.
Safety First
- Turn off power at the breaker before starting any electrical project. Verify power is off by testing with a voltage tester.
- Wear safety goggles and gloves to protect your eyes and hands.
- Only work on wiring with the power turned off to avoid electrical shock.
- Follow all local electrical codes for home wiring projects.
Gather Supplies
You will need:
- Lamp socket - Choose a socket with E26/E27 screw base that matches your light bulb. Ceramic and plastic sockets are common.
- Light bulb - Select a bulb that does not exceed the socket's max wattage rating. LED bulbs run cooler than incandescent.
- Lamp parts kit - Includes threaded pipe, harp, finial for assembling the lamp body. Get one sized for your lamp base.
- Wire strippers - For stripping wire insulation.
- Needle nose pliers - For holding and bending wire.
- Wire cutters - For cutting wire to length.
- Wire nuts - For connecting wires. Get correct size for the gauge wire used.
- 18/2 lamp wire - Two insulated wires plus bare ground, in 18 gauge.
Prepare the Wires
- Cut two lengths of 18/2 lamp wire - one for hot and one for neutral. Leave 6 inches extra on each end.
- On both wires, strip 3/4" of insulation from both ends using wire strippers.
- On the hot wire, wrap the exposed copper ground wire around the outer insulation. Cap it off with electrical tape.
- Twist the ends of the hot and neutral wire strands tightly together with pliers. This prevents fraying.
Connect Wires to the Socket
- Unscrew the brass screw terminals on the sides of the socket. Often labeled "neutral" and "hot".
- Wrap the exposed end of the neutral wire clockwise around the silver/white neutral terminal.
- Wrap the hot wire's exposed end clockwise around the gold/brass hot terminal.
- Hold wires in place and tighten both terminals securely with a screwdriver.
- Give wires a gentle pull test to ensure they are tightly secured.
Install Socket in the Lamp
- Feed both wires up through the bottom of the lamp base. Leave 6" of wire above the top opening.
- Place socket inside the lamp base and hold it steady with one hand.
- Attach threaded pipe to the lamp socket. Tighten by hand until snug.
- Continue assembling lamp parts according to directions. Shade should rest on harp.
- Install light bulb, testing socket one last time before restoring power.
With the lamp socket wired up safely, you can now enjoy a stylish new lamp and admire your handiwork every time you turn it on! Taking the time to make electrical connections correctly ensures your lighting project will function reliably for years to come.