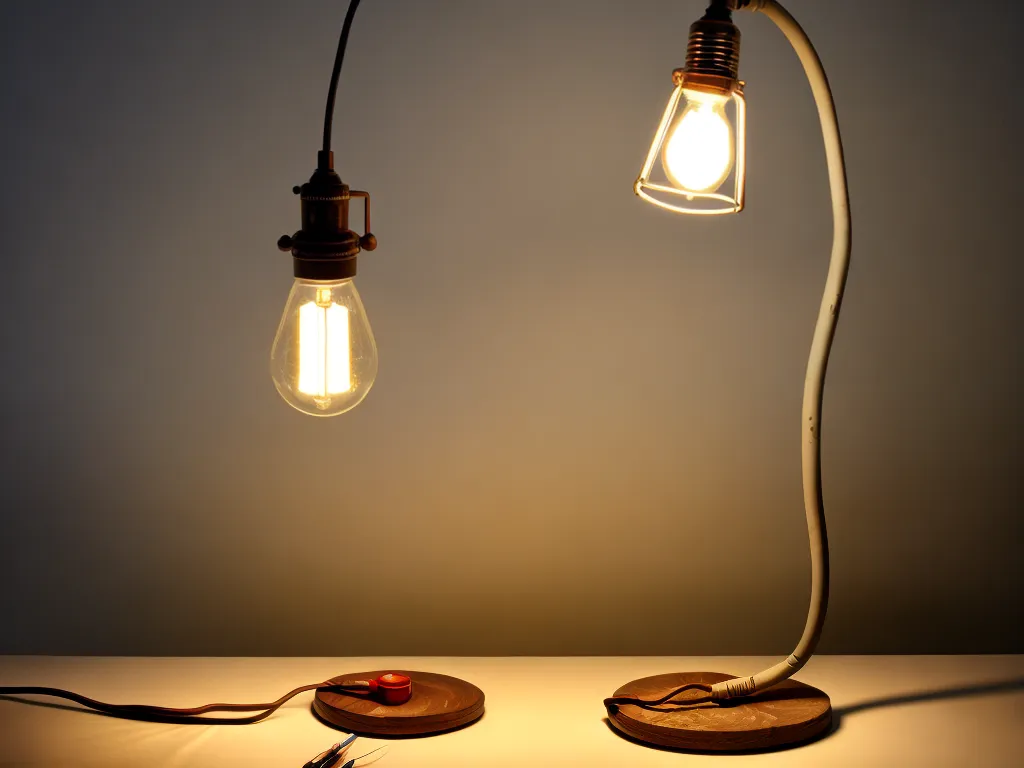
How to Wire a Lamp the Old Fashioned Way
I've always had a fondness for the simpler times, which is why I enjoy wiring lamps the old fashioned way. There's something nostalgic about using classic materials and methods to illuminate a room. In this article, I'll walk through the step-by-step process I use to wire a lamp without relying on modern shortcuts.
Gathering the Necessary Supplies
Wiring a lamp the old fashioned way requires just a few simple materials:
-
Lamp socket - This is the housing that connects to the lamp cord and holds the lightbulb. I prefer bakelite or ceramic sockets for their retro look.
-
Lamp cord - This is the electrical cord that runs from the lamp to the wall outlet. I like using cloth-covered two conductor cords for aesthetics.
-
Wire nuts - These are used to join the wires together. Get appropriately sized ones for the lamp cord gauge.
-
Screwdriver - You'll need this for connecting wires to the lamp socket. A basic flathead screwdriver does the trick.
-
Light bulb - Don't forget your light source! Vintage filament bulbs complement the old fashioned vibe.
-
Lamp base - The lamp socket gets mounted to this base, which conceals the wiring. I scour flea markets to find unique retro bases.
Optional supplies include a pair of wire strippers, electrical tape, and a continuity tester. Now let's get to the wiring!
Connecting the Lamp Socket
The first step is attaching the lamp socket to the lamp cord. Here's how I do it:
-
Use the wire strippers to remove 3/4" of insulation from the ends of the lamp cord's inner wires.
-
Loosen the screws on the side of the lamp socket. There will be two - a silver "neutral" one and a brass "hot" one.
-
Wrap the exposed neutral wire clockwise around the silver screw, and the hot wire around the brass screw.
-
Tighten the screws securely to hold the wires in place. Give them a gentle pull test.
-
Optional: For an extra level of insulation, wrap electrical tape around the bottom half of the socket where the wires are connected.
At this point, the lamp socket is mounted to the cord. Next we'll attach it to the lamp base.
Installing the Lamp Socket to the Base
There are just a couple steps left to complete the lamp wiring process:
-
Feed the lamp cord through the hole in the lamp base. Leave enough sticking out to make connections.
-
Position the socket over the hole and secure it in place with mounting screws. Many lamp sockets have holes designed for this.
-
Attach the neutral wire to the silver screw on the base, and the hot wire to the brass screw.
-
Check that all screws are tight and wires secure. Give them a gentle pull test.
-
Screw the light bulb into the socket. I prefer a retro filament style.
-
Optional: Use a continuity tester to confirm everything is properly connected.
With that, the lamp is fully wired the old fashioned way! All that's left is to plug it in and bathe the room in warm filament light. I find this hands-on process deeply satisfying and much more meaningful than just assembling a mass produced fixture. The final product is a charming vintage-style lamp that I can feel proud of making myself.
Tips for Troubleshooting Lamp Wiring Issues
Even when working slowly and carefully, you may encounter a wiring problem. Here are some troubleshooting tips I've picked up:
-
Check that the hot and neutral wires are connected to the proper screws on the lamp socket and base. Reversing them is a common mistake.
-
Make sure exposed wire ends are making solid contact under their screws, with no loose strands. Retwist and tighten if needed.
-
Try a different light bulb, in case the original was faulty. Vintage bulbs can be prone to issues.
-
Use a continuity tester to confirm electricity is flowing properly through the cord and socket. This can detect any broken connections.
-
Inspect the cord insulation for damage, nicks, or exposed wire that could be shorting. Electrical tape can temporarily insulate small gaps.
-
Consider redoing any joints using wire nuts instead of screw terminals. This may yield a stronger connection.
With careful wiring and these troubleshooting tips, I'm usually able to get a lamp working properly. The final gratification of illuminating a room with my own two hands outweighs any obstacles along the way.
The Satisfaction of Old Fashioned Lamp Wiring
While plug-and-play lighting is convenient, I find nothing compares to wiring a lamp from scratch the classic way. Methodically preparing each component, making connections by hand, and finally seeing the fruits of your labor bathe a space in beautiful light - it's incredibly rewarding. I appreciate the simplicity of mechanical components working harmoniously thanks to basic principles of electricity and some metal conductors. Lamp wiring the old fashioned way provides a satisfying hands-on experience that anyone can undertake with a little guidance. I hope this article has demystified the process and inspired you to try your own retro lighting project!