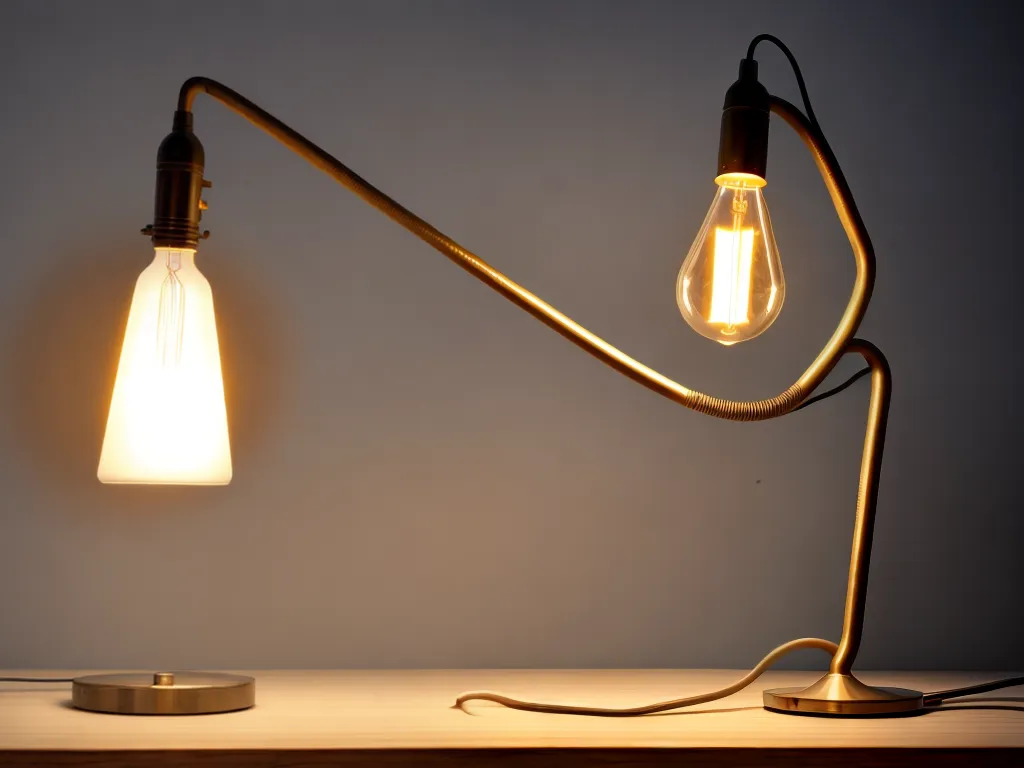
Wiring a lamp without any prior electrical knowledge may seem daunting, but with some research and by following basic safety guidelines, I was able to successfully wire a lamp on my own. There are a few key steps I took that made the process straightforward.
Understanding Lamp Wiring Basics
Before attempting to wire a lamp, it's important to understand some basics about how lamp circuits work. This gives you a foundation to build on before getting into the hands-on work.
The Role of the Cord, Wires, and Connections
The cord brings power from the outlet to the lamp. Inside the cord are wires that deliver electricity - typically there is a black (hot) wire, a white (neutral) wire, and a ground wire. The wires connect to the lamp hardware by wire connectors or sometimes solder.
Main Lamp Components
The main components involved in a basic lamp wiring project are:
-
Light bulb: Produces the light. Connects to the wires via the lamp socket.
-
Lamp socket: Holds the light bulb and connects it to the wires.
-
Switch: Allows the lamp to be turned on and off. It interrupts the hot wire.
-
Cord: Brings power from the outlet to the lamp.
How the Circuit Works
Electricity flows from the hot wire through the switch and light bulb/lamp socket to produce light. The neutral wire completes the circuit back to the outlet. The ground wire is a safety feature that gives electricity an alternate path to reduce risk of shock or fire.
Understanding these basics gives me confidence that I know what the role of each component is before wiring my own lamp.
Gathering the Right Supplies
I made sure I had all the materials I needed before I started my lamp wiring project. This included:
-
Lamp socket and hardware kit: Contains sockets, wires, connectors
-
Cord: With plug on one end and wires at the other end
-
Light bulb: The wattage must match lamp socket rating
-
Wire stripper: To remove plastic coating from wires
-
Needle nose pliers: For bending and securing wires
-
Switch: Inline on/off switch
-
Lamp base: The body of the lamp
Getting all my supplies together ensured that I could complete the wiring job in one sitting without any delays.
Step-by-Step Lamp Wiring Process
With my supplies gathered, I was ready to get hands-on with wiring my lamp. I took it slow, made sure to follow lamp wiring diagrams, and double checked connections.
Connecting the Wires and Socket
First I connected the wires from the cord to the wires on the lamp socket:
- Black cord wire to brass socket screw
- White cord wire to silver socket screw
- Ground cord wire to green socket screw
I made sure exposed wire was fully inserted and the screws were tight.
Installing the Wires into the Lamp Base
I next fed the wires through the lamp base opening and wired the socket into the base according to the manufacturer’s diagram. This involved more wire connections and securing the socket.
Incorporating the On/Off Switch
My next step was wiring up the on/off switch. I connected the black hot wire from the cord to one terminal on the switch and a short black wire from the other switch terminal to the black wire on the socket.
Testing the Circuit
Before finishing the lamp I tested the wiring circuit:
- Plugged in the cord
- Turned the switch on and off
- Confirmed the socket worked by installing a light bulb
This gave me a chance to check for problems and fix anything before finalizing the lamp.
Final Safety Checks
Before completing my DIY lamp wiring project, I did a few final safety checks:
- Confirmed no exposed wires were visible
- Checked wires were firmly connected
- Verified the lamp base did not have gaps around wiring
- Ensured the bulb in use matched the socket rating
Taking these precautions helped ensure my finished lamp was safe to use.
I Can Now Wire a Lamp On My Own
While basic lamp wiring seemed intimidating at first, by educating myself on the fundamentals and taking a methodical approach, I was able to successfully wire a lamp without any prior electrical experience. Following safety procedures also gave me confidence my finished lamp was properly wired. I now feel equipped to take on other basic household wiring projects with this understanding.