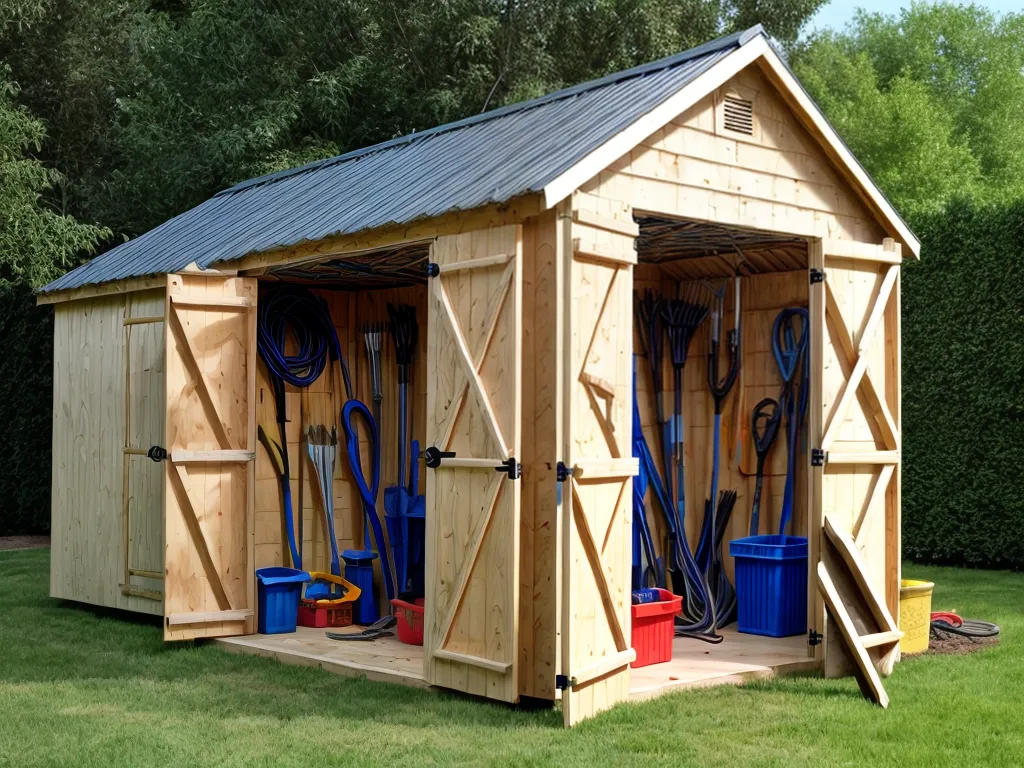
How to Wire a Shed on a Budget
Introduction
Wiring a shed can seem like an intimidating task, especially if you're trying to do it yourself on a budget. However, with some planning and DIY know-how, you can wire your shed safely and affordably. In this comprehensive guide, I'll walk you through the entire process step-by-step, from assessing your needs to choosing the right materials and wiring methods.
Determine Your Power Needs
The first step is figuring out what you'll use the shed for and how much power you'll need. Consider the following:
- Lighting: Determine how many light fixtures and outlets you need. LED bulbs are energy efficient.
- Devices/Tools: Will you run any tools or appliances? Know their wattage to size your circuit.
- Heating/AC: Will you need any climate control? This requires more power.
- Future expansion: Leave room to add more circuits later if needed.
Make a list of all lights, outlets, and devices to estimate your total wattage needs. This will help size the electrical service and any circuits.
Choose Wiring Method
You have two main options for running power to your shed:
Underground Feeder Cable
This involves burying a feeder cable underground from your main house electrical panel to the shed.
Pros:
- More permanent solution
- No overhead wires or conduit
Cons:
- More expensive to install initially
- Difficult to service or upgrade later
Overhead Feeder Wire
You can also run an overhead feeder wire from the house to the shed:
Pros:
- Usually cheaper upfront cost
- Easier to install DIY
Cons:
- Requires poles/masts to mount wire
- Not as aesthetically pleasing
Consider your budget, tools, and property layout to choose the best method.
Install Electrical Service Panel
The shed will need its own electrical service panel with breakers to connect and distribute power from the feeder wire. Choose an appropriately sized outdoor-rated panel and mount it securely inside the shed according to local codes. Make sure to include:
- Main breaker: Shuts off all power to the panel.
- Individual breakers: Protect each circuit. Size for your wire gauge and max current draw.
- Grounding: Ground the panel and system for safety.
Hire an electrician if you are uncomfortable installing the service panel yourself.
Run Circuit Wiring
Next, you can start running wiring from the panel to outlets and fixtures. Here are some tips:
- Use 12/2 or 14/2 Romex NM-B wiring for 15/20 amp branch circuits.
- Run wires through conduit for protection where exposed.
- Use GFCI outlets in any wet areas for safety.
- Label all wires clearly at both ends for easy identification.
- Follow local electrical codes for wire gauge sizes and other standards.
- Position outlets 18-24 inches above floor level.
Take your time laying out and running wires neatly along framing. Leave some extra length for modifications later on.
Connect Devices and Fixtures
With the wiring laid out, you can start connecting lights, outlets, switches, and appliances/equipment.
- Install lights, switches, and outlets by securely fastening them to studs/joists.
- Connect wires to fixtures and devices using appropriate connectors (wire nuts, marrettes).
- Attach wire clamps/staples every 18-24 inches for security and strain relief.
- Use cable clamps on wires entering metal boxes or conduit.
- Maintain polarity when connecting wires (hot vs. neutral vs. ground).
- Follow all manufacturer directions for safe installation.
Double check connections to ensure wires are secured properly with no loose strands or gaps.
Install Safety Elements
Don't forget key safety components like:
- GFCIs: For protection against shocks in wet areas. Test using the "test" and "reset" buttons.
- AFCIs: Prevents fires caused by arcs/damaged wiring. Have at the start of each branch circuit.
- Surge protector: Helps protect electronics from power spikes. Consider at panel or outlets.
- Smokes alarms: Essential for any building. Ensure sufficient coverage.
Rigorously check for correct wiring, polarity, grounding, and security of connections to avoid safety hazards.
Do Final Inspections and Testing
Before using your new shed electrical system:
- Visually inspect all wiring and connections for issues. Verify proper wire gauges.
- Use a multimeter to test wires for continuity between ends and appropriate hot/neutral/ground.
- Turn on power and test function of all lights, outlets, and installed devices.
- Check for secure mounting of all electrical boxes, conduit, and fittings.
- Look for any loose wire connections, damaged insulation, or shorts.
Make any needed corrections. It's much easier to identify and fix problems now rather than later!
Call for Inspection
In most areas, you will need to have the finished wiring inspected by the local building department to get a certificate of occupancy. Make sure everything is up to code before arranging an inspection.
Follow Safety Best Practices
Some final tips for safely using your shed electrical system:
- Never overload circuits or extension cords.
- Shut off power at main breaker when servicing wiring.
- Keep flammable items away from lighting.
- Plug appliances directly into outlets rather than using extension cords.
- Check wiring condition periodically and replace damaged cords.
- Keep dirt, moisture, and insects away from electrical components.
By taking time to properly plan and install your shed wiring, you can have cost-effective, safe power distribution for years to come. Be sure to get help from a qualified electrician if you have any doubts or uncertainty during the process. Let me know if you have any other questions!