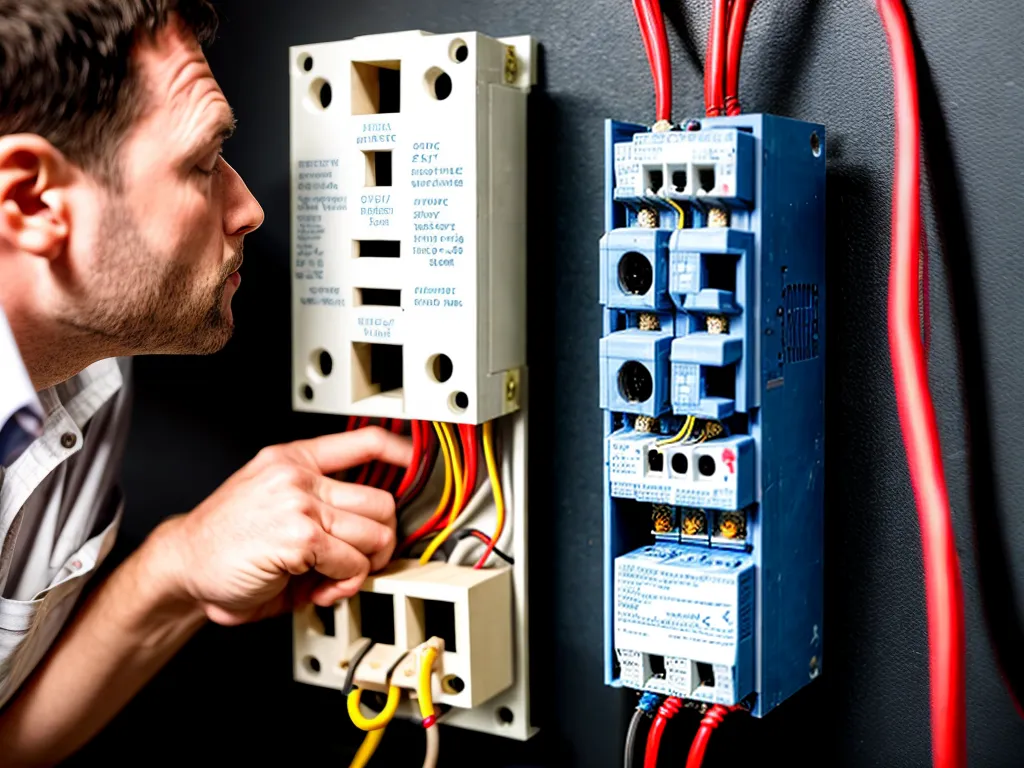
Understanding the basics of three-phase power systems is essential for anyone working with industrial electrical equipment and motors. In a delta or triangle configuration, the three voltage phases are connected end-to-end in a closed loop to create three powered terminals.
Compared to a wye system, a delta system provides greater efficiency for balanced loads and allows motors to produce higher starting torque. However, it can be more complex to troubleshoot and does not permit the neutral line connection needed for single-phase loads.
This guide will walk through the fundamentals of delta systems and provide a step-by-step tutorial for properly wiring a three-phase delta connection.
Overview of Three-Phase Delta Systems
Three-phase power is commonly used in industrial and commercial applications to efficiently distribute higher voltages than single-phase systems. The three voltage sine waves are offset by 120 degrees from each other, providing continuous delivery of power.
In a delta configuration, the three hot wires from the power source are connected between three load terminals to form a triangle. This closed loop transmits full-line voltage to the loads and provides three sources of power.
The key advantages of a delta include:
-
Higher efficiency - Balanced three-phase loads don't return current on the neutral line, unlike a wye.
-
Higher starting torque for motors - Voltage across motor windings is greater in a delta.
-
No need for a neutral - No neutral line is present in a delta. Grounding is achieved separately.
The main limitations are:
-
Difficult to obtain single-phase - Taps are required on transformer windings.
-
No neutral reference for voltage measurements.
-
Troubleshooting can be more complex without a neutral.
Now let's look at how to wire this type of three-phase connection.
Wiring a Three-Phase Delta System
Wiring a delta electrical system correctly requires understanding which wires are paired together to distribute the three-phase power. Here is a step-by-step guide to connecting and grounding a delta:
Step 1: Check Power Source
First verify you are starting with a three-phase power source. The three live wires should provide 208V or 480V at a phase offset of 120 degrees.
Measure voltage between each pair to confirm the phase relationships:
- A-B ~208/480V
- B-C ~208/480V
- C-A ~208/480V
Step 2: Connect Three Load Terminals
Connect the three wires from your power source to three terminals that will feed power to the loads:
- A-phase to terminal 1
- B-phase to terminal 2
- C-phase to terminal 3
This forms a closed delta loop. Voltage measured between the terminals will be:
- 1-2 ~208/480V
- 2-3 ~208/480V
- 3-1 ~208/480V
Step 3: Attach Loads
Connect loads between the terminals to complete the delta:
- Load 1 from terminal 1 to 2
- Load 2 from terminal 2 to 3
- Load 3 from terminal 3 to 1
The loads now receive full line-to-line voltage in a closed circuit.
Step 4: Ground the System
Ground one corner of the delta configuration to earth either at the transformer or at terminal 1, 2, or 3. This provides a reference for voltage measurements and safety.
Now the three-phase delta arrangement is fully wired to deliver balanced three-phase power to the attached loads!
Adding Single-Phase Loads
One limitation of the delta design is its inability to directly provide single-phase power. However, there are two ways to work around this:
-
Add a transformer tap from one phase to create a center-tap grounding point. This allows single-phase voltage to earth.
-
Install a transformer on one of the phases to create a reference point for neutral. This provides 120V or 240V to a single-phase sub-panel.
When adding single-phase circuits, be mindful of balancing the loads to maintain efficiency. Monitor currents in each line and avoid large imbalances.
Troubleshooting Delta Systems
Some unique troubleshooting aspects of delta systems include:
-
Check phase-to-phase voltages - There is no neutral for phase-to-neutral measurements.
-
Imbalanced currents indicate a problem with one of the loads or lines.
-
No voltage on all phases points to an issue with the power source or main connections.
-
Phase rotation testing can identify if A,B,C phases are wrongly connected.
-
Insulation resistance testing is needed phase-to-phase and phase-to-ground.
Proper metering equipment and an understanding of the delta layout will allow efficient troubleshooting. Check key points in the system methodically to identify any wiring faults or damaged equipment.
Conclusion
Three-phase delta systems provide an efficient way to distribute power for balanced industrial loads. While not as straightforward as wye configurations, correct delta wiring provides definite advantages for motor loads.
Follow the wiring steps closely to ensure proper phase connections and grounding. When laid out methodically, these systems can provide robust power delivery with minimal losses. Understanding the nuances of delta connections will lead to safer and more reliable electrical service.