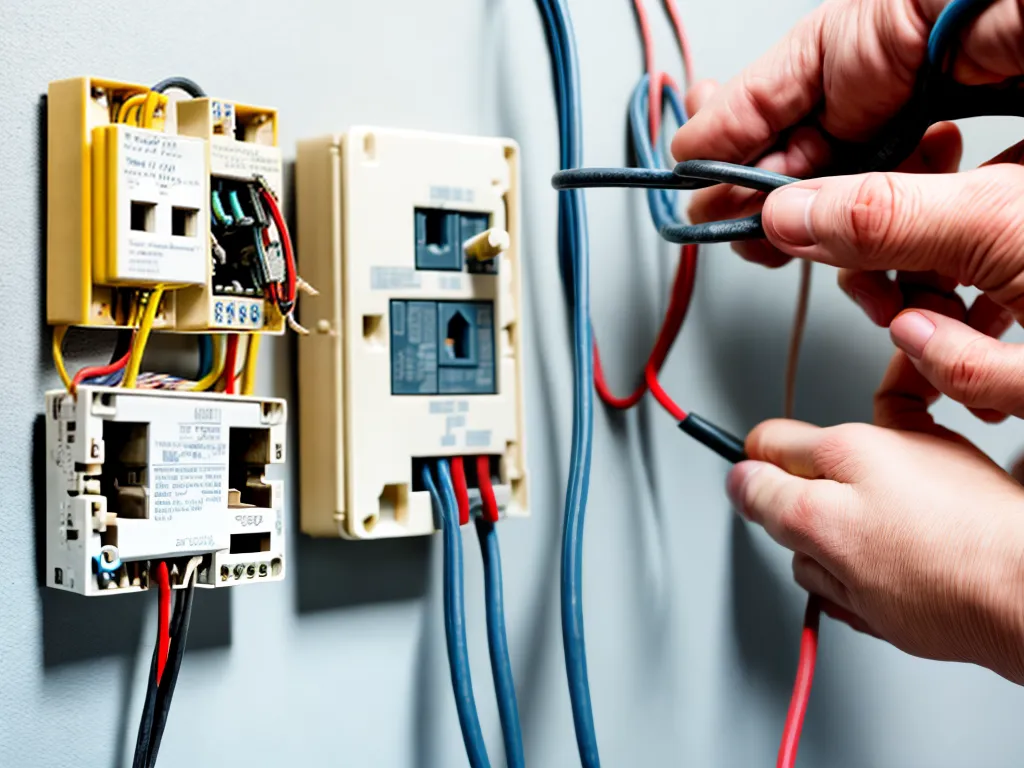
Wiring a home can seem daunting, but with some planning and basic skills, I was able to rewire my entire house on a budget. Proper electrical wiring is crucial for safety, so I learned the electrical code and got the necessary permits. Here's how I did it.
Researching and Planning the Project
Before starting any electrical project, it's essential to educate yourself on electrical systems and safety. I read books, watched tutorials, and took a basic electrical course at the local community college. This gave me the knowledge I needed to plan the wiring method, select materials, and meet code requirements.
I mapped out my home's existing wiring and loads to determine the circuit layout. Things like large appliances and high-use areas need dedicated circuits. I planned circuits to handle normal usage with room for future expansion. Good planning prevents overloading and tripped breakers down the road.
Selecting Materials
With some smart shopping, you can wire a house inexpensively using primarily copper and PVC:
-
Wire - I used 12/2 and 14/2 NM-B copper building wire. The gauge depends on the circuit load. 12 gauge handles 20 amps for devices like kitchen circuits, while 14 gauge works for 15 amp lighting circuits.
-
Conduit - PVC is very affordable and easier to work with than metal conduit. I used 3/4" Schedule 40 PVC underground and 1/2" PVC for exposed runs.
-
Boxes and Devices - Basic white plastic boxes and outlet covers keep costs down. I splurged on tamper-resistant receptacles for safety.
-
Panel and Breakers - I upgraded my 100 amp panel to 200 amps for $350. The extra capacity allows for expansion. Shop sales for decent prices on circuit breakers.
Buying wire in 500+ foot spools and conduit in 10' lengths yields huge bulk savings over the pre-cut small pieces at the big box stores. I saved over 60% buying this way.
Running the Wiring
With materials purchased, I was ready to start the rewire. Safety is paramount when working with electricity. I made sure to:
- Shut off the main breaker BEFORE starting any work
- Test wires with a non-contact voltage tester before touching
- Carefully follow electrical code for things like wire depth, stapling, box fill, etc. Neglecting code can create fire hazards.
I began by running the new wire through the PVC conduit in unfinished basement and crawlspace areas. PVC glues together easily with ABS cement. For upstairs, I cut narrow channels into the lath and plaster walls to run NM-B wire inside. This avoided major demolition of original plaster.
Finally, I pulled new wire through existing finished walls by fishing between outlets. I used glow rods and string to pull the conductors through framing cavities. Patience and care makes fishing wire easier.
Installing Boxes, Devices, and the Panel
With the home fully wired, I began mounting the boxes, outlets, switches, and other devices. Getting good at efficiently installing devices saved substantial time.
I used old-work boxes designed for retrofit into finished walls without needing access behind. These have built-in clamps that tighten against the drywall. Cutting clean, accurate drywall holes makes installing boxes easier.
Devices just screw into the new boxes. Getting circuits labeled correctly is critical here. I color coded the wire sheathing for easy circuit identification.
Lastly, I installed the new 200 amp panel and double checked all the wiring connections. Neutral and grounds must be kept separate per code. I also added surge protectors and a whole house filter for extra protection.
Getting Inspected and Completing the Job
After many long weekends of work, the rewire was complete. My final step was scheduling the city electrical inspection. I went over my work thoroughly to catch any issues beforehand.
The inspector was happy to see my neat, code-compliant wiring. I passed on the first try with no changes required. After the green light, all that remained was buttoning up - installing insulation, patching drywall, adding trim, lighting fixtures, switches and outlets.
Taking the time to wire my house properly was well worth it. The peace of mind of fresh, modern electrical is invaluable. And I saved over $10,000 doing it myself. With good planning and attention to detail, you can wire your home efficiently and affordably. Let me know if you have any other questions!