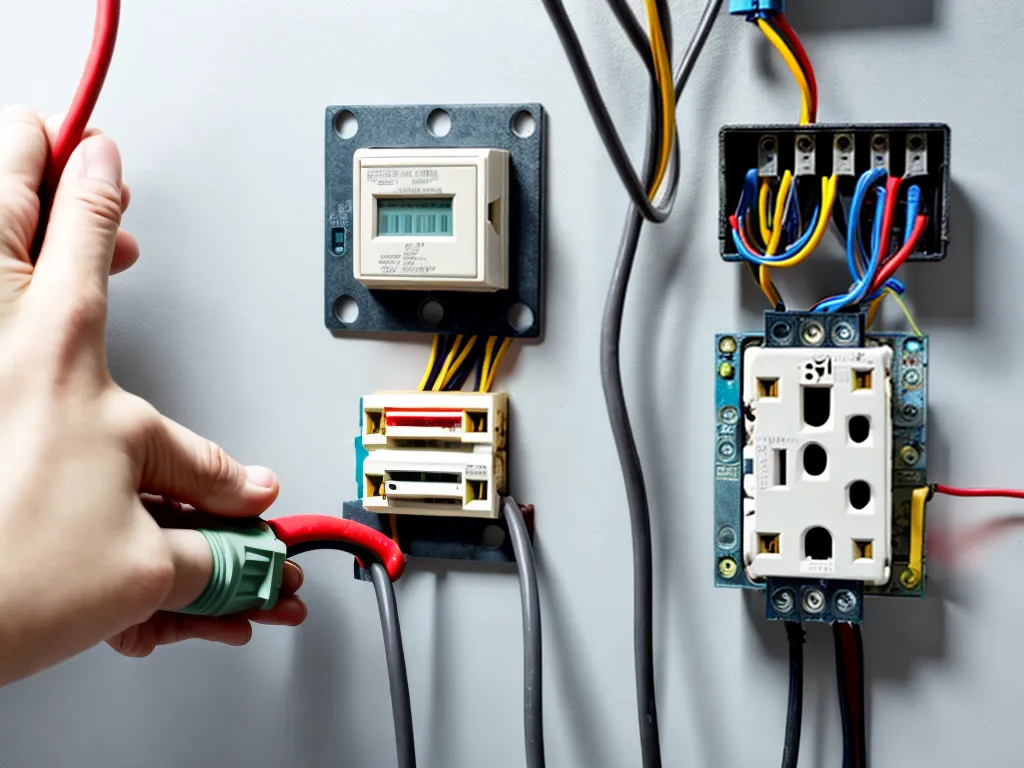
How to Wire Your Home Electrical System Yourself Without Any Experience
Understanding Electrical Basics
As a beginner, I needed to understand some electrical basics first before wiring my home. I learned that electricity flows in circuits and requires a power source, wiring, and a load (something using the electricity, like a light bulb). The power source pushes electrons through the wires to the load and back, completing the circuit. Common power sources in homes are the utility electrical grid and backup generators. I also learned about amps, volts, and ohms. Amps measure electrical current, volts measure force or pressure of electricity, and ohms measure resistance. Understanding these basics gave me the foundation to start learning about home wiring.
Planning the Electrical Layout
Before wiring anything, I needed to plan out my home's electrical system. I researched which rooms and areas would need lighting, outlets, appliances, etc. I created a floor plan marking all the outlets, switches, lights, major appliances, and any special wiring needs. For complicated areas like the kitchen or home theater, I drew detailed wiring diagrams. Planning everything ahead of time ensured I didn't miss anything important and knew how much wire I would need. I also researched local electrical codes to ensure my plan complied with regulations.
Selecting the Right Electrical Materials
Wiring a house requires several materials like wire, conduit, boxes, receptacles, breakers, and more. I made sure to select materials approved for residential wiring and rated for the appropriate voltage, amperage, and conditions. For most household wiring, I used 14-2 Romex copper wiring. For grounding, I used 12-gauge bare copper wire. I chose plastic electrical boxes and wired everything to circuit breakers in a main service panel, not old-fashioned fuses. I also used tamper-resistant receptacles for safety. Buying quality electrical materials from reputable suppliers ensured I didn't skimp on safety.
Safety First!
Working with electricity can be extremely dangerous, especially for amateurs. I took every precaution to avoid electrical hazards like shocks, arcs, fires, and explosions. I learned how to properly shutting off power at the breaker before working on any circuit. I wore insulated gloves and clothing to prevent accidental shocks. I made sure to carefully check for existing wiring before cutting into walls. I took things slow and double checked all my connections. Having a professional electrician inspect my work gave me peace of mind that I did everything safely. Rushing or ignoring safety protocols could easily lead to injury, fires, or even death.
Installing the Electrical Boxes and Conduit
Once my plan was set, I was ready to start the installation process. I began by mounting all the electrical boxes for switches, outlets, and fixtures into the wall studs. For any wiring that needed protection, I installed conduit between the boxes to protect the wires. Conduit is not required for standard Romex wiring through walls and ceilings. I made sure all boxes were secured properly and installed at the correct planned locations. Taking the time to install everything square and straight ensured the rest of the installation went smoothly.
Running and Securing the Electrical Wires
The next step was running all the electrical wires through the walls and ceilings between boxes and to fixtures like lights and fans. I made sure to anchor the wires properly and leave enough extra wire in the boxes. I stapled the Romex every few feet for support as I fed the wire through the framing. I was careful not to damage the wire insulation while tugging it into place. I also was diligent about keeping the hot and neutral wires separated correctly. Taking my time here ensured the wiring would be neat and secured inside the walls for safety and longevity.
Making Connections and Testing Circuits
With the wires run, I was ready to start making connections. I carefully stripped the ends of the wires and matched hot and neutral connections. I made sure the bare copper ground wires were securely attached. I followed wiring diagrams to connect multiple switches, outlets, lights, and appliances properly on each circuit. After double checking connections, I turned the power back on and tested all the wiring. I carried a non-contact voltage tester to confirm power where expected and mark any issues. For tricky 3-way switch wiring, I tested every possible combination. I repeated the process until everything worked perfectly.
Inspecting and Completing the Job
Once I successfully tested all the wiring myself, I hired a professional electrician to inspect the installation thoroughly. They evaluated all connections, outlet placement, grounding, wire gauge, and more to ensure everything followed electrical codes. The electrician also installed the main service panel and hooked up the house to the utility power. After passing inspection, I buttoned up by installing all the light fixtures, switches, outlet covers, and trim. Finally, I labeled the circuit breakers and made a wiring map for reference. While wiring an entire house myself was challenging, taking it one step at a time ensured it was a success. The sense of accomplishment was highly rewarding!