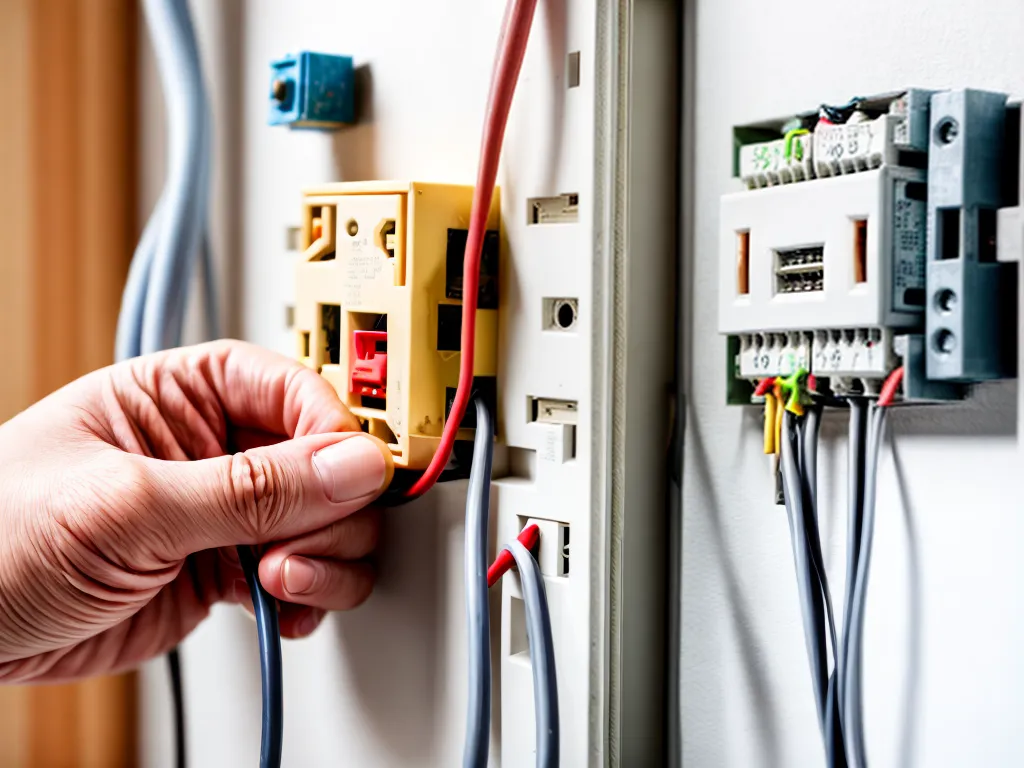
Wiring your own home can be an intimidating task, but with proper planning and safety precautions, you can successfully wire most residential electrical systems and save thousands of dollars in the process. In this comprehensive DIY guide, I will walk you through the entire process step-by-step.
Understanding Electrical Basics
Before you start any electrical project, it's important to understand some basic electrical terms and components:
- Voltage - The force that pushes electrical current, measured in volts (V)
- Current - The flow of electricity, measured in amps (A)
- Wires - Conductors that carry current, usually copper or aluminum
- Circuit breaker - Safety device that interrupts power if there is too much current
- Ground - Safe path for stray electrical current to follow
Some key safety tips when working with home electrical systems:
- Turn off power at the main breaker before starting work
- Use caution around live wires and connections
- Wear insulated gloves and eye protection
- Double check connections before restoring power
Planning Your Electrical Layout
The first step is deciding the layout of your home's electrical system.
Ask yourself:
- Where will major appliances be located?
- How many lighting circuits will you need?
- Where will you place receptacles/outlets?
- What size electrical service will your home require?
Create a detailed plan showing all circuits, outlet locations, appliance circuits, and lighting.
Consider hiring an electrician for consultation on the overall system design if needed.
Obtaining Permits
Check your local building codes to determine if you need a permit to rewire a home. Permits are often required for:
- Running new wiring
- Upgrading electrical service panel
- Adding new circuits
Permit fees are usually under $200 depending on your area.
Hiring an electrical contractor usually includes permitting costs, but permits are the homeowner's responsibility for DIY projects.
Electrical Service Panel
The service panel, or breaker box, is the central hub connecting your home's electrical system to the main utility lines.
When rewiring, you may need to upgrade your existing panel if:
- You have a fuse box you want to replace with a circuit breaker panel
- Your home needs more circuits than the current panel can accommodate
- The panel is outdated or unsafe
New 200 amp panels cost $200-500 plus installation. Hire an electrician if you need to upgrade the incoming service wiring or meter connection.
Running New Wiring
Here are the steps to run new wiring through your home:
- Map route for each new circuit from panel to endpoints
- Drill holes in framing and secure plastic grommets
- Feed wires through grommets between walls
- Leave 6-12 inches of extra wire at endpoints
- Connect wires to outlets, switches and appliances
- Label all wires indicating their circuit number
Use 12-2 NM electrical cable for 15 and 20 amp general lighting/receptacle circuits.
Follow local codes for wire gauge requirements based on circuit amperage. Using thicker than required wire is recommended.
Installing Boxes and Making Connections
Electrical boxes house the connections between wires and outlets.
When installing boxes:
- Choose appropriate size and depth for number of wires
- Secure tightly to studs or joists
- Position at proper height above floor or countertop
Making neat, tight wire connections is critical:
- Strip wire insulation properly using sharp wire stripper
- Use wire nuts or crimp connectors
- Wrap clockwise around terminal screws for a tight connection
- Double check wires are secure by gently tugging
Testing & Troubleshooting Your Electrical Work
Before turning power back on, test your work thoroughly:
- Continuity test - Verify all wires are connected and no shorts exist
- Insulation test - Make sure hot wires have no contact with ground or neutral
- Polarity test - Confirm hot and neutral wires connect to the right terminals
Check all connections are secure, then turn on power momentarily to verify proper function before securing switches, outlets and covers.
Be prepared to troubleshoot any issues:
- Check for tripped breakers or blown fuses
- Verify wiring matches your diagram
- Look for loose wire connections
- Test for voltage to isolate problems
Patience and care is required, but you can troubleshoot most issues.
Completing Drywall, Painting & Finishing
Once electrical components are fully functional it's time to finish the job:
- Install mounting brackets on boxes and feed wires into boxes
- Install drywall over boxes and cut openings for covers
- Apply mud and tape for seamless drywall finish
- Prime and paint walls when drywall is complete
- Attach switch plates, outlet covers and lighting fixtures
- Caulk around plates and fixtures for a professional look
Take your time with finishes for a seamless look.
Conclusion
With good planning, safe working practices and attention to detail, wiring your own home is very achievable.
While initially daunting, breaking the project into smaller steps makes electrical work less intimidating.
Also remember that permits, inspections and hiring electricians for complex tasks is perfectly okay.
By DIYing what you can safely perform, you can have the satisfaction of wiring your own home electrical system and saving thousands in the process.